 Hey there Guest!
 Hey - did you know if you click on the title of a thread it will take you to the first unread post since you last visited that thread?
 but were afraid to ask:
  STOP!! Never post your email address in open forums. Bots can "harvest" your email! If you must share your email use a Private Message or use the
  smilie in place of the real @
 Pretty Please - add it to our Events forum(s) and add to the calendar! >>
KVH
Darth Vader
Offline
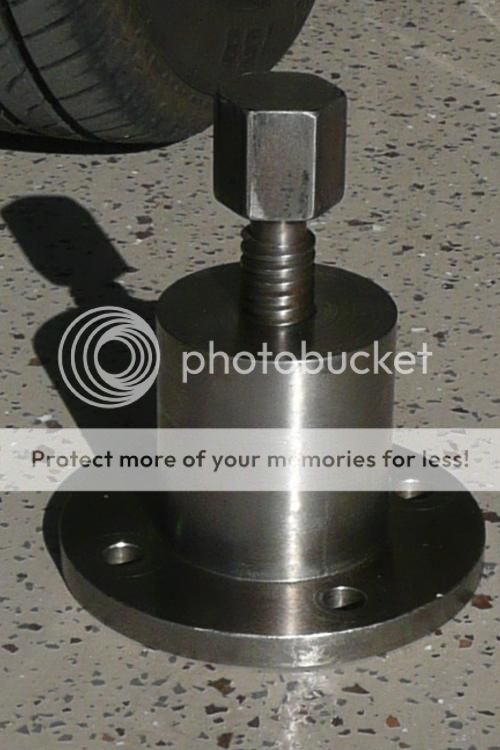
It seems easy to replace the studs with longer ones in the front hubs, but what about the rear hubs? How do I get those out? Do I recall hearing someone say don't even try? I recall someone saying the hubs had to be pulled off and they started bending. No?
Also, I assume longer wheel studs with wheel spacers for wire wheels is a good way to go assuming the studs come out. Is that right?
Also, I assume longer wheel studs with wheel spacers for wire wheels is a good way to go assuming the studs come out. Is that right?


 A friendly reminder - be careful what links you click on here. If a link is posted by someone you don't know, or the URL looks fishy, DON'T CLICK. Spammers sometimes post links that lead to sites that can infect your computer, so be mindful what you click.