-
 Hi Guest!
If you appreciate British Car Forum and our 25 years of supporting British car enthusiasts with technical and anicdotal information, collected from our thousands of great members, please support us with a low-cost subscription. You can become a supporting member for less than the dues of most car clubs.
There are some perks with a member upgrade!**Upgrade Now**
(PS: Subscribers don't see this gawd-aweful banner

Tips
- We have a special forum called "Member Articles" where you can submit actual articles for consideration for publication. Learn More
- Don't have an Avatar? If not, your avatar will default to the 1st character in your username. Go into "Account Details" to change your Avatar.
- Some basic forum navigation info: click
Hey - did you know if you click on the title of a thread it will take you to the first unread post since you last visited that thread?
- Hey Guest - Is your British Car Club in our Clubs database? If not, send me a PM - Basil

- Looking for a local club? Click the "Clubs" tab above and browse hundreds of clubs world-wide.
- Add Android or iPhone APP: click
- Did you know - any picture or video you add in your posts in any marque-specific forum will also get added to the Media Gallery automatically.
- A few more tips about posting and replying: click
- Hey there Guest - be sure to keep your profile page up to date with interesting info about yourself: learn more
- More tips and tricks on Posting and Replying: click
 STOP!! Never post your email address in open forums. Bots can "harvest" your email! If you must share your email use a Private Message or use the
  smilie in place of the real @
- Want to mention another member in a post & get their attention? WATCH THIS

- So, you created a "Group" here at BCF and would like to invite other members to join? Watch this!
- Hey Guest - A post a day keeps Basil from visiting you in the small hours and putting a bat up your nightdress!
- Hey Guest - do you know of an upcoming British car event?
 Pretty Please - add it to our Events forum(s) and add to the calendar! >> Here's How <<
- Hey Guest - you be stylin'
Change the look and feel of the forum to fit your taste. Check it out
- If you run across an inappropriate post, for example a post that breaks our rules or looks like it might be spam, you can report the post to the moderators: Learn More
- If you would like to try some different "looks" or styles for the site, scroll to the very bottom, on the left and click the Style Selector.
You are using an out of date browser. It may not display this or other websites correctly.
You should upgrade or use an alternative browser.
You should upgrade or use an alternative browser.
TR2/3/3A Recipe for a TR2
- Thread starter CJD
- Start date
Are you looking for 9" or 10" backplate?
Initially I wanted a 10" as that's what the car should be. Now I'd prefer a 9" one, I had purchased shoes and drums for a 9" setup as Revingtons said they had one I could purchase. Turns out they scammed me $150 and sent a front one that I don't need... and subsequently now ignore my emails. So yeah I'd really like a RH 9" one so these new shoes and drums are a further waste of money.
CJD
Yoda
Offline
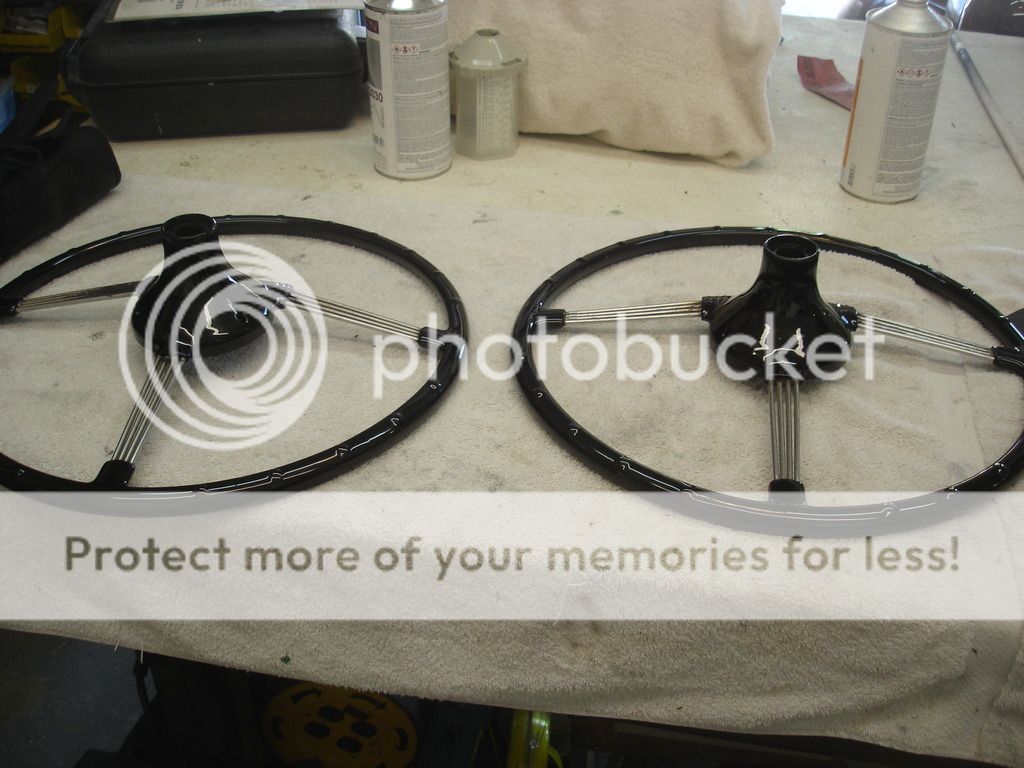

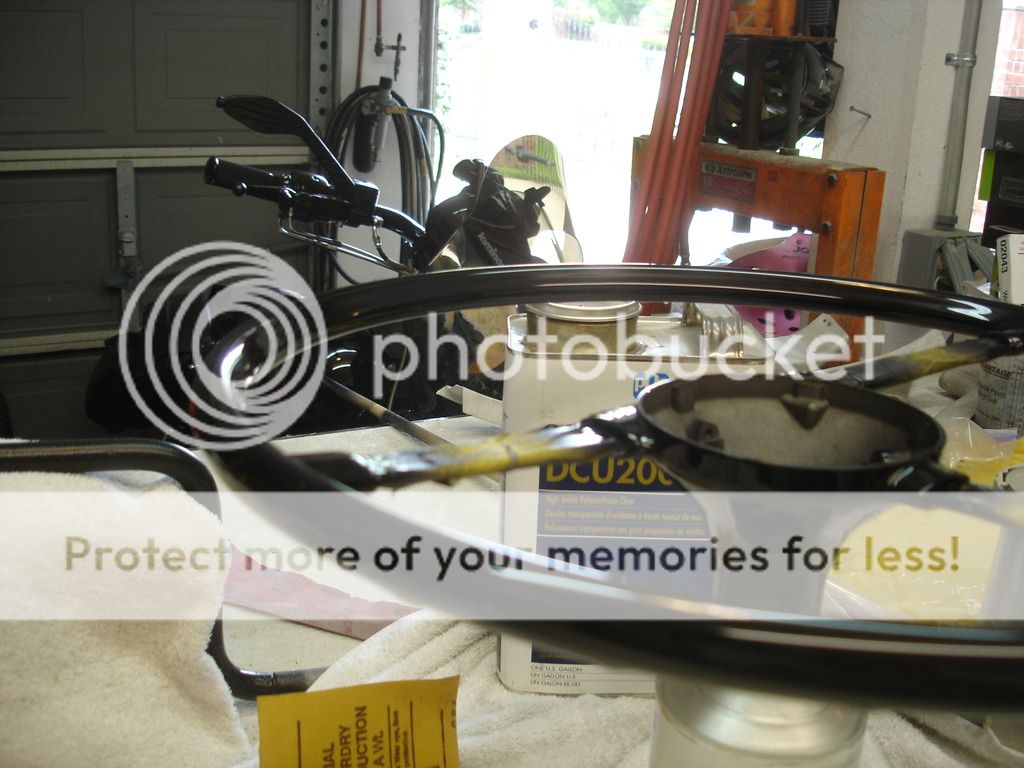

So, here are some shots of the finished steering wheels. They are painted with DBC black base and then stopped with DCU2002 clear. One came out perfect, and I will use it. The second has a crack that showed through...most likely my fault. I tried adjusting the alignment AFTER I filled the largest crack. I think that broke the bond for the filler. Bummer. But, that's why I refinished 2, so I would be sure to get a good one.
Note: While the 2002 is almost rock hard once it cures, it is still a painted wheel, so rings and such will scratch it. Of course, rings also mar original wheels, but it's just not as noticeable as on a painted wheel. That's what we have to work with, though, until they start repopping more repro wheels.
CJD
Yoda
Offline
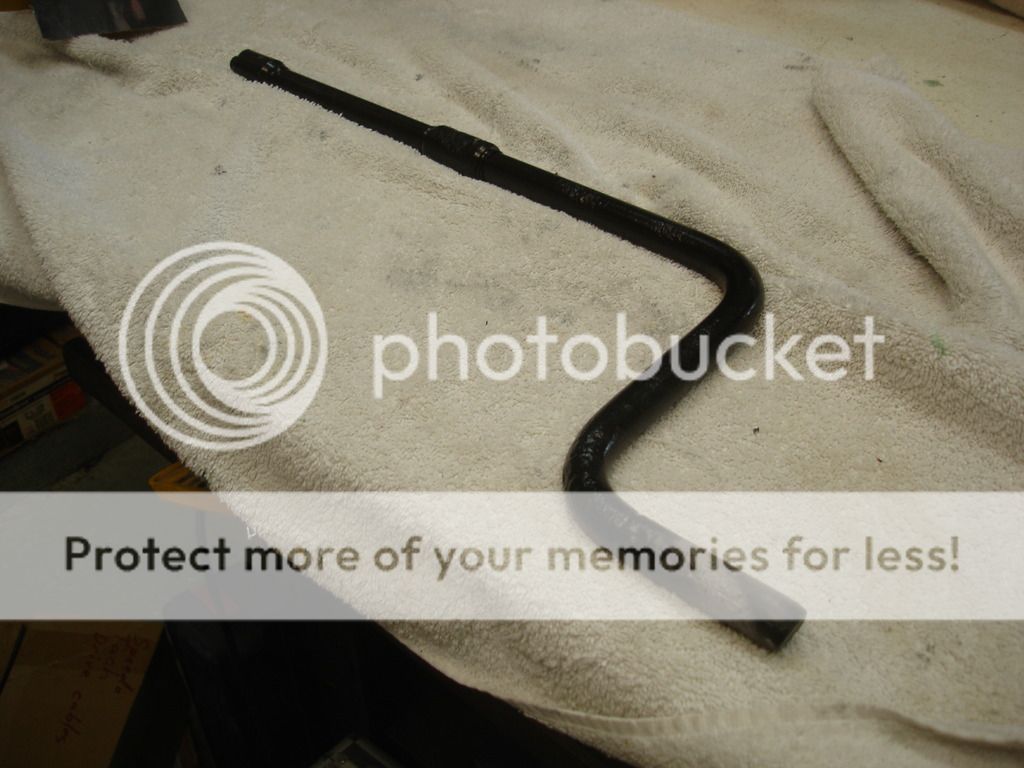
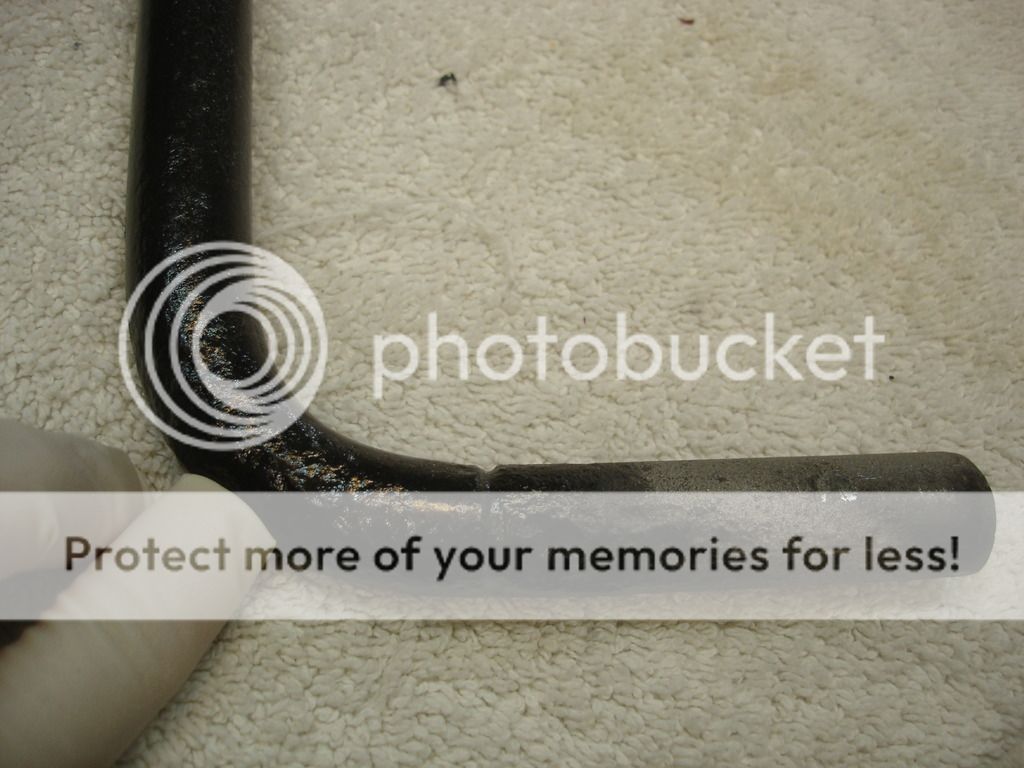
I decided to get all the tools I have laying around in proper order. Here is the original crank that came with my car. Lots of pitting and the part of the handle that you grip is supposed to have a sleeve that rotates as you grip it. The sleeve was rusted through. I will fill the rust pits and replace the grip sleeve.
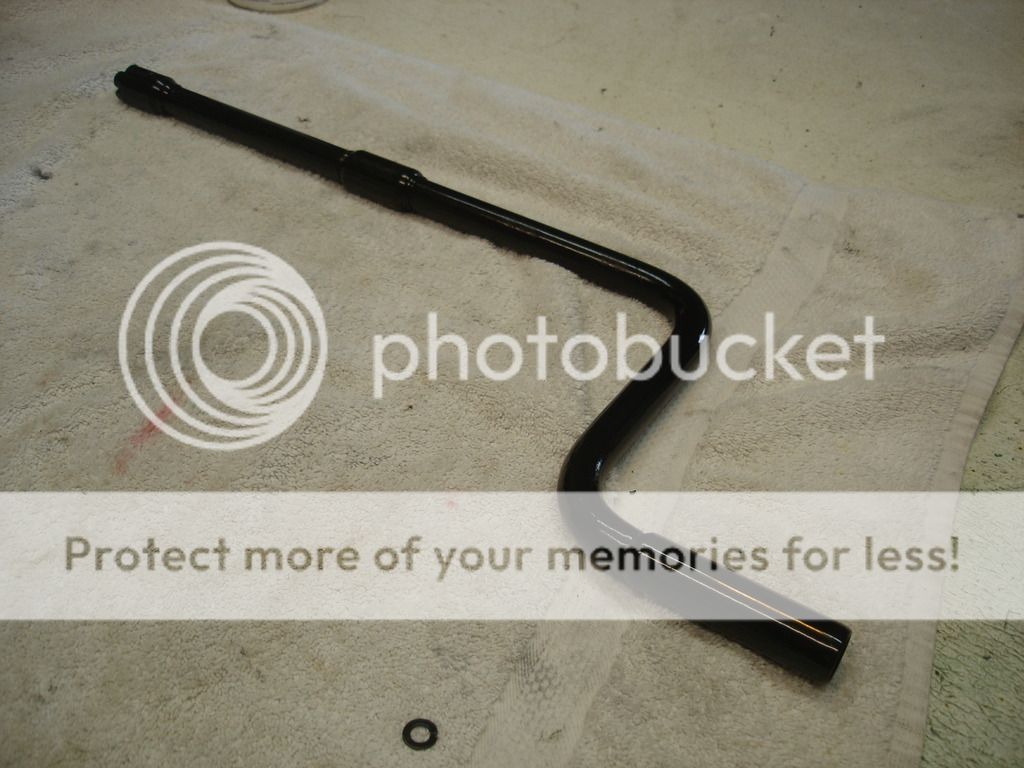
Poof...! Gotta love the fact you guys don't have to sit through the hours it took to do all that!?!
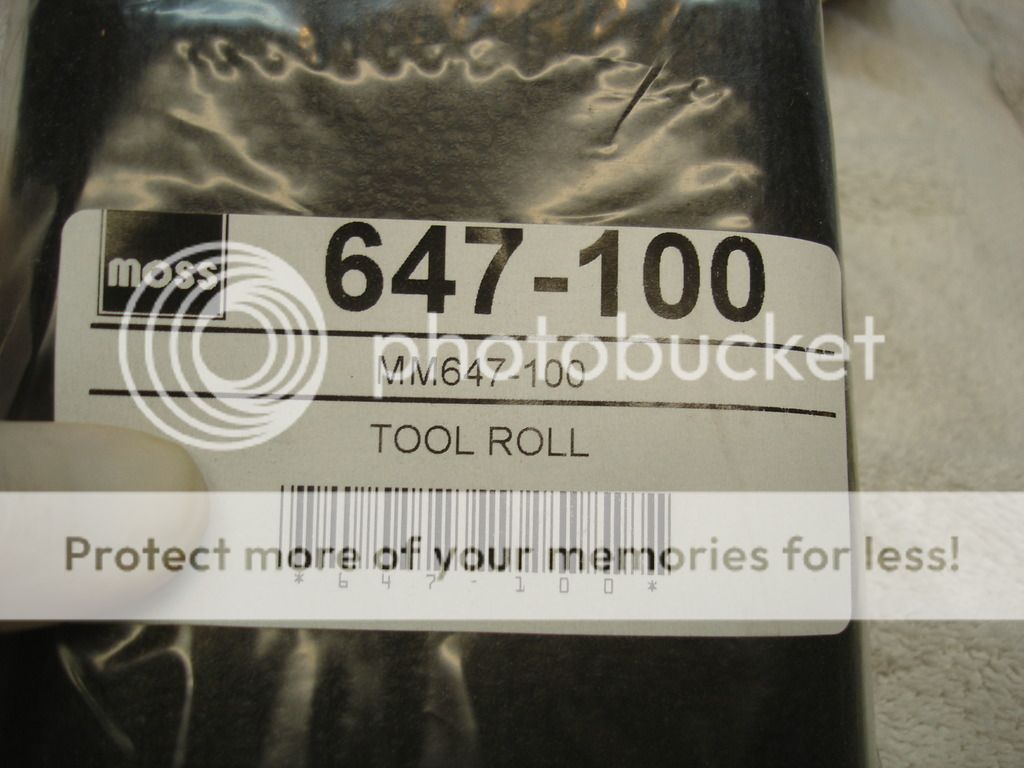
First we'll start with the plastic coated jute tool roll from Moss. We can add the tools to it as we go. All my tools are in rough shape. I am bead blasting them all, and then hitting them with a very thin coat of clear lacquer to prevent discoloring later.
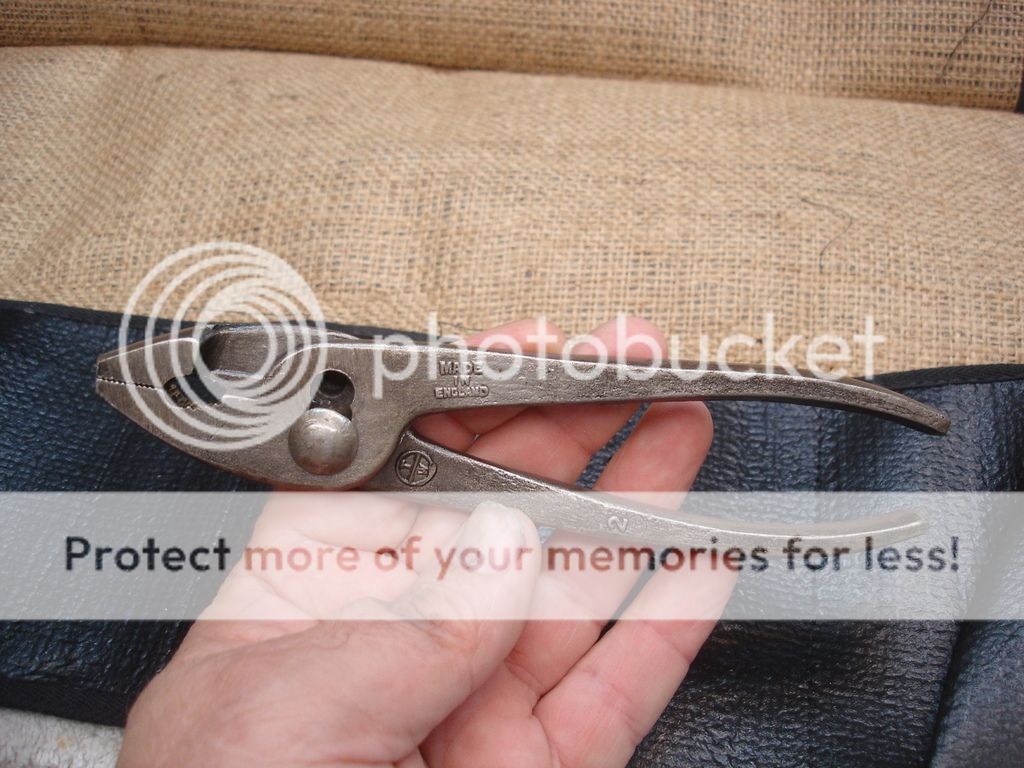
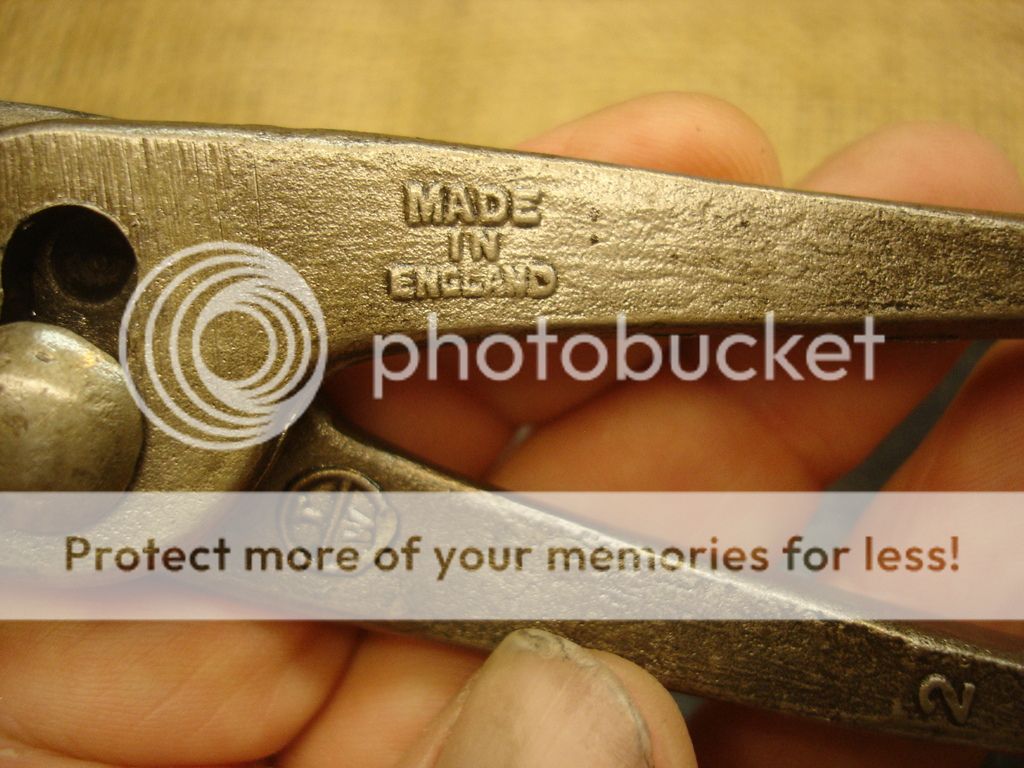
Original slip-grip pliers.
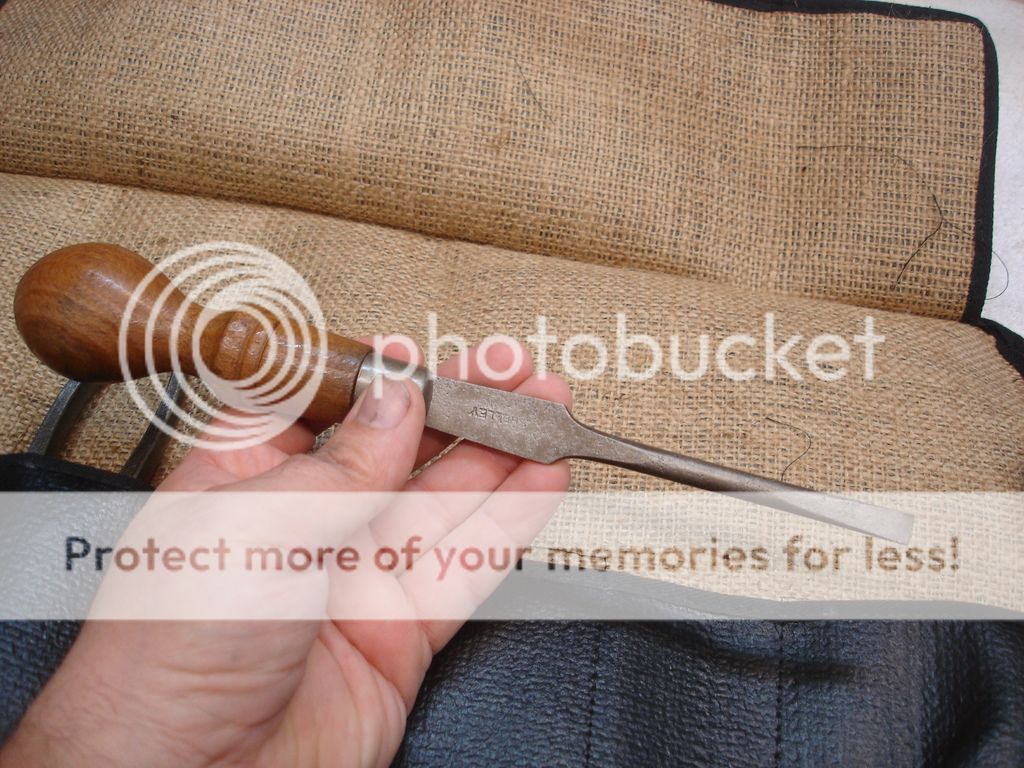
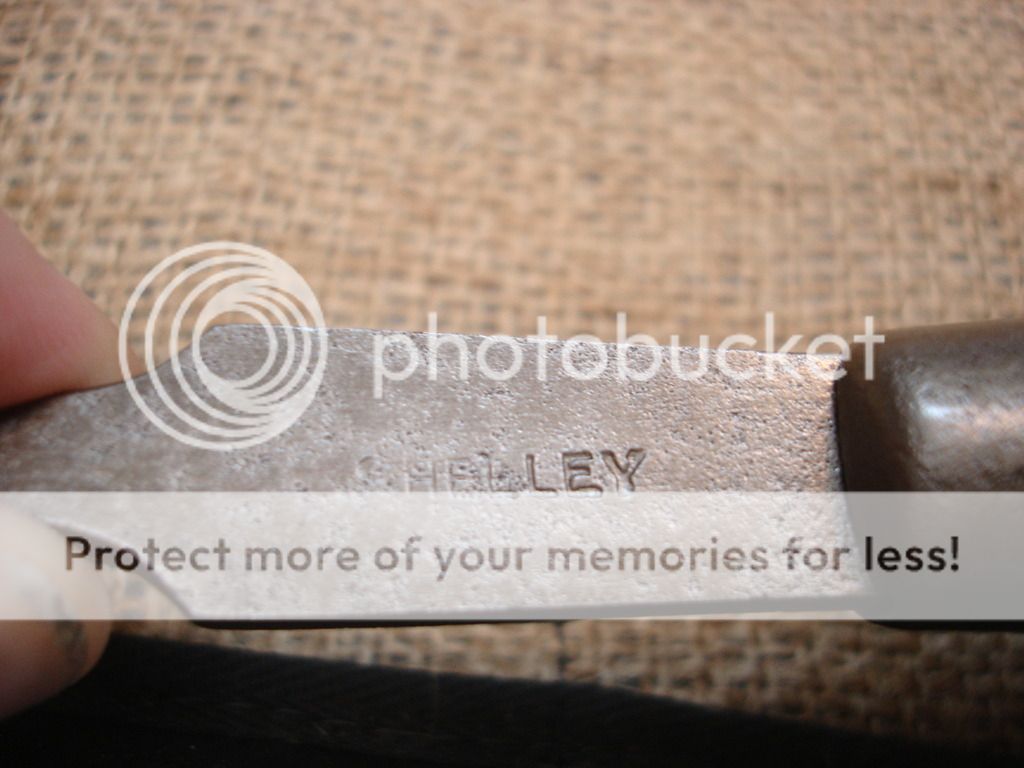
Wood handled screw driver with the appropriate (although not too distinctly stamped) "Shelley" mark.
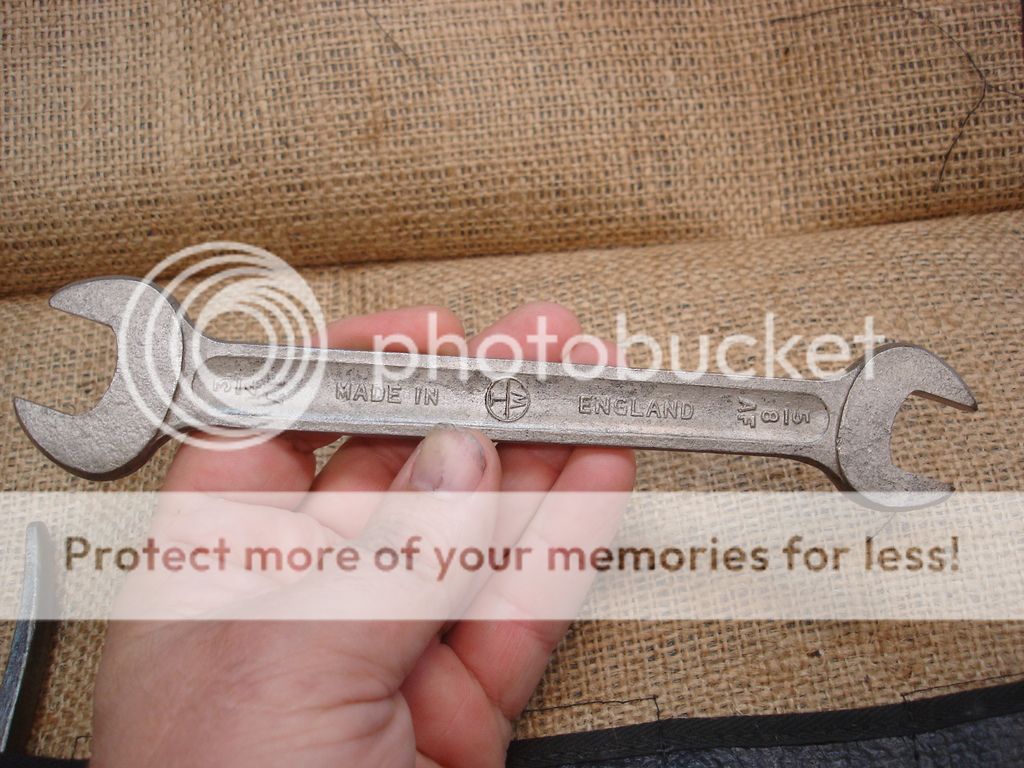
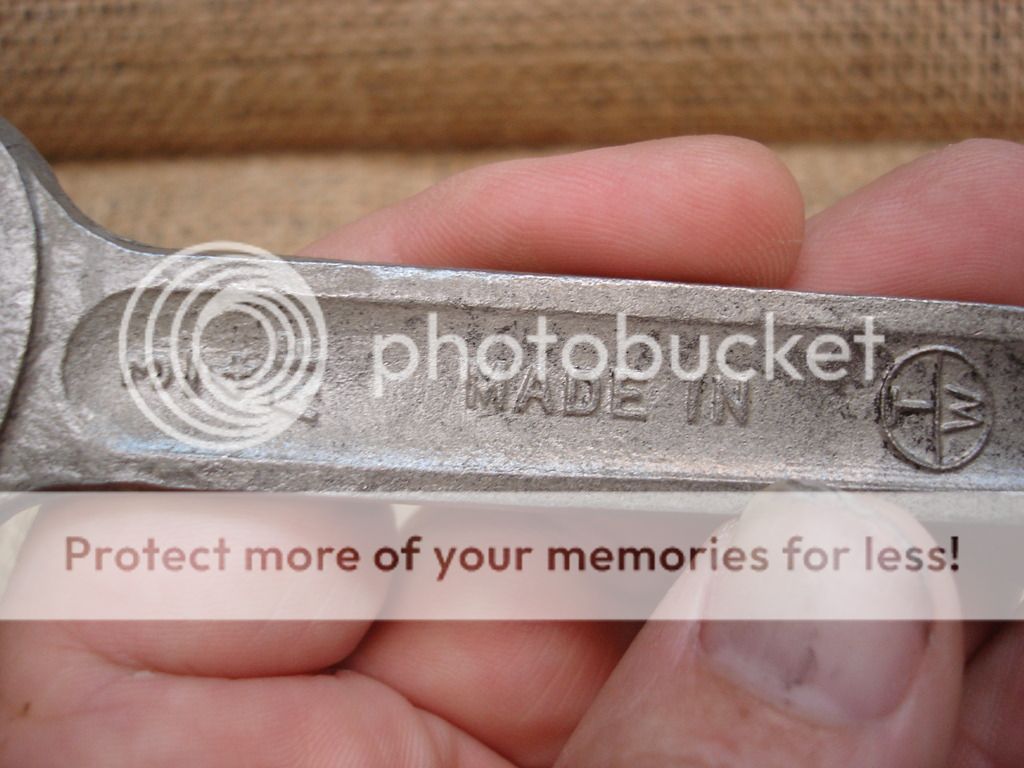
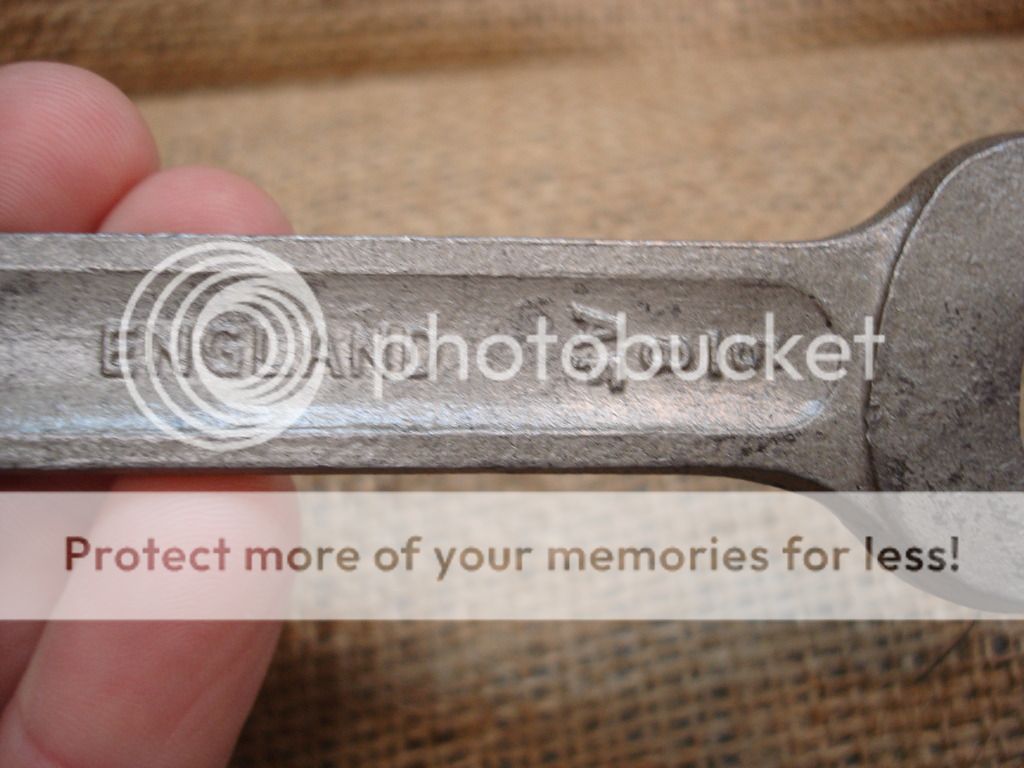
3/4 by 5/8 open end wrench.
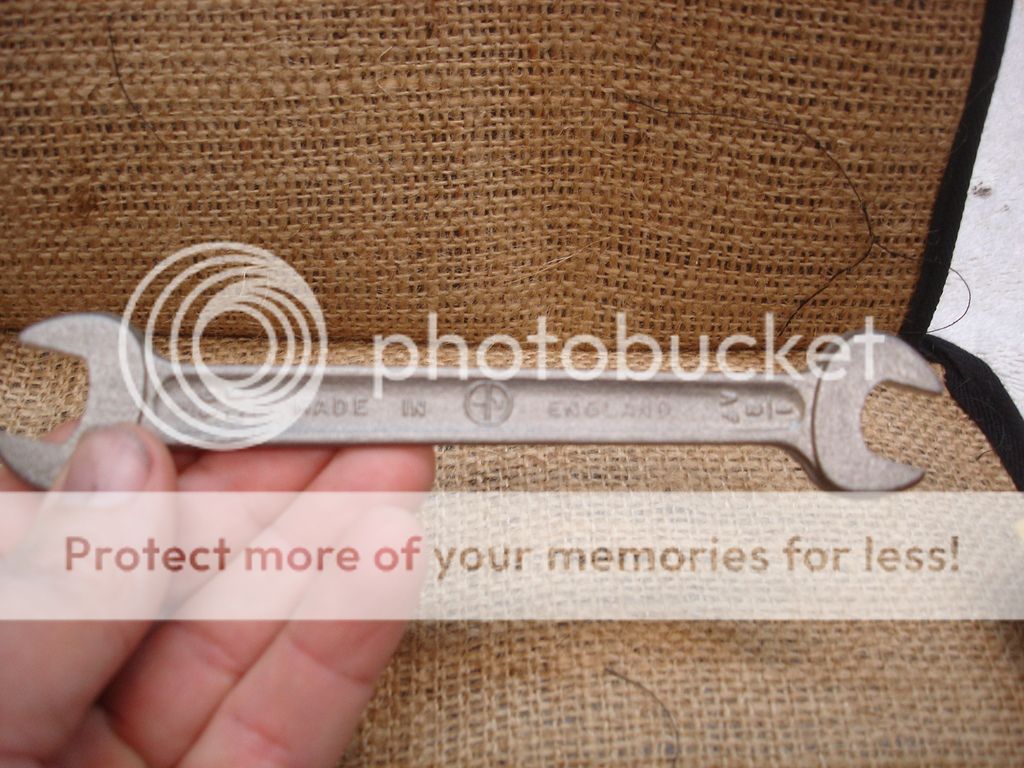
9/16th by 1/2" open end. I am missing the 7/16 by 3/8" open...but found one on Ebay that is on the way!
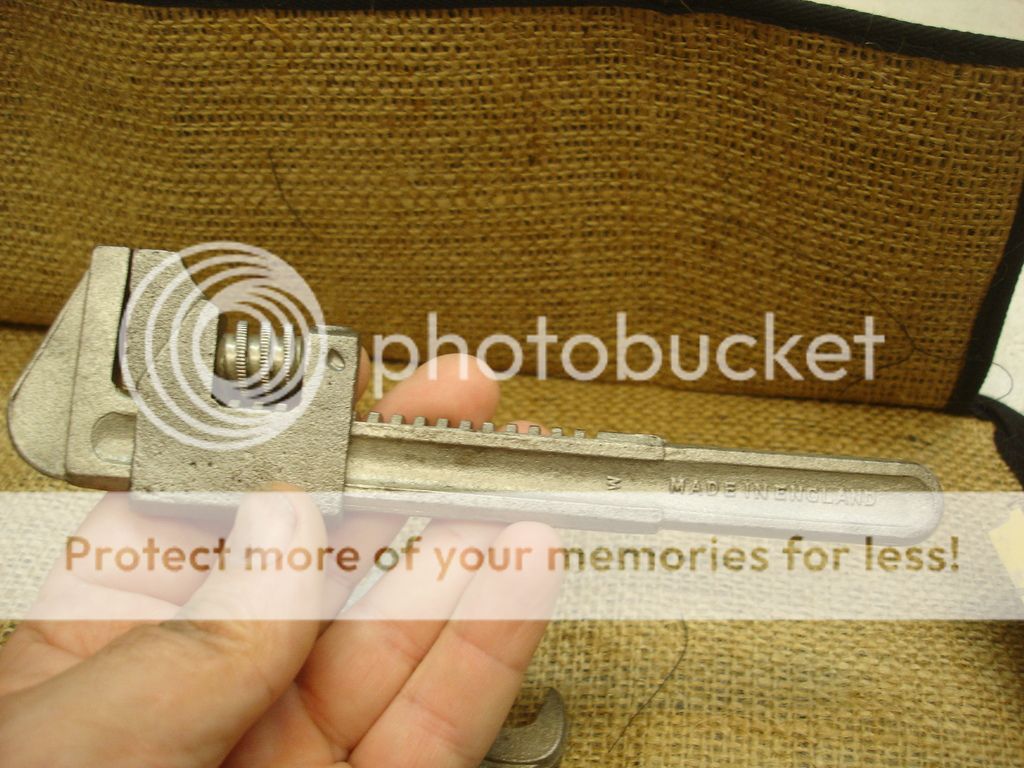
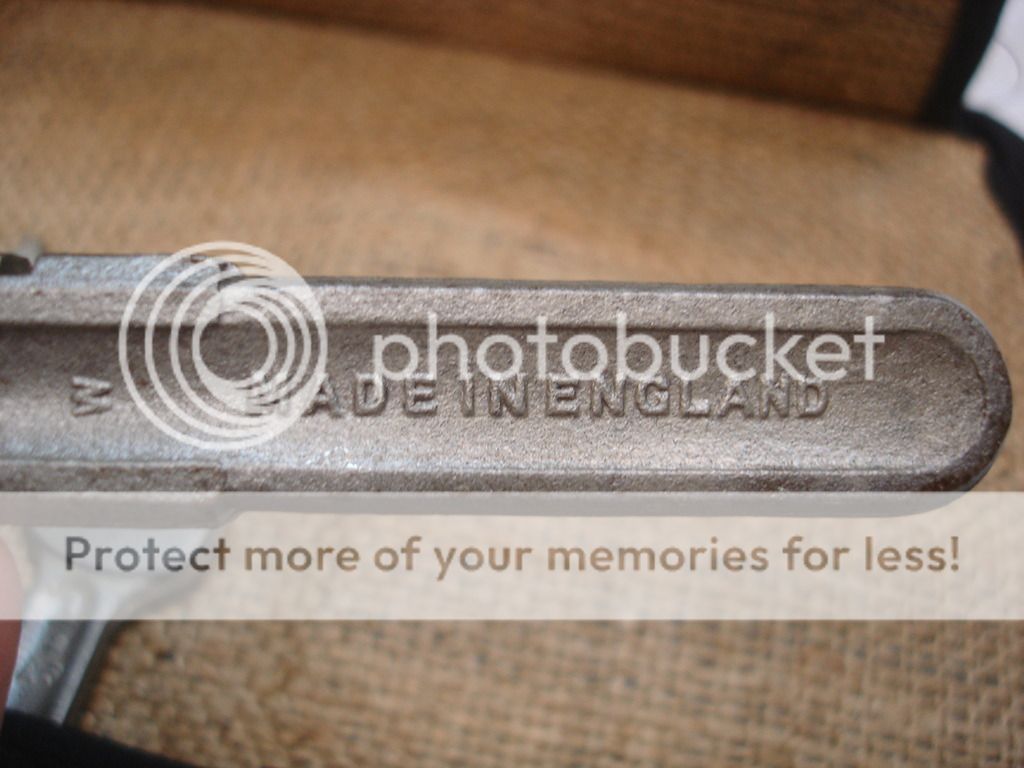
Adjustable wrench. OMG tools have come a long way in 60 years. I cannot imagine depending on these!
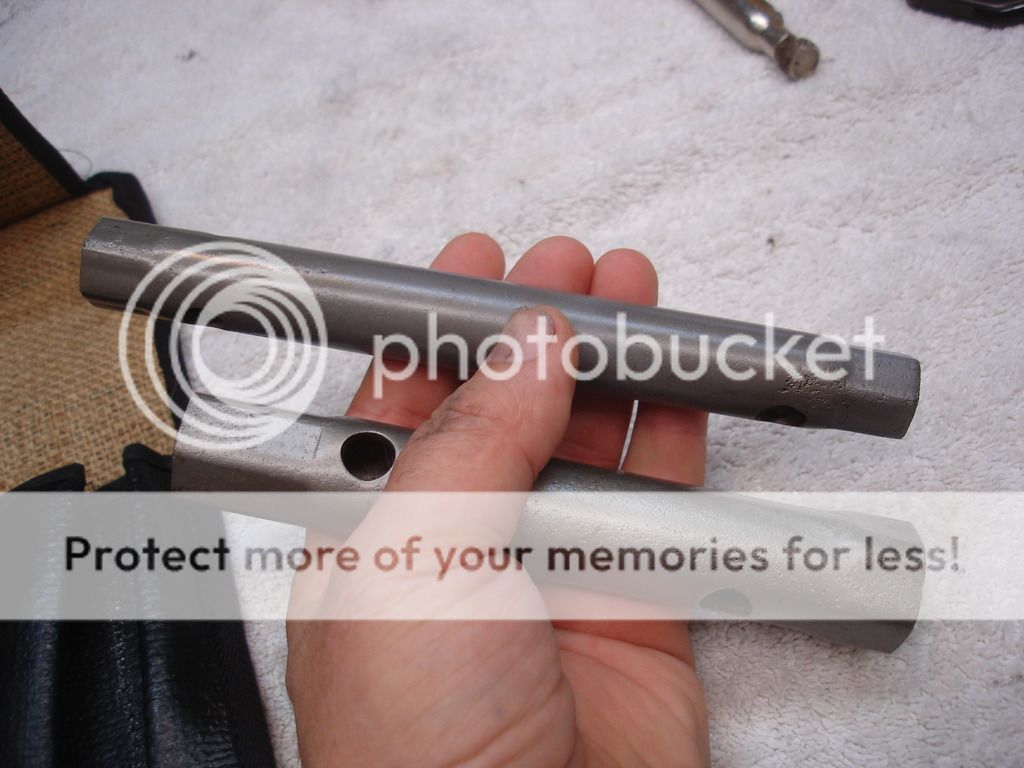
These are the "box" wrenches. My understanding is that the early ones are black oxide, versus the later clear cad plating. My car is close enough to the break that either should be correct?!?
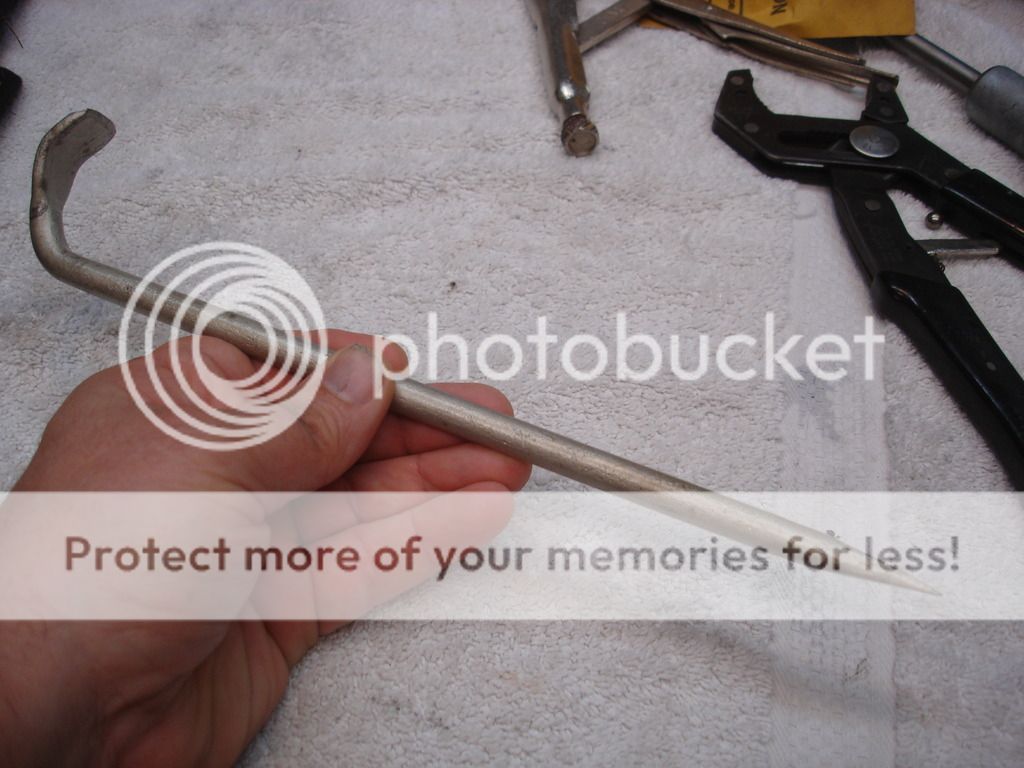
You guys will have to help me out with the correct nomenclature for this. A "T" iron??
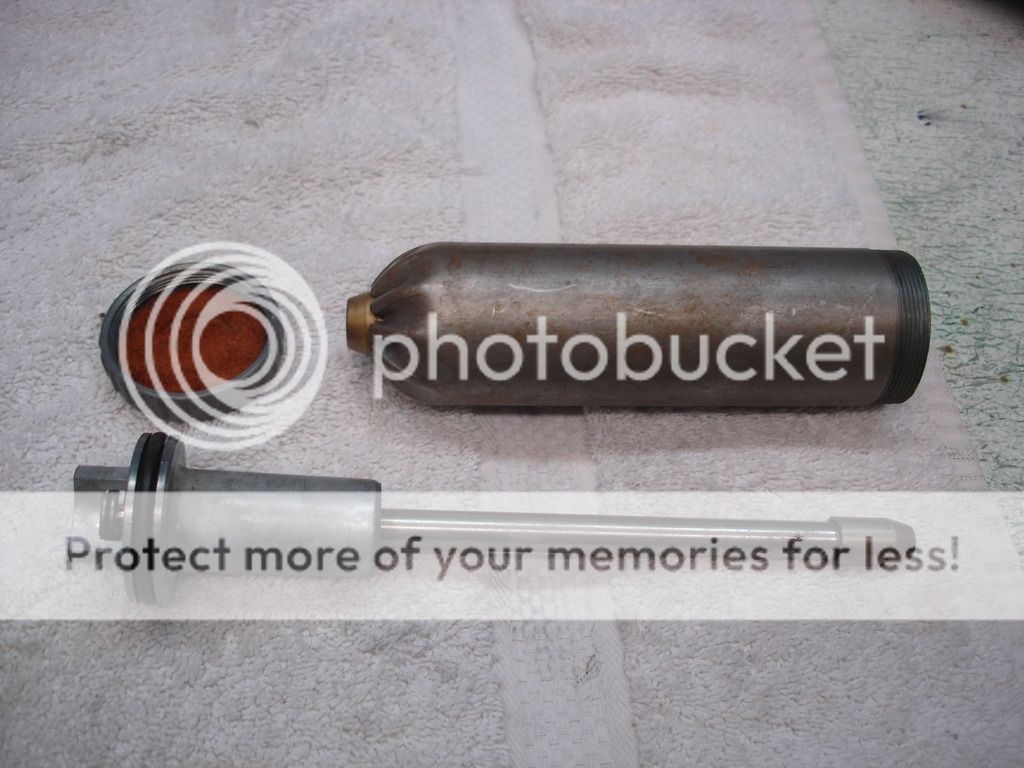
This is the Tecalimit grease gun. I think it is actually for a little later car than mine. I have a "correct" gun on the way, but will show this for anyone interested in how it looks and goes together.
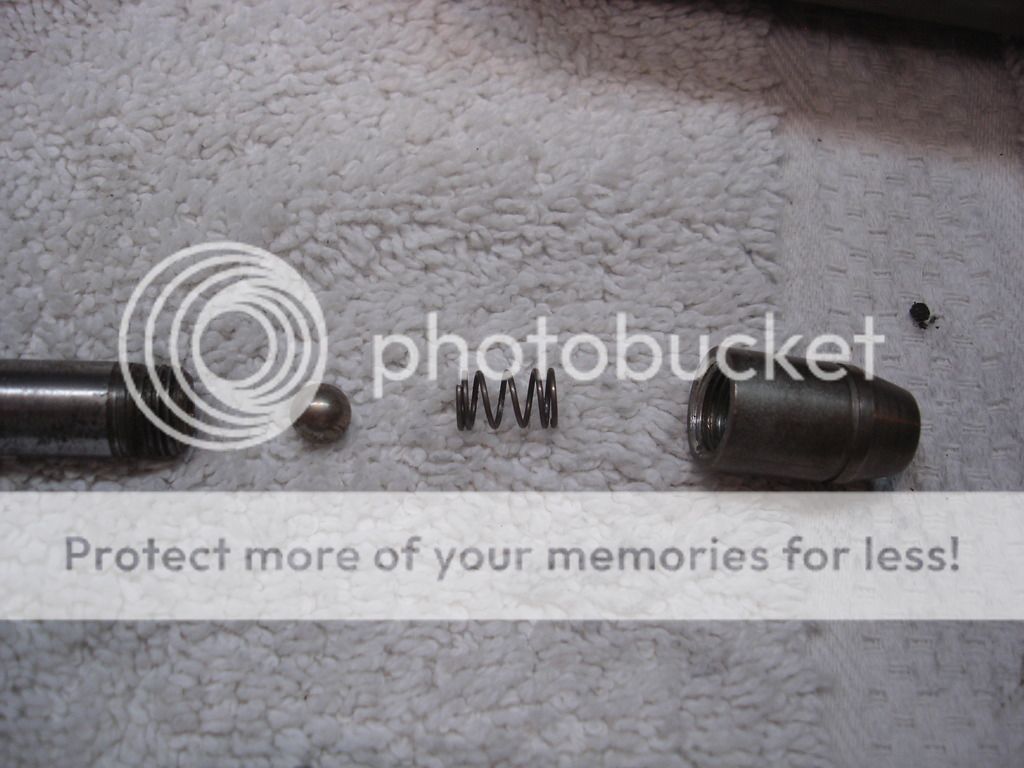
The tip uses a spring and check ball.
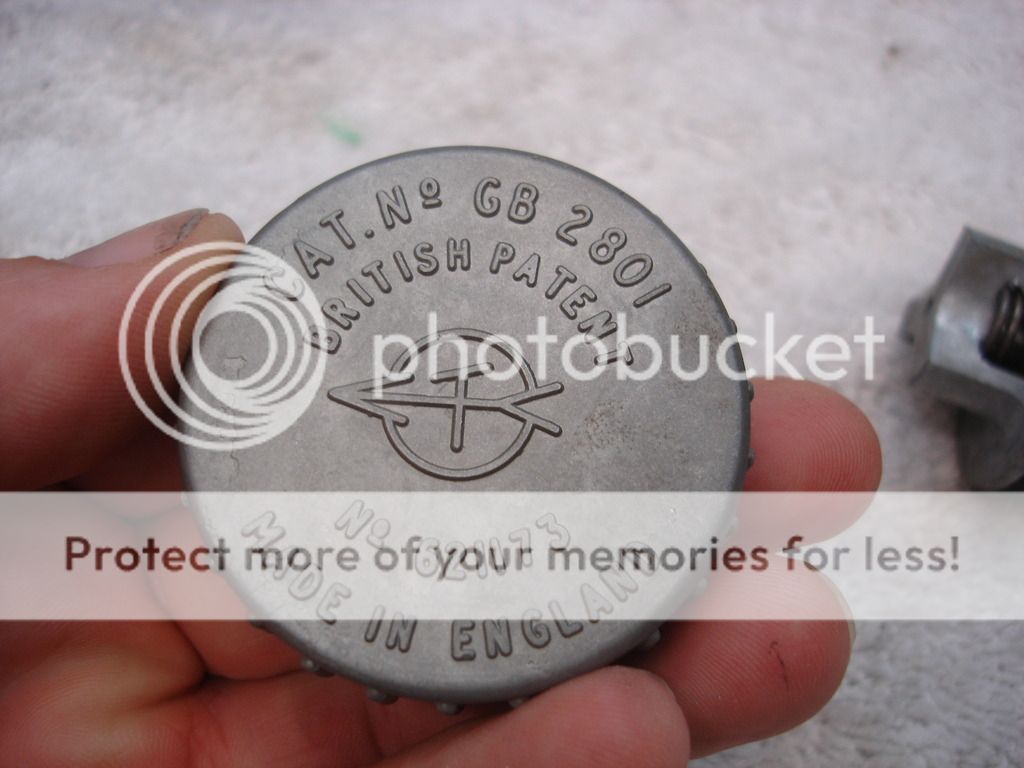
The cap stays natural pot metal color. The body will be painted a "hammerite" blue color.
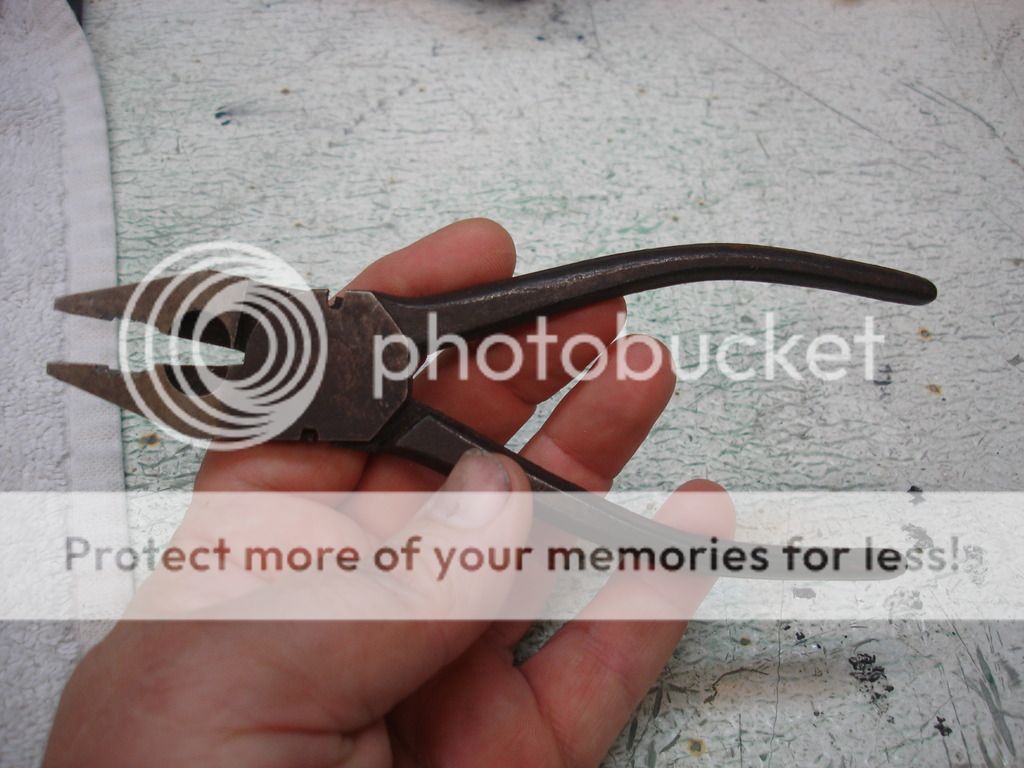
These came with the car...but I do NOT think they are original for our Triumphs. Let me know if I am wrong. There are no marking on these pliers at all.
That's it for tools for now. I will add the ones that are still in the works later...
CJD
Yoda
Offline

Now we will touch up some of the "originality" items that have been lingering in the build. Here I am taping to spray the "EB" plate above the battery tray. The EB should be painted body color. The plain plate remains natural.
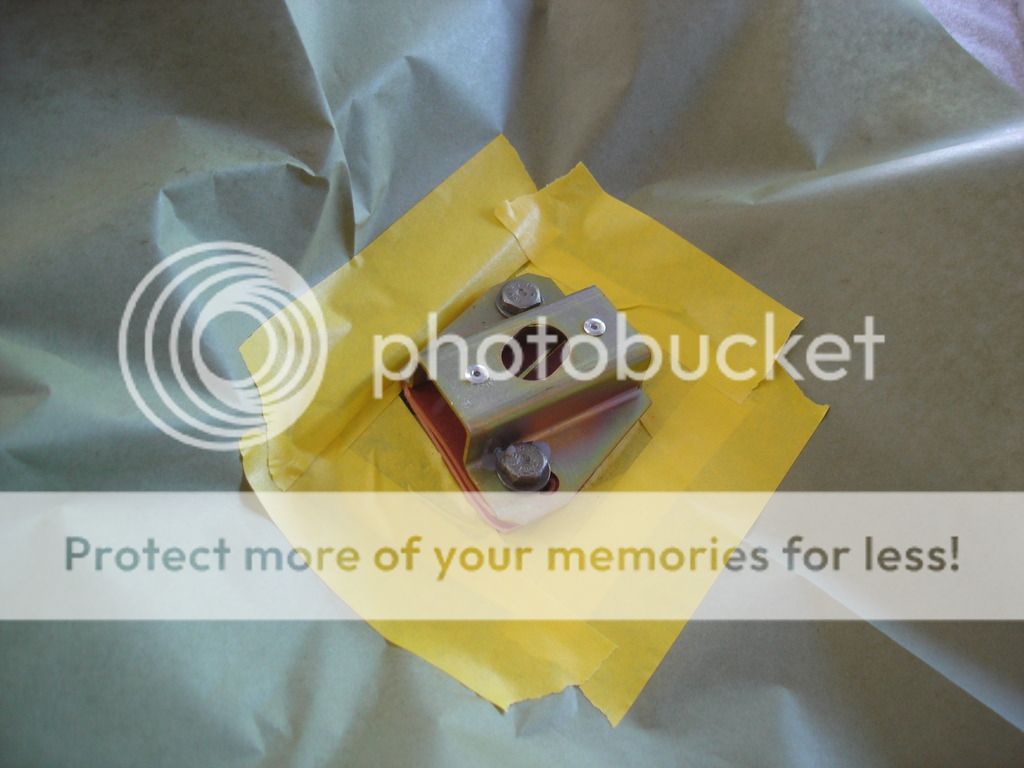
Taped off bonnet latch plates...also should be body color.
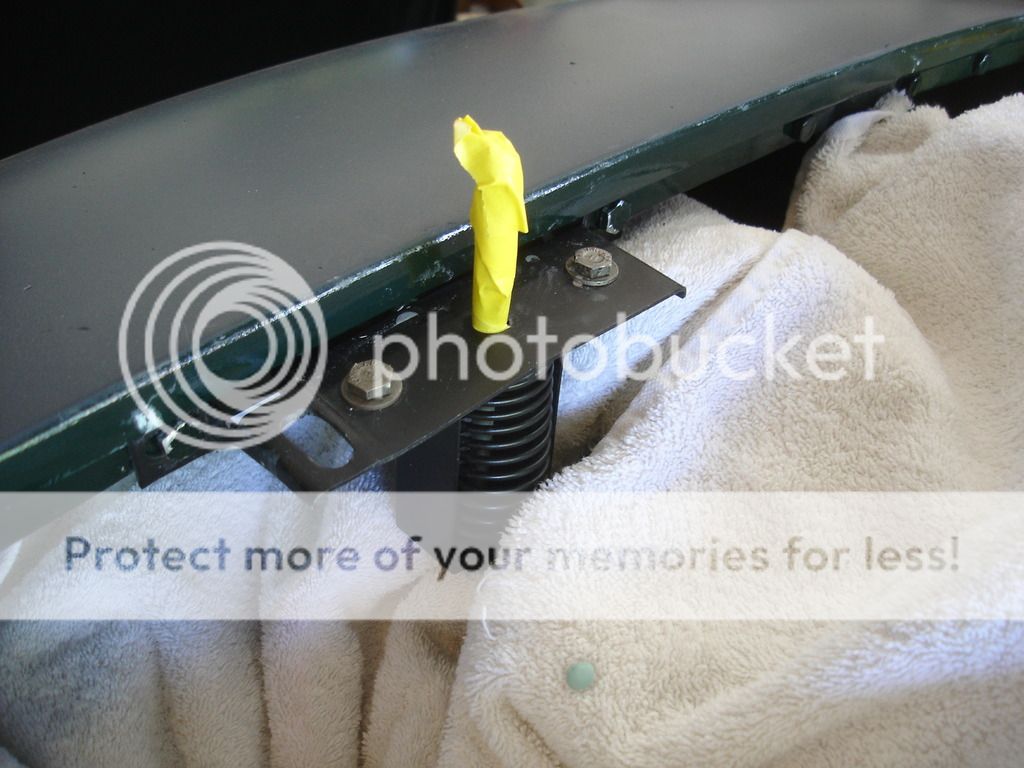
Multi-use spring plate...should be body color, or black. I chose to go body color, which appears to be the most common.


Rather than mess with base/clear, we'll spray using the one part "DCC" urethane color.

I apologize for the dust...I only cleaned what I needed to to spray, since the car will get dusty again from body sanding!?!




Here you can (just) see the cloth covered battery leads with rubber insulating caps installed.

Drew pointed out that I had mis-located the ground wire for the wiring harness at the regulator. It should go into the side of the battery box...this applies throughout the TR3A production. I also shortened the wires going to the regulator...to clean up the look a bit.
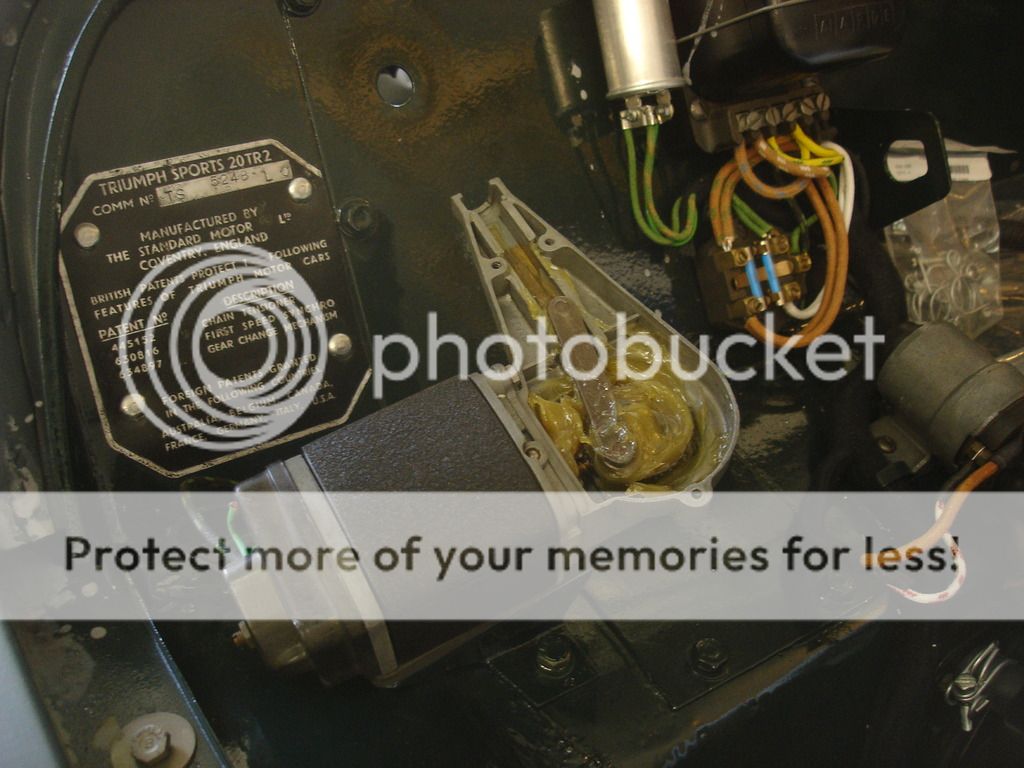
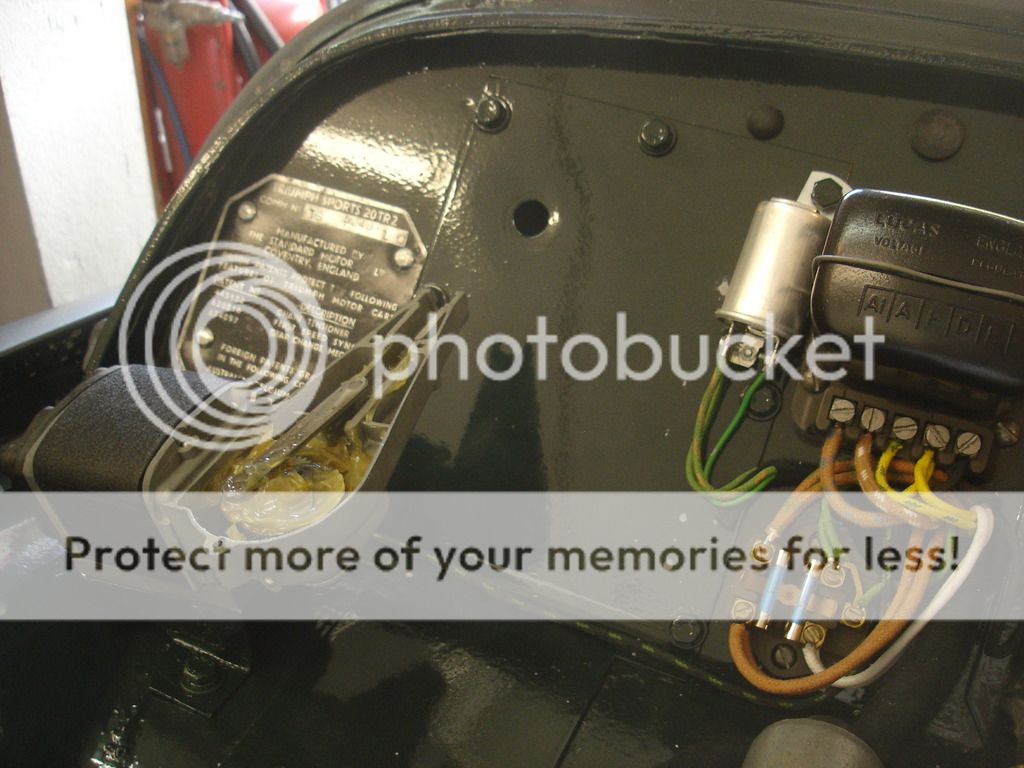
I had been waiting to spray the mounting plate for the wiper motor. Here the motor is mounted, and we need to assemble the wheel houses and cable. Notice plenty of fresh grease in the gear box.

The outer sheath has a collar that fits into the wiper motor box. The cable has a fitting that accepts the connecting rod.
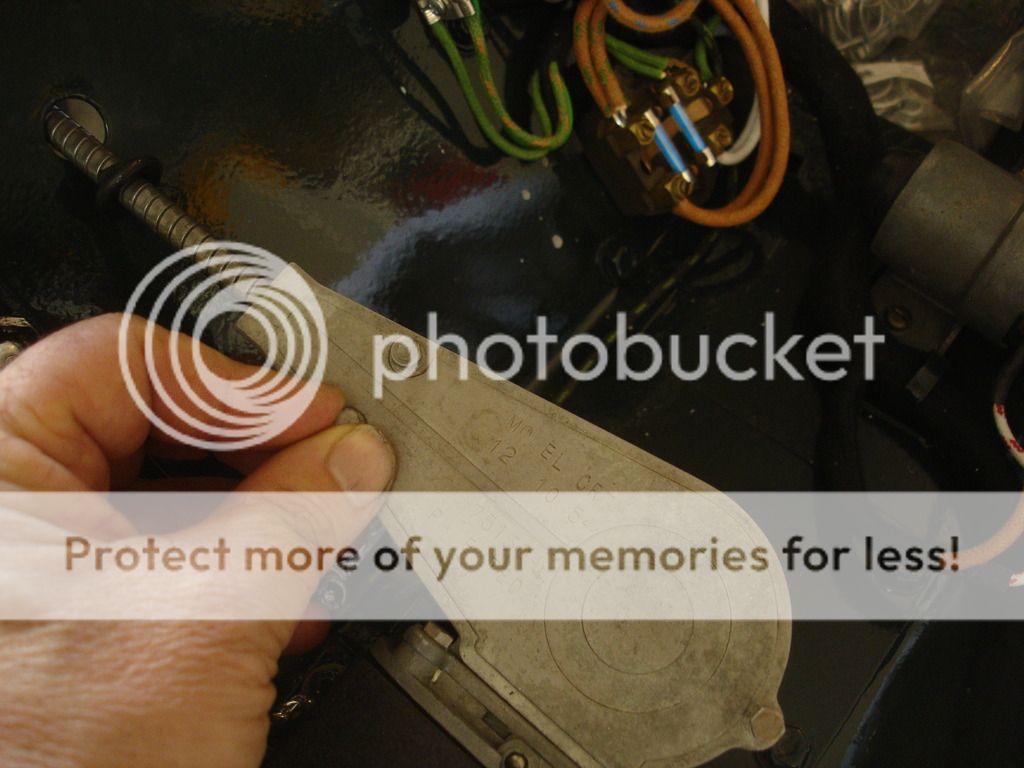
Then the plate can be installed to hold the parts in place.

5/8" grommet. It's new, but gets mangled with the large cable going through it...no matter how careful you are. At least the mangling does not show!?!
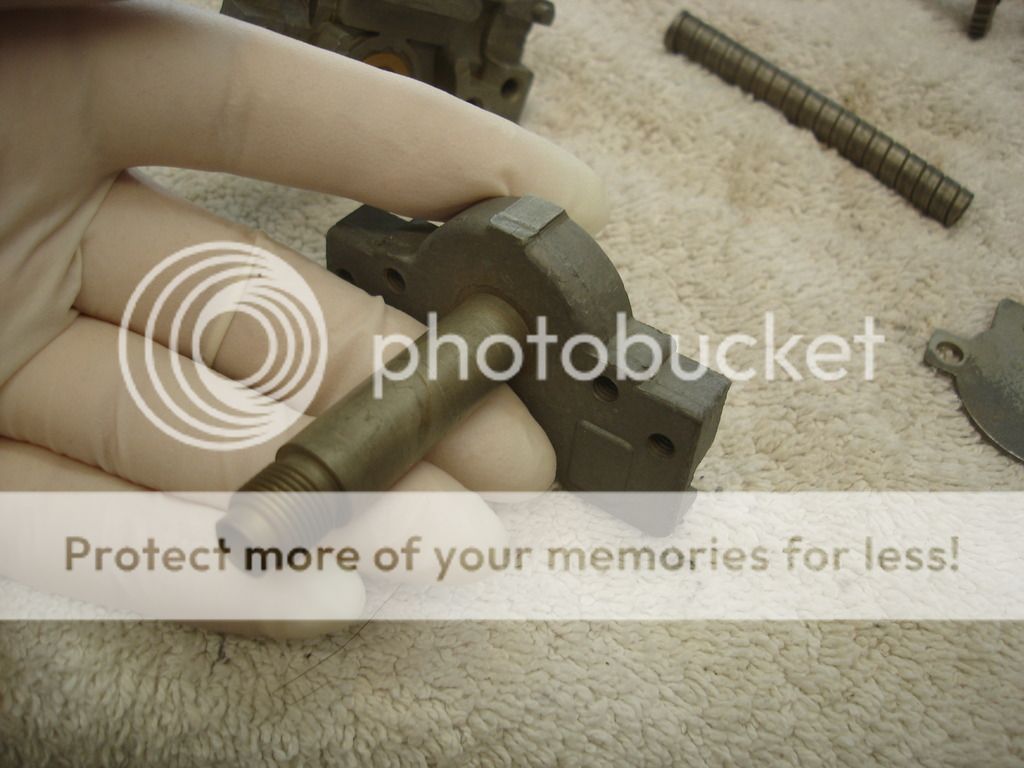

This is the early style wheel house.
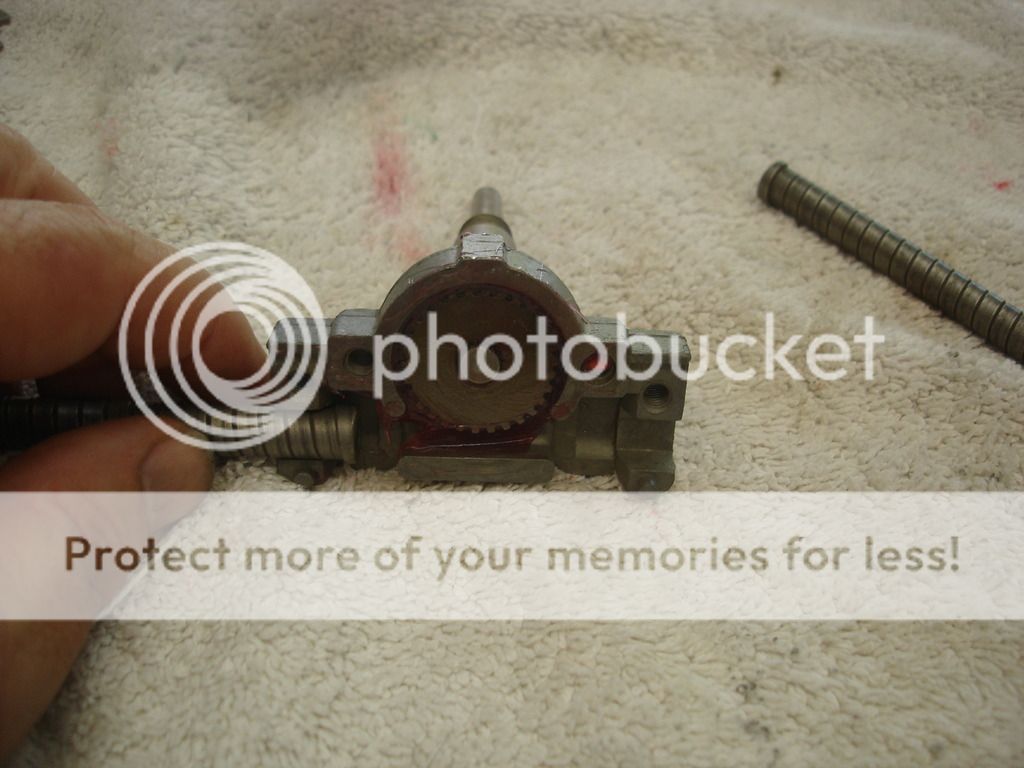
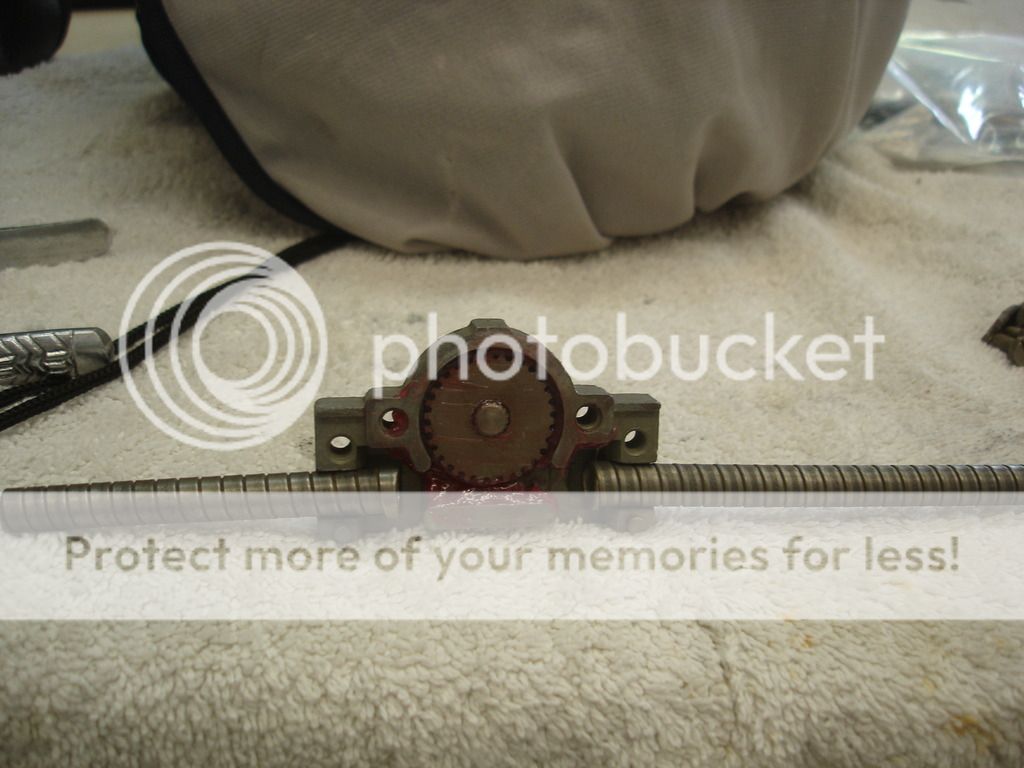
Here the gear/post is installed, and the outer sheathing is in place using small clamps. For now the clamps stay snug because...
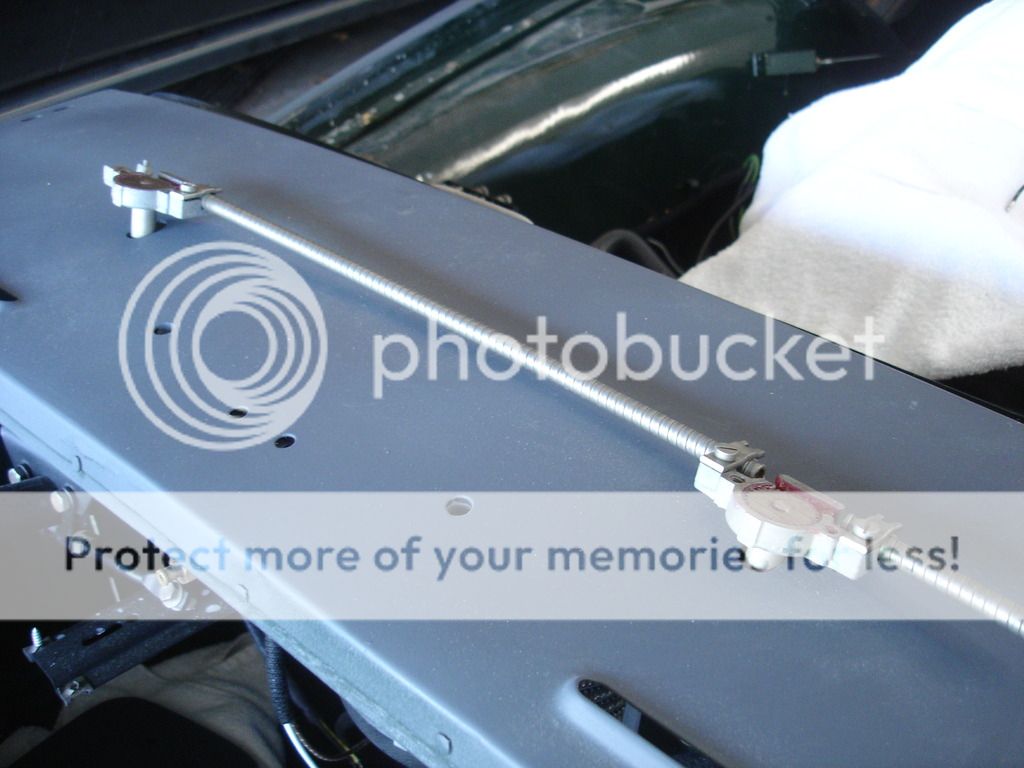
You must set the spacing between the wheel houses to match the spacing of the wiper holes in the scuttle. Once the spacing is good, you set it by locking the sheath into the wheel houses by the clamp screws.
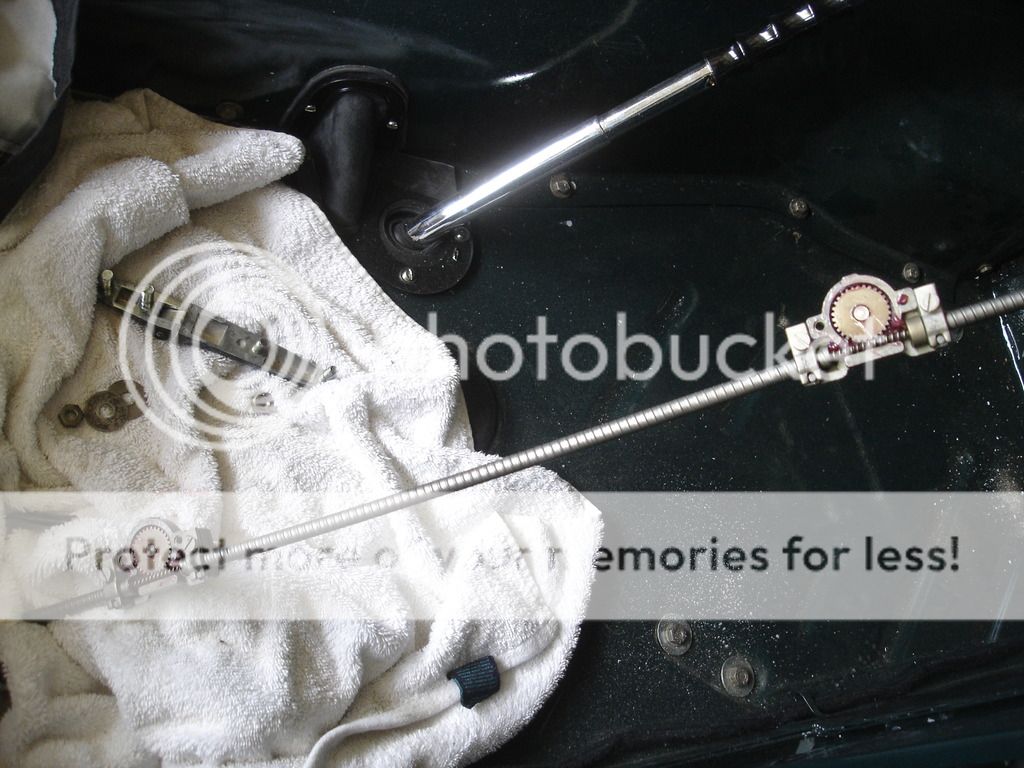
Now the wheel houses are attached to the cable and sheath from the wiper motor.
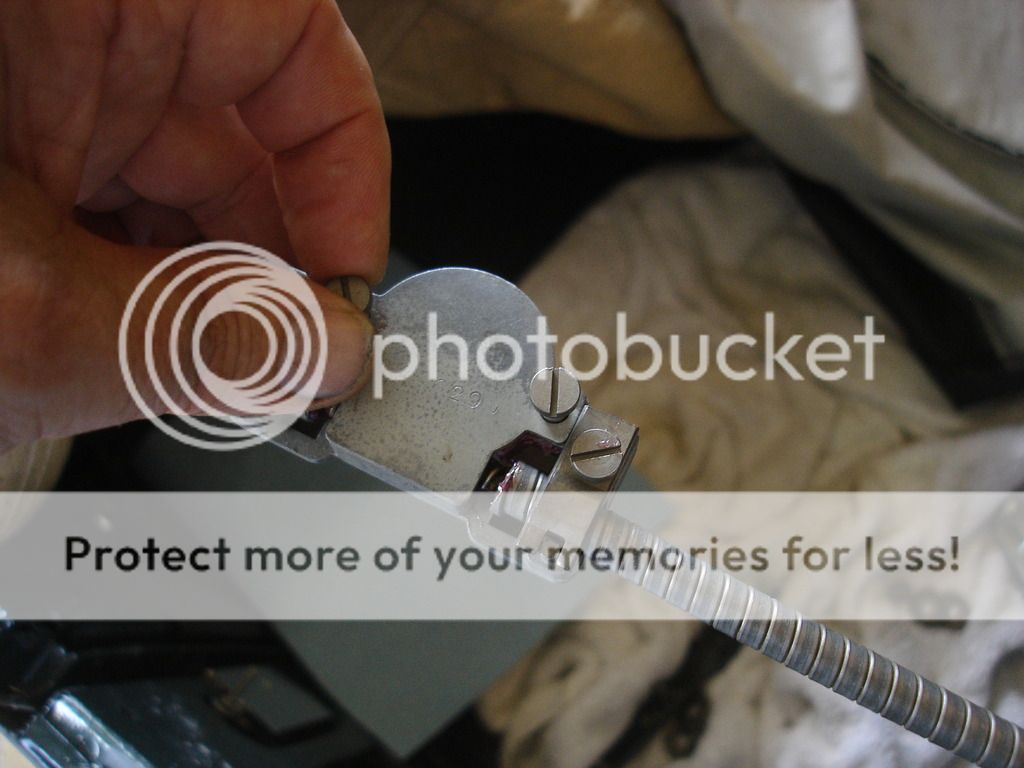
And the backs of the wheel houses get installed with 2 screws. Grease the wheels and cable, but not too much, as it will later drip on your carpet if you over-grease!


Finally for the week...Keith provided me with one of his fantastic decals to install on my breather cap! No more Land Rover sticker!
Well, that's it for another week. I'll have a few more tools, and then back to sanding on the bodywork thread.
Cheers!
kstanley44
Member
Offline
Nice job on the steering wheels John. I assume you did have to do some freehand sanding on the grip bumps on the backside. My understanding is my adjustable wheel has even more grip bumps. Any problem there? Thanks,
CJD
Yoda
Offline
Hey Kerry,
Your right! You have to sand the back of the wheel by hand, and be careful as you work around the finger bumps. It doesn't take a whole lot to sand them completely off. The worst is when the filler is on or adjacent to a bump. You have to use a small stick of wood or such as a block for the paper as you work the filler down without hurting the bump.
If you look closely at some of the Ebay wheels, you will see a few where the bumps got sanded off! I suppose you could add them back with filler...but I chose to avoid them.
I do have an adjustable wheel that came with Marv's donor car, but I haven't taken the time to look at it closely. At some point, after the car is on the road again, I will study what it'll take to swap in the adjustable wheel. Since it is on a split column, and my car has a solid column, I figure it'll take some work/parts to install it. So many projects on the back burner!!
CJD
Yoda
Offline
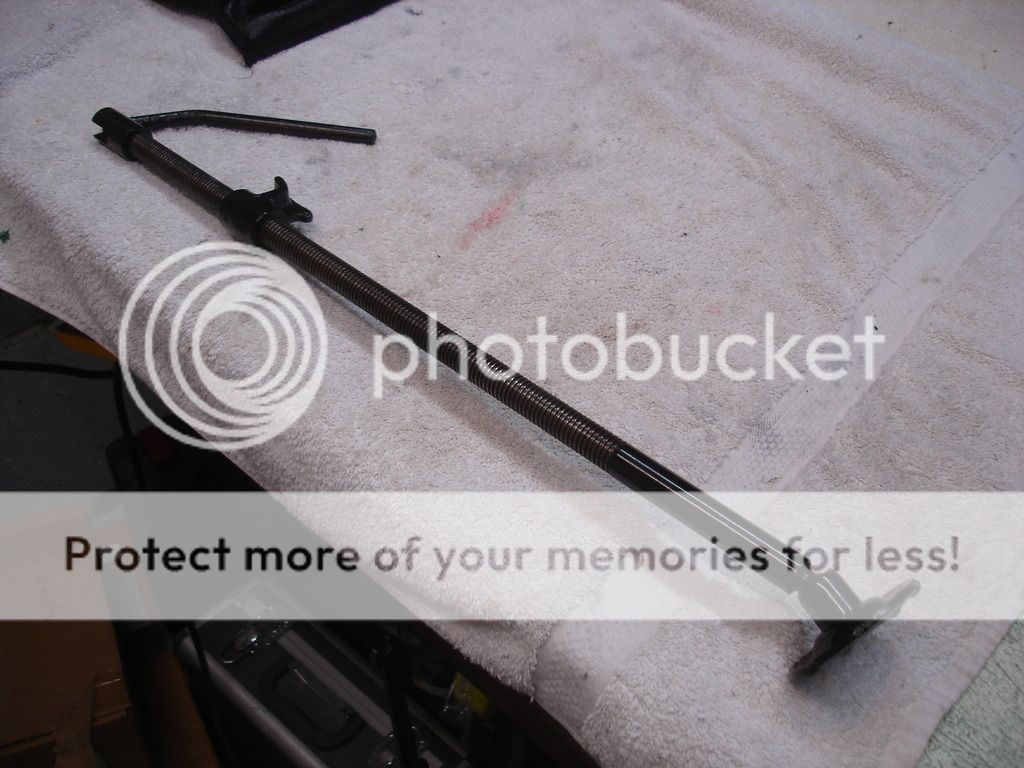
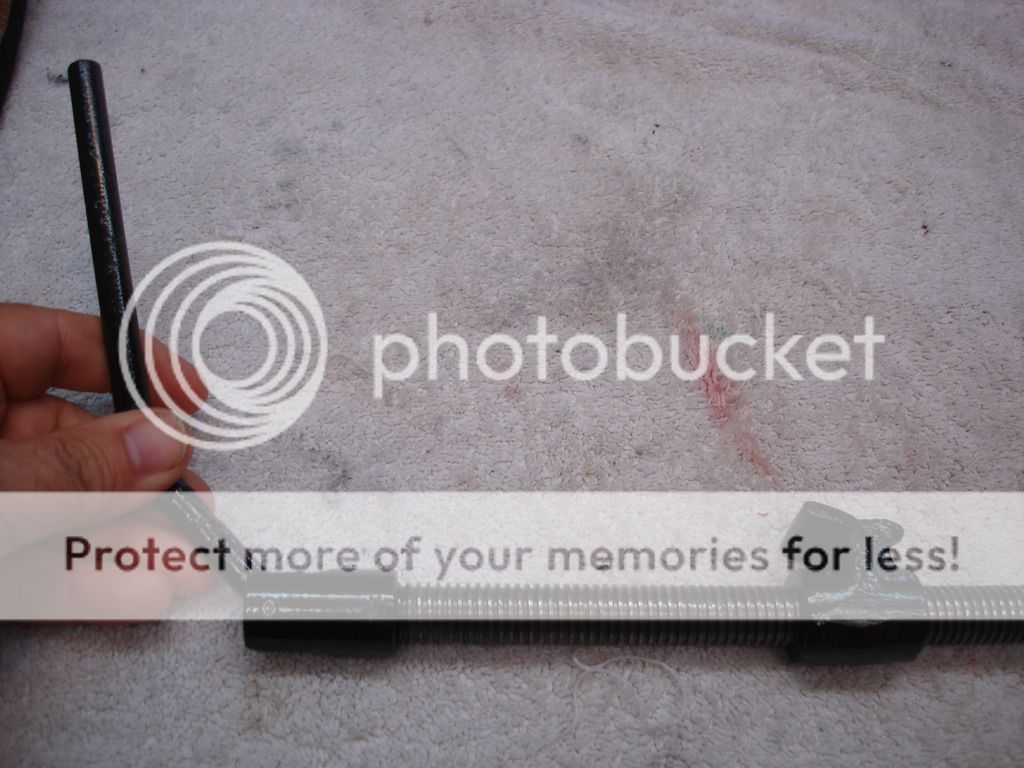
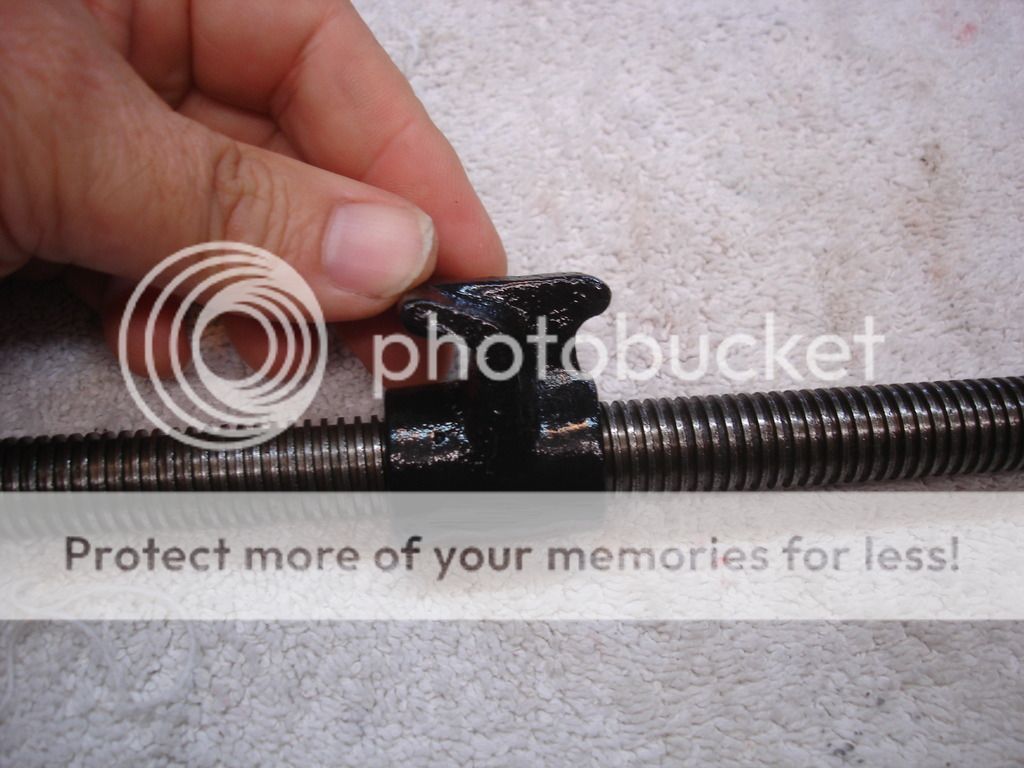
Here's a tool you won't find...anywhere! This is the original TR2 flimsy jack. This is the jack that the car kept falling off. Standard never admitted a fault, but replaced it with the later, and more substantial, later jack.
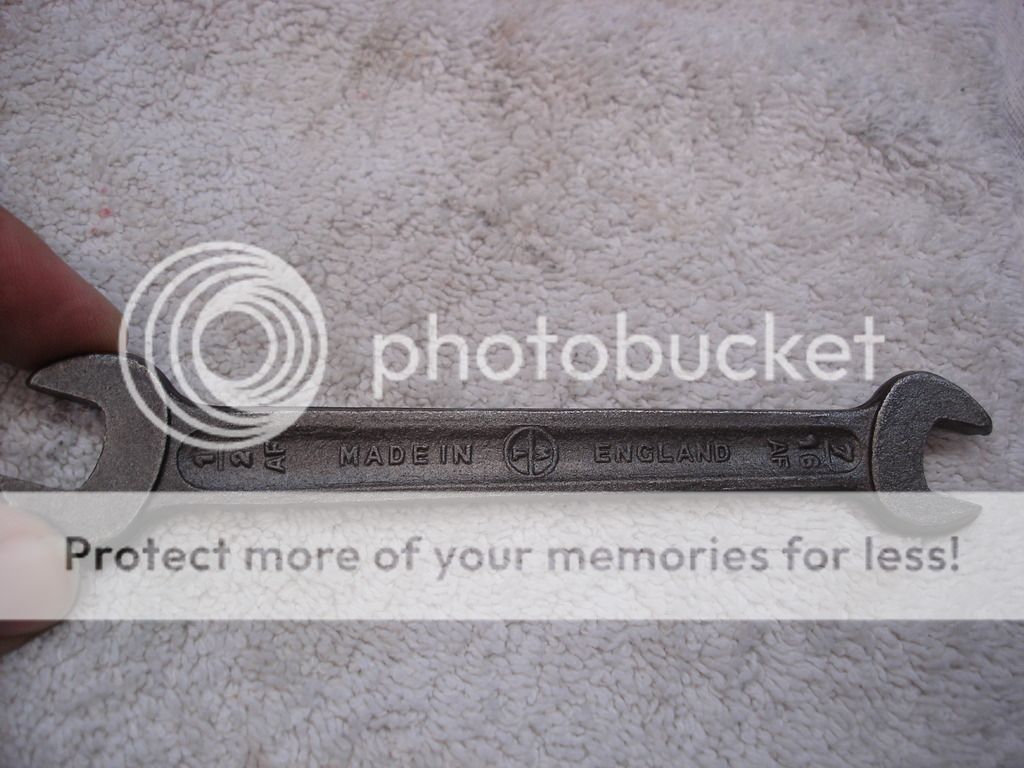
I got the final of the open end wrenches from Ebay...the 7/16 by 1/2"



The H4 carbs and linkage are now hooked up. Getting the accelerator pedal to line up correctly was a challenge. I had to "unpin" it from the throttle cross bar and heat it red hot to bend it into the proper shape. It took several iterations, but now the pedal lines up perfectly for the old "double footing" technique with the brake and throttle.
CJD
Yoda
Offline
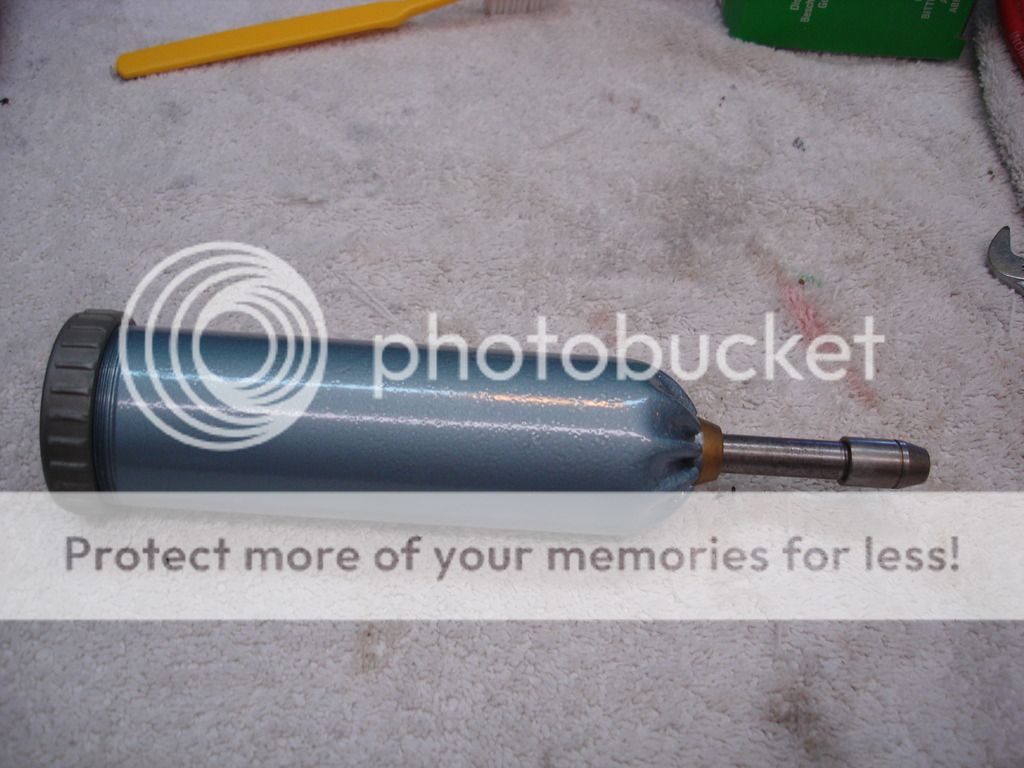
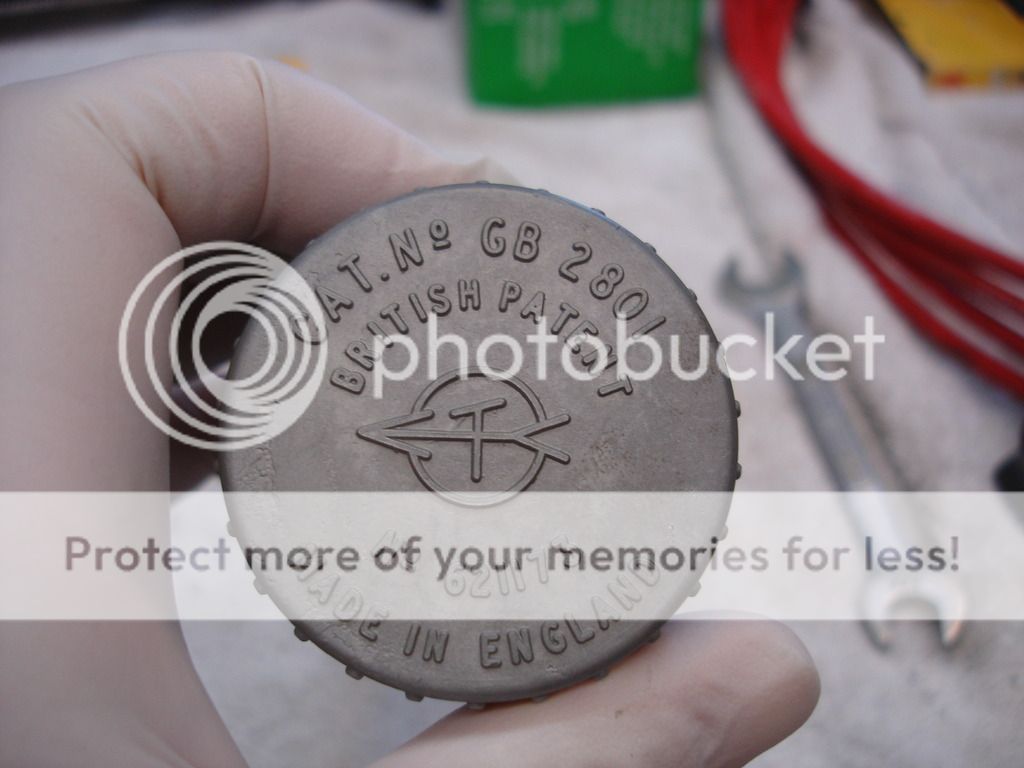
So, continuing with the "proper" tools for our old cars. This is the "later" grease gun. I am pretty sure it was introduced late in the TR2, and continued through the TR3B production. Somebody correct me if that's wrong!?! I have been told that my car shouldn't have this one, but I think I'm in the changeover range that could use this one or the earlier Enot 1D gun. Anyway, since I had already started this gun's restoration, I went ahead and finished it off. The hammered blue paint had to be ordered. Blue, black and gold hammered paint is easy to find, but the hammered blue is a bit more difficult.
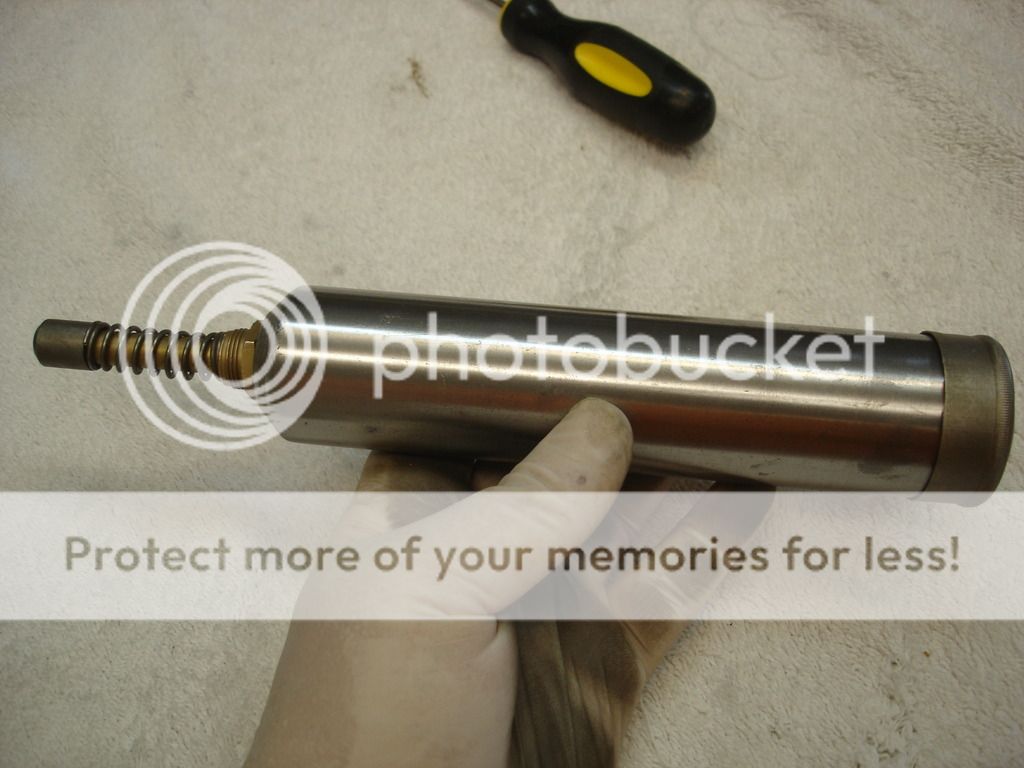
And...straight from the good ole' UK...an original Enot 1D grease gun. It came in pretty rough shape. Here I have cleaned it up and removed the dozen dents it came with. The original color is a black oxide...or a "gun blue" color. I will now have to order a bluing kit for it...unless anyone else has an easy way to get that black metal look??
Let's dissect the gun, like we did the Tecalimit gun:

The cap is not a screw on, but simply presses on the end of the gun.

With the cap off, you see this plug and chain inside. The chain helps you remove the plug to load the gun with grease.



I tried to remove the tip end. The tip unscrews and the spring comes off...but beyond that it appears the gun is crimped together and not removable.
As with most Ebay transactions, I now have the missing tip cap on order. I'll show the finished gun once I get the tip in from...you guessed it...the UK! These Brexits exchange rates are a real boon to finishing off a restoration!
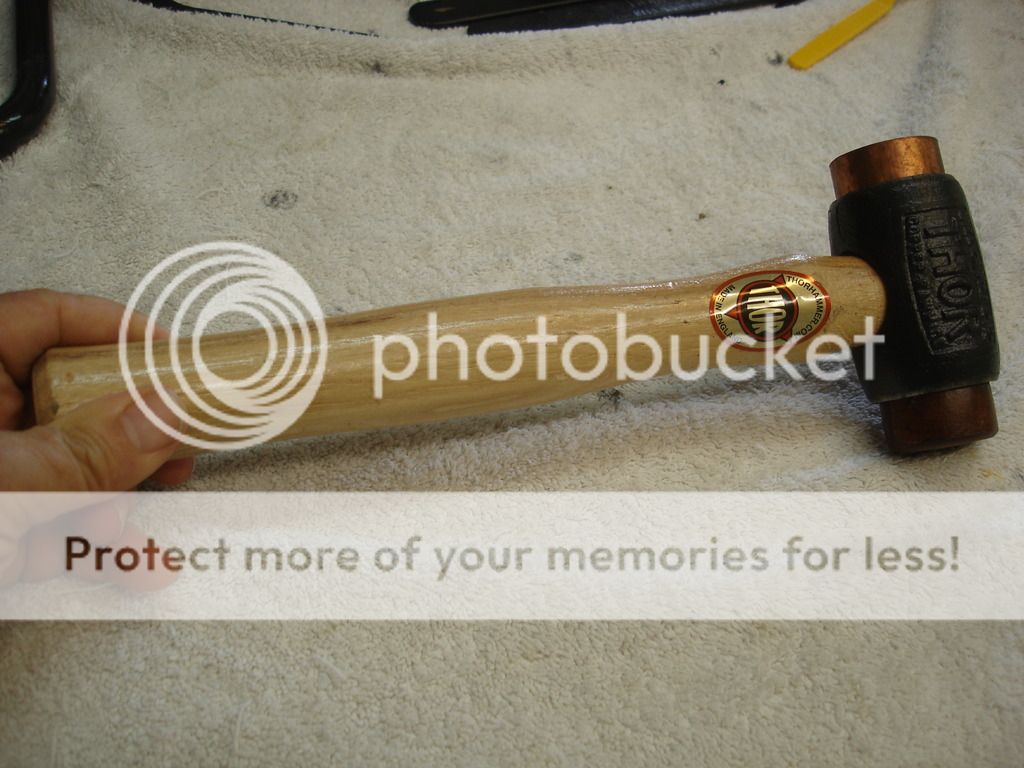


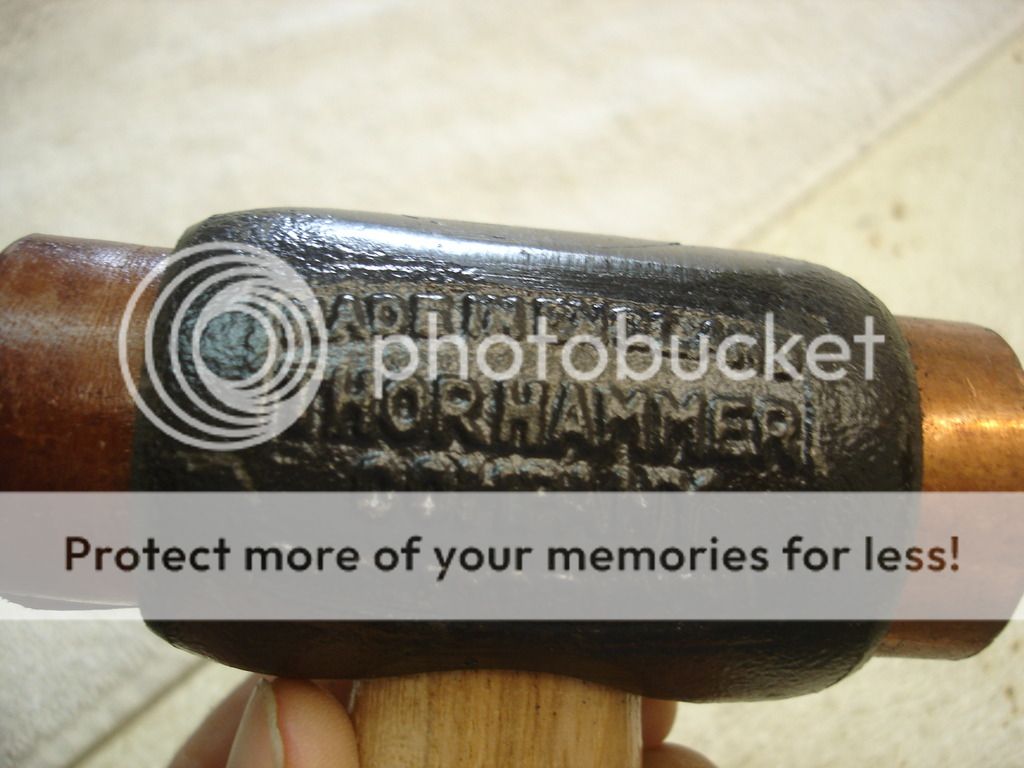
This is a repro of the original "Thor" knock off hammer. One side is solid leather, to prevent marring your knock-offs. I am not sure what you would use the copper side for...as it would mar the chrome if you used it. The Judging guide states that the "Thor reproduction hammers are acceptable".
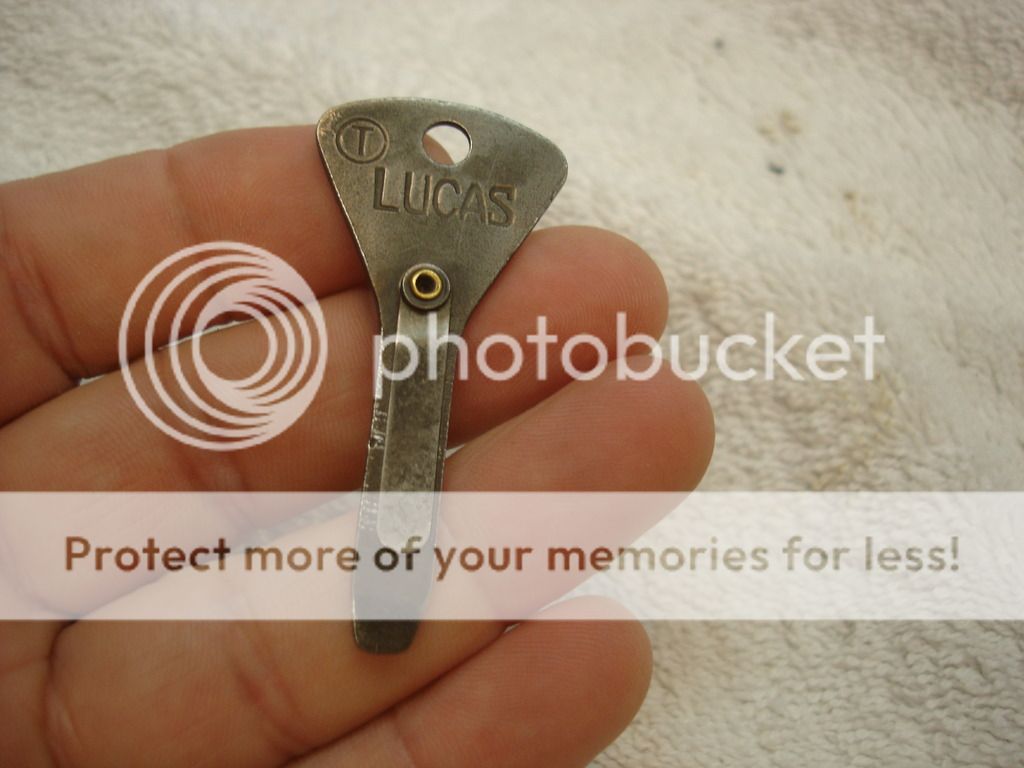
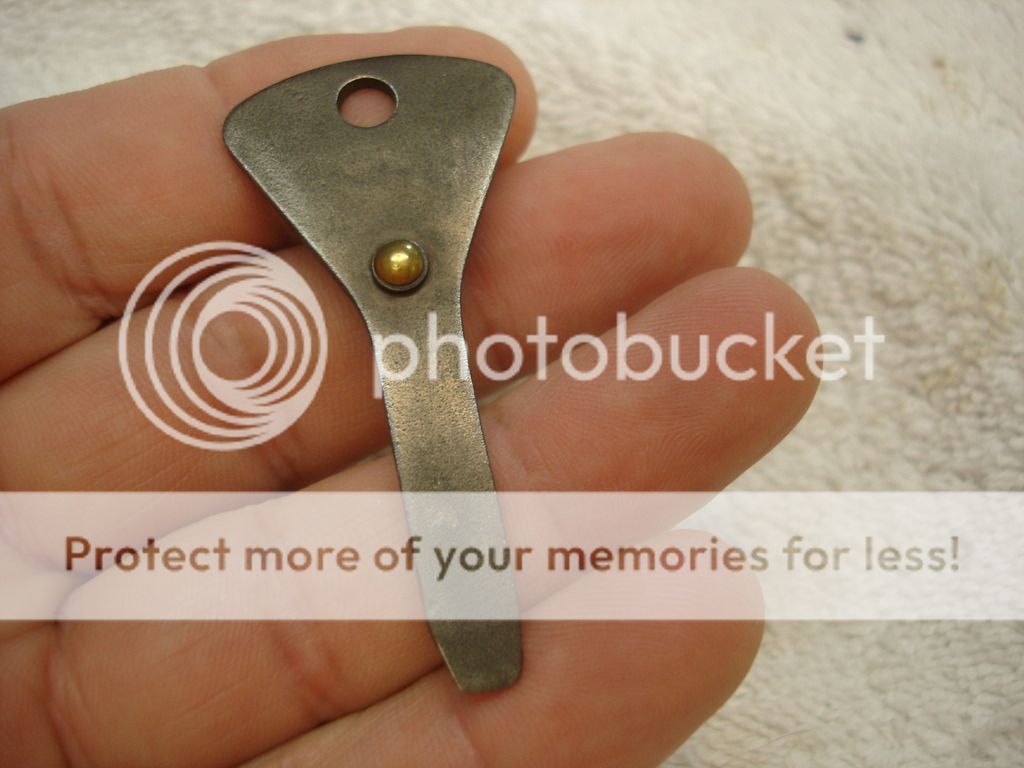
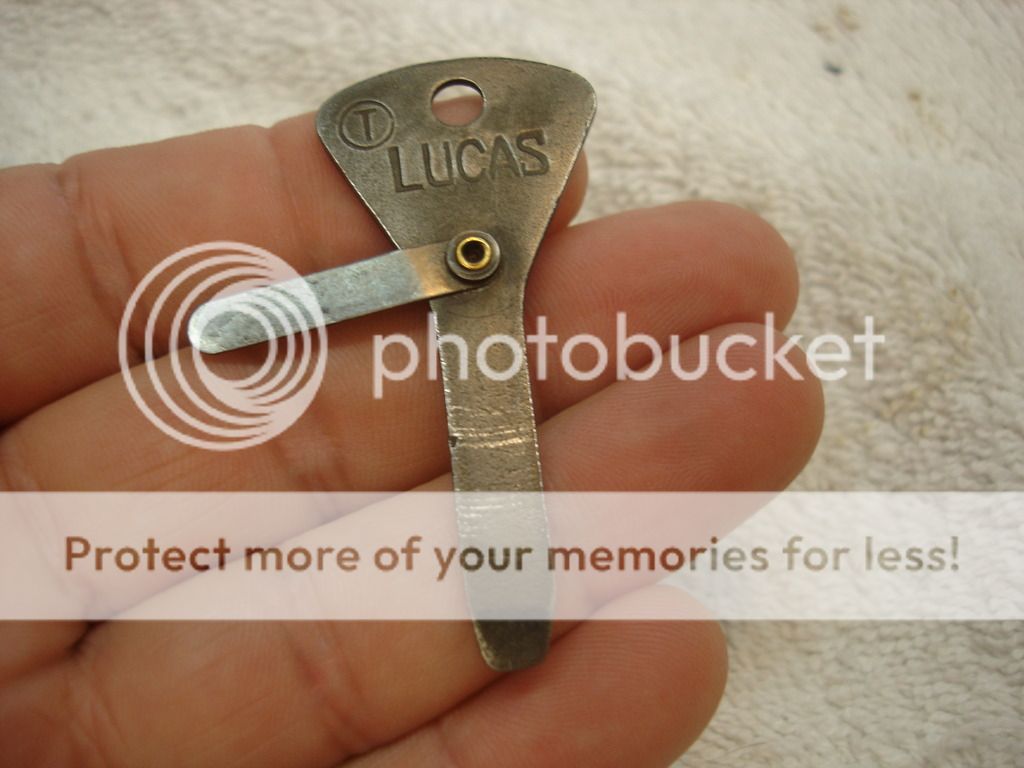
This is an original distributor tool.

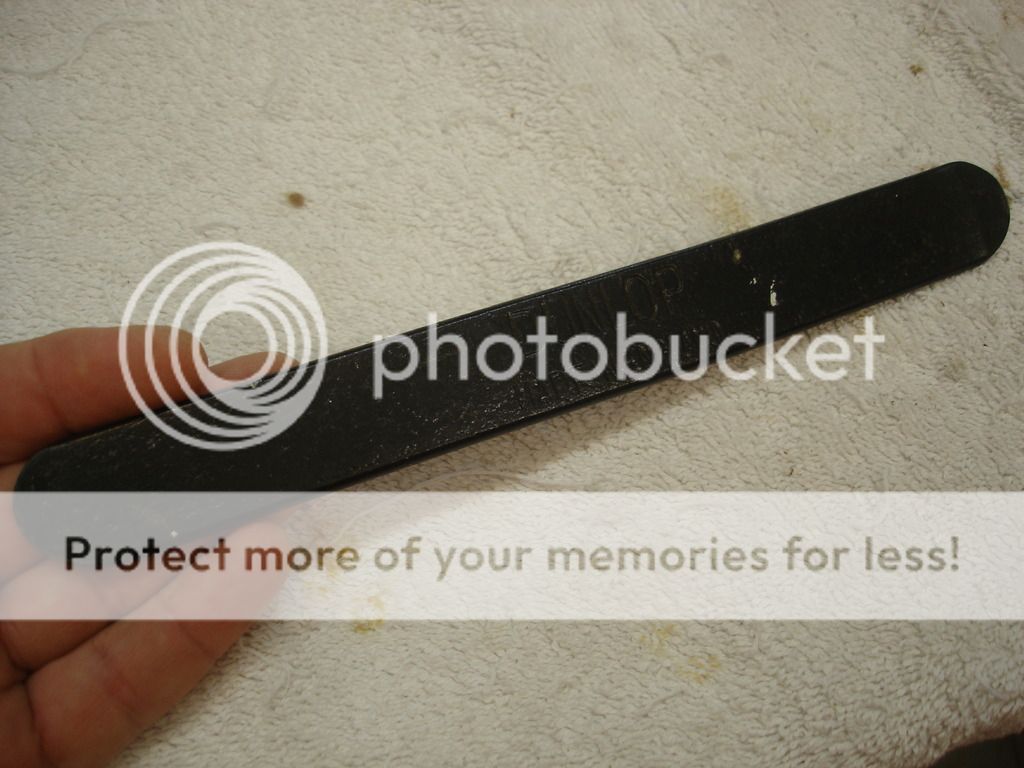

These "tire irons" were also standard in all TR2/3 tool kits.
After having changed TR2 tires by hand...I cannot imagine trying to remove a tire from a rim on the side of the highway using these little irons. Perhaps men were made of harder stuff in the 1950's!?!
So, that completes all the standard tools for a typical TR2/3 tool roll, with 2 exceptions. I am now only missing the little brass tire valve stem removal tool, and the "helicopter" STandard Triumph feeler gage. The ones on Ebay right now are asking $50. If you have seen them in person, $10 is asking a lot for these little gems. I will wait out the high dollar parts, as I am sure I will eventually find a decently priced set.
In closing, there is one more tool that is not at all standard in the car tool kit, but is a real time saver when doing your annual tune-up...
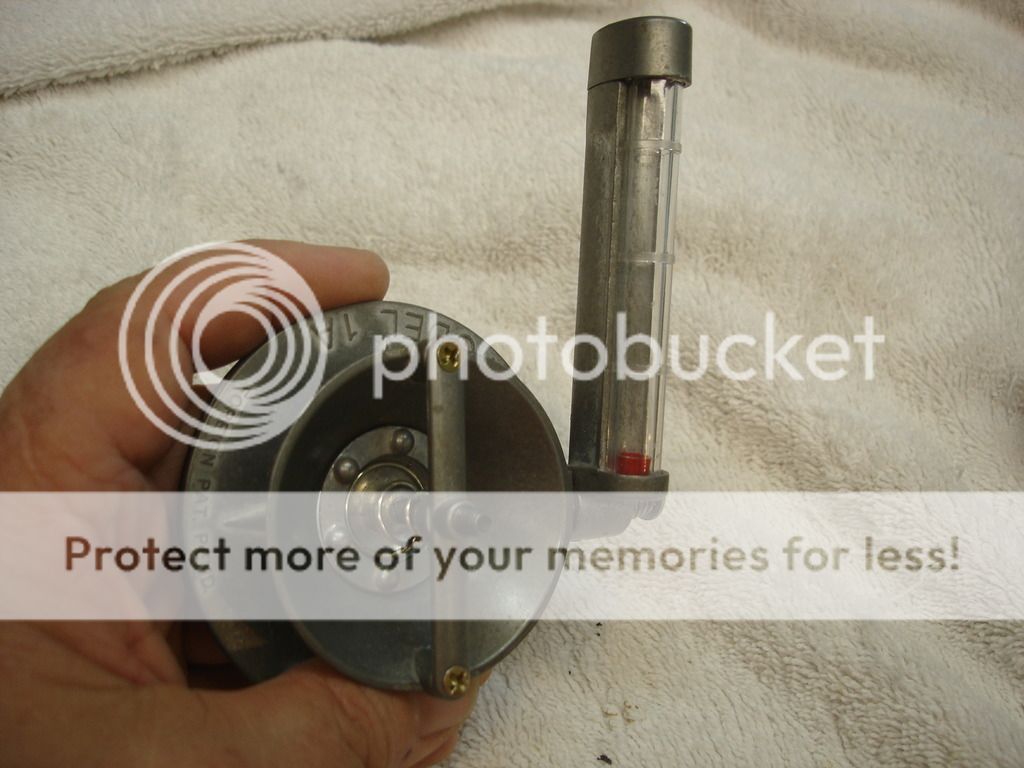

This runs about $29 if you wait on Ebay, and it is awesome! Instead of using tubes and leaning your ear into your engine to "guess" the carbs are set to an equal idle, this tool easily tells you immediately the exact idle load each carb is pulling. No guessing, no TLAR. For what you pay for most tools, this one is well worth the cost!
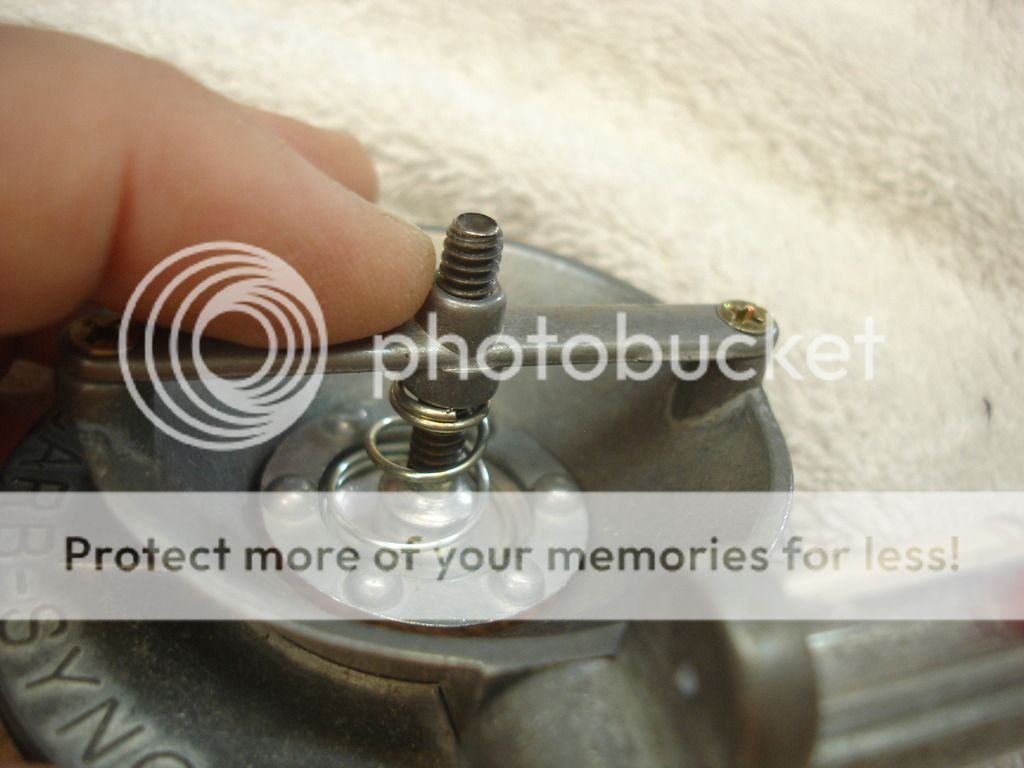
The little screw on the back sets your range, so on the first carb you can use it to center the manometer bubble. Then compare to the second carb and adjust as needed. Then adjust your idle back to 5-700 and repeat the manometer check. You end up with 2 perfectly balanced carbs, so acceleration is instantaneous, with no hesitation as the lower working carb works past the inertia to come on line.
Anyway, that's it for the week. The weather has not cooperated for bodywork. Maybe next week. Still no word from Skinner, but my interior is due soon.
Cheers
Hello John
One place I worked used the following method of blacking steel.
Polish the piece.
Have a container of used engine oil.
Heat the part hot enough that it will smoke when plunged into the oil.
Repeat the heating and plunging several times till the desired colour is achieved.
David
One place I worked used the following method of blacking steel.
Polish the piece.
Have a container of used engine oil.
Heat the part hot enough that it will smoke when plunged into the oil.
Repeat the heating and plunging several times till the desired colour is achieved.
David
CJD
Yoda
Offline
Back to putting together parts...
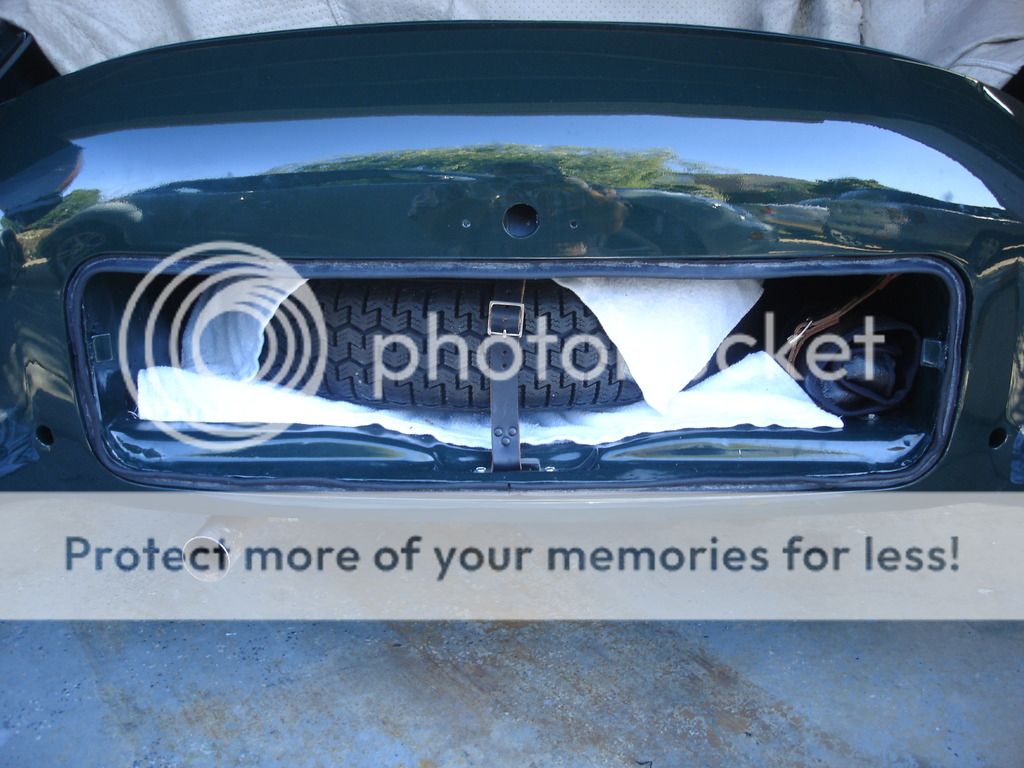
Spare tire cover seal. The larger edge goes inward.
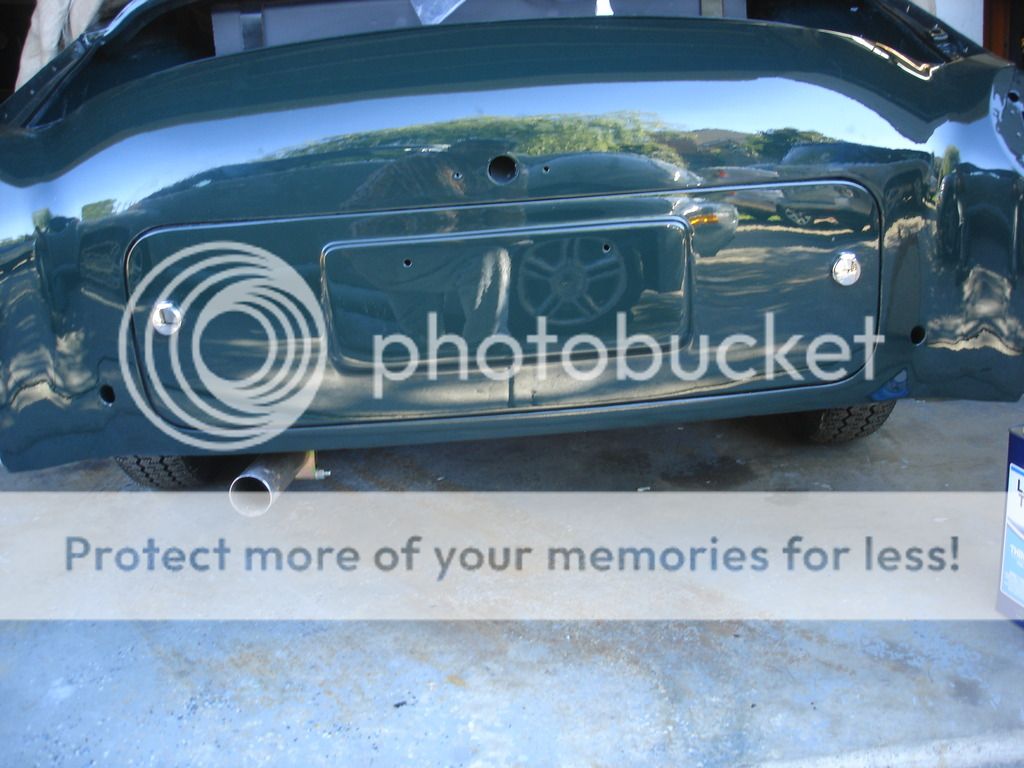
Lock covers.

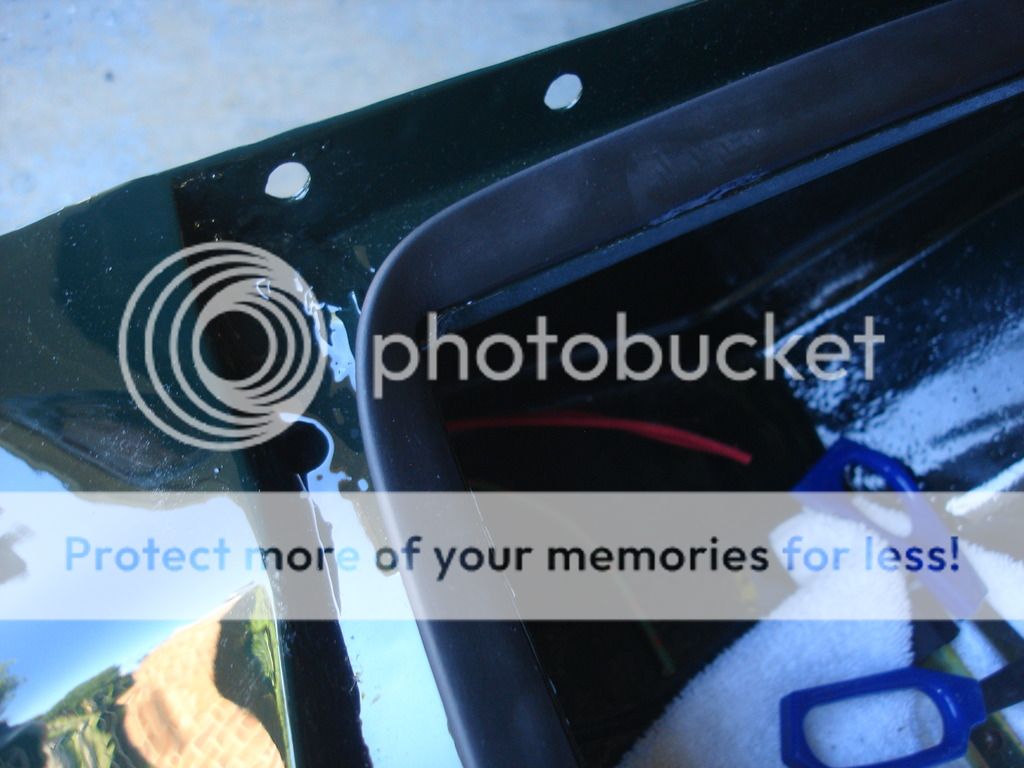


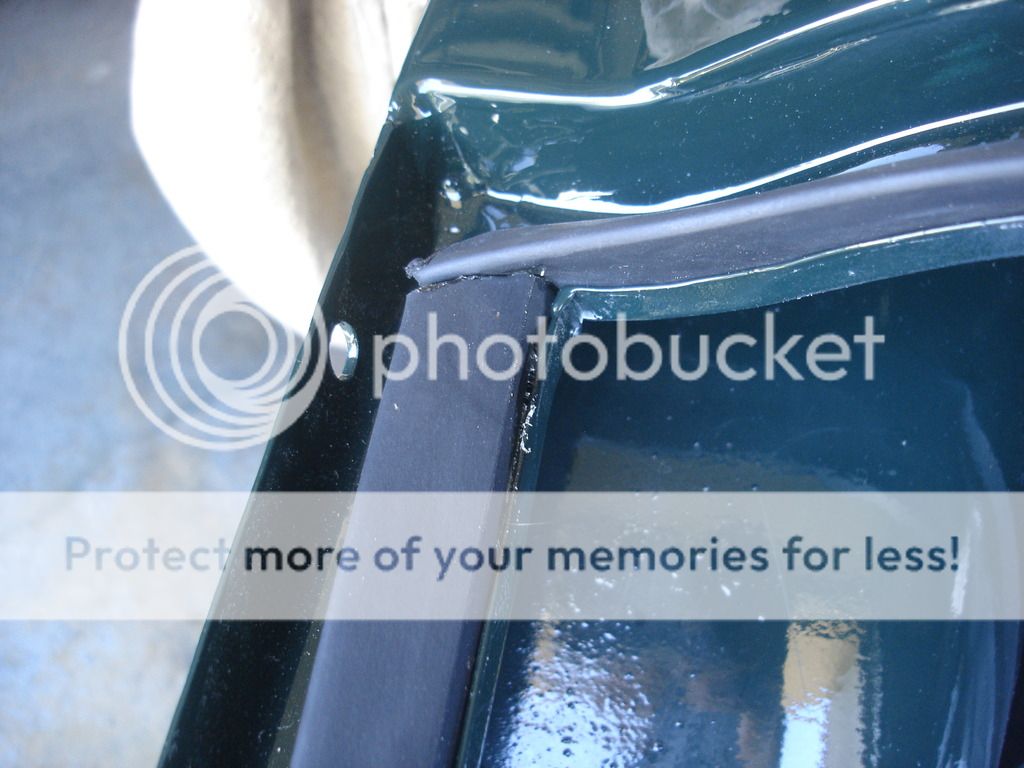

Boot lid seal. The lip goes inward at the top, and outward everywhere else.

Boot lid hinges.
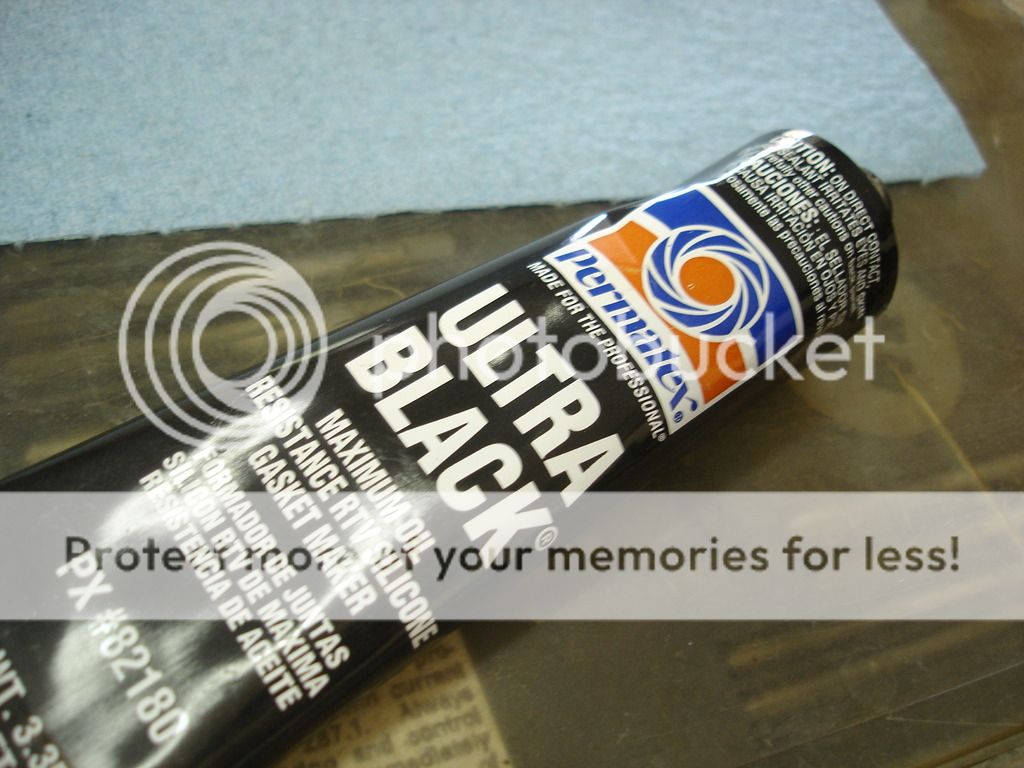


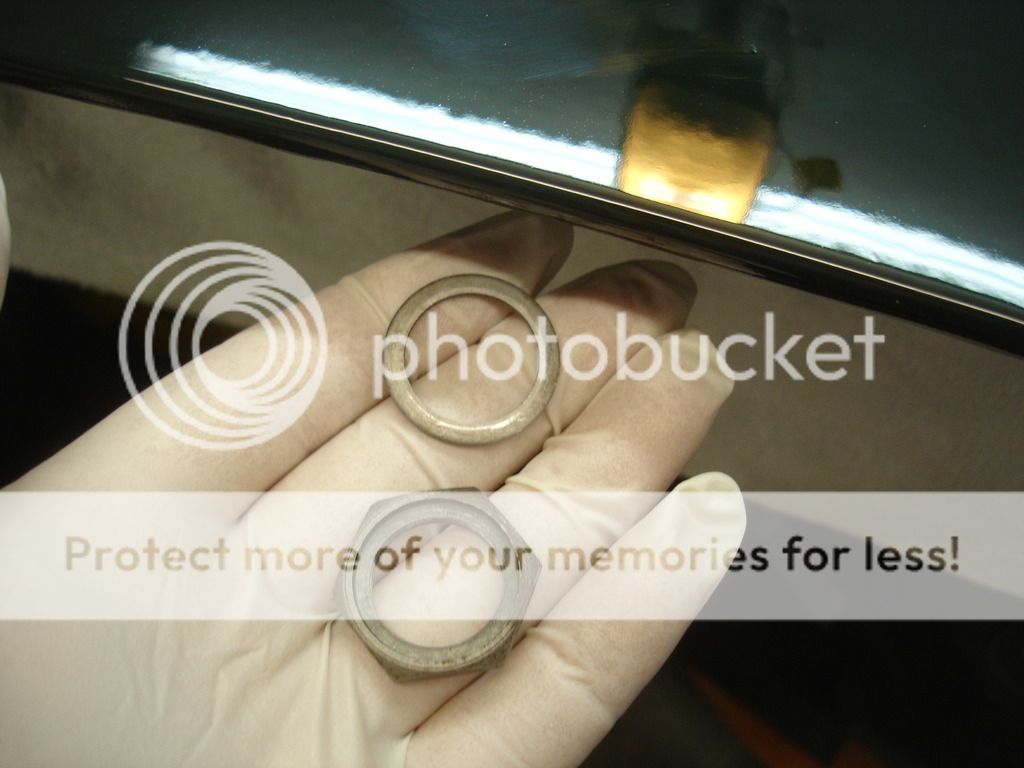
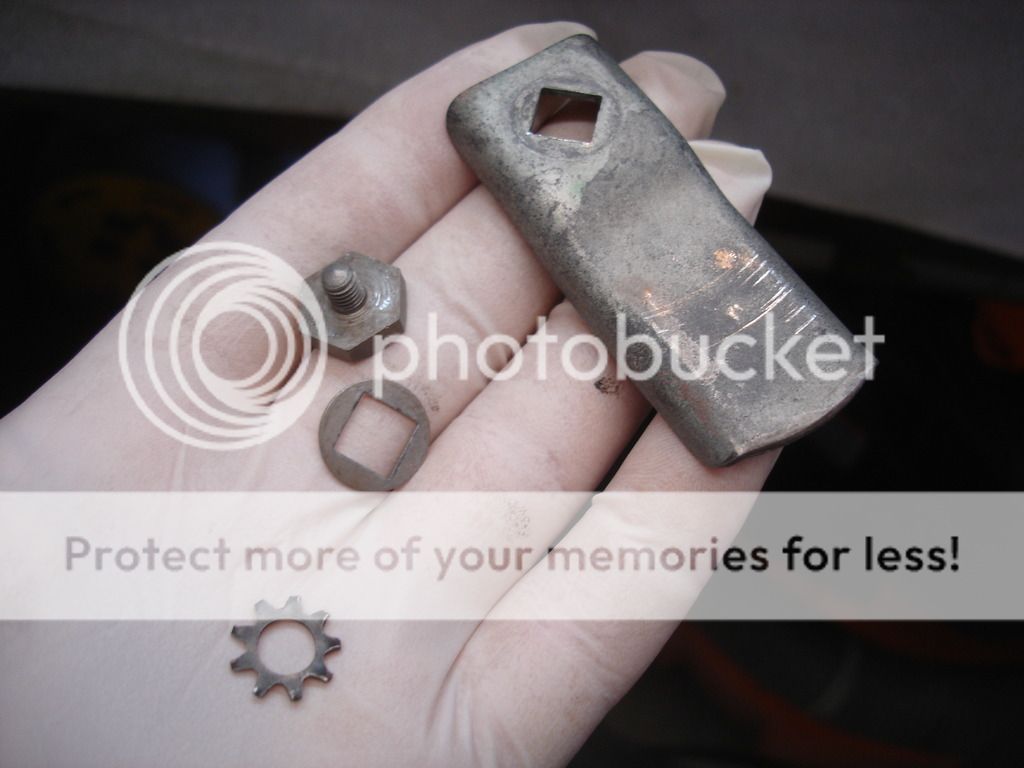
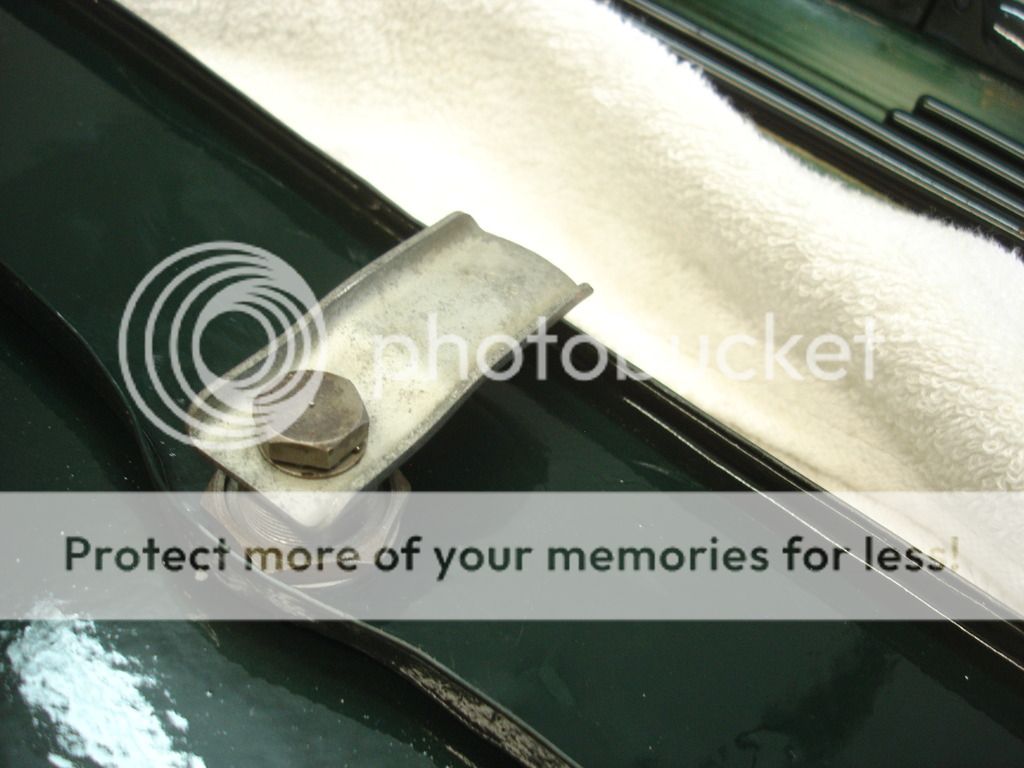
Boot lock.
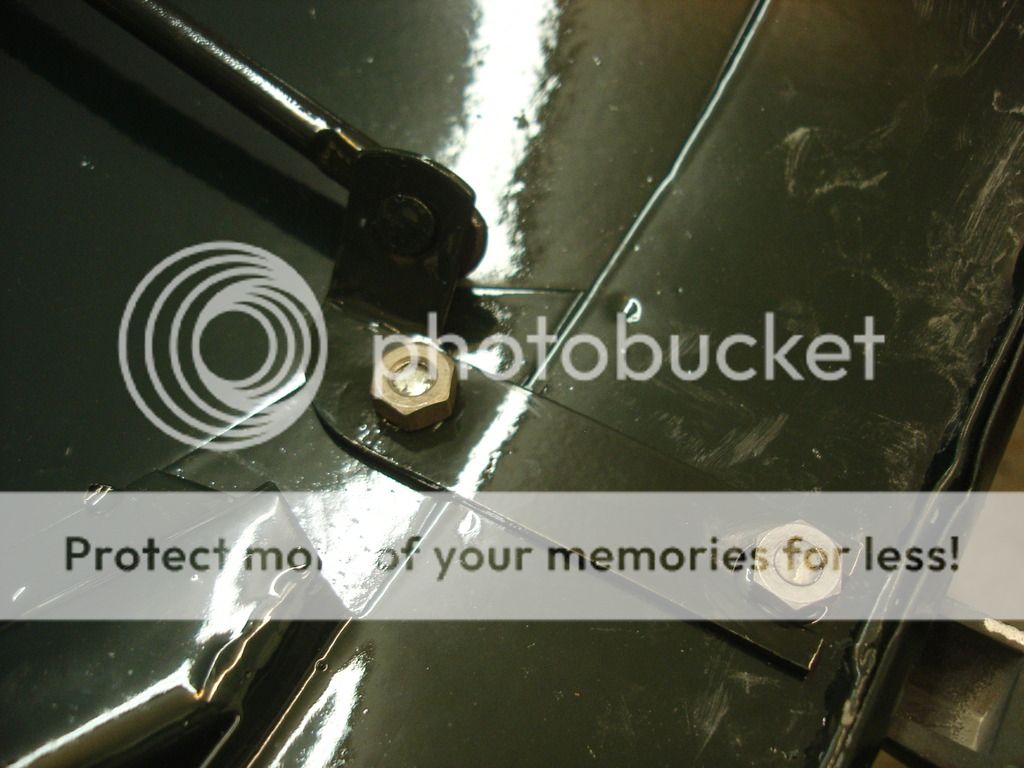
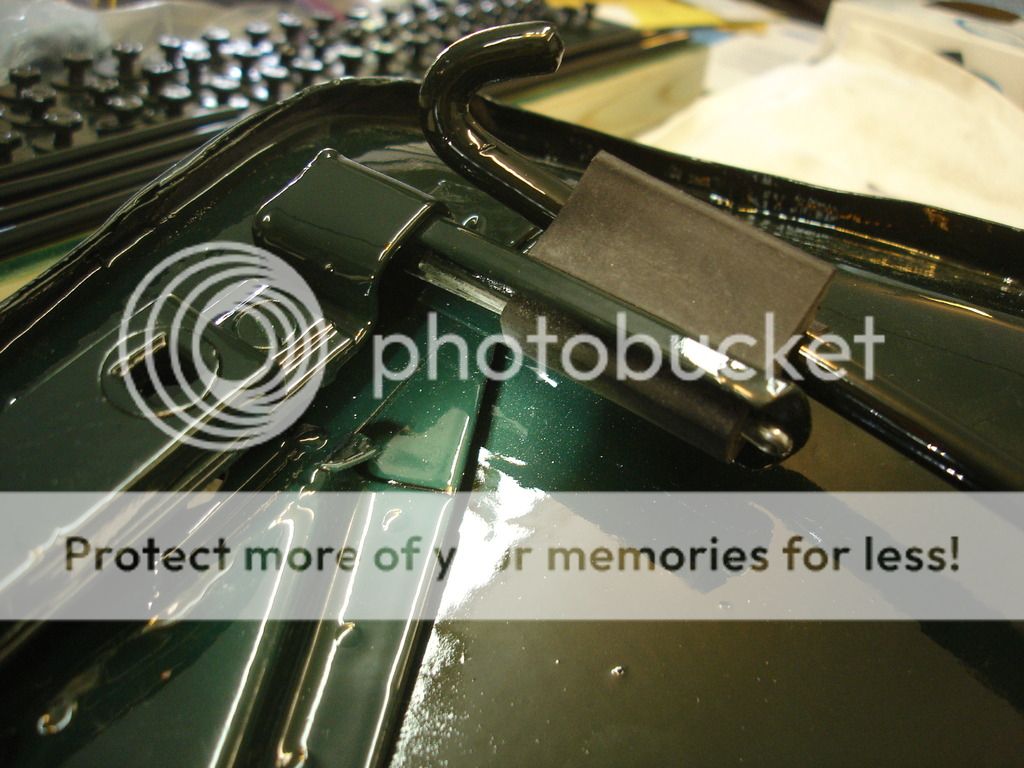


Boot prop rod. Notice the studs and nuts for the boot hinges have to be ground to keep from cutting the seal.

Side locks.
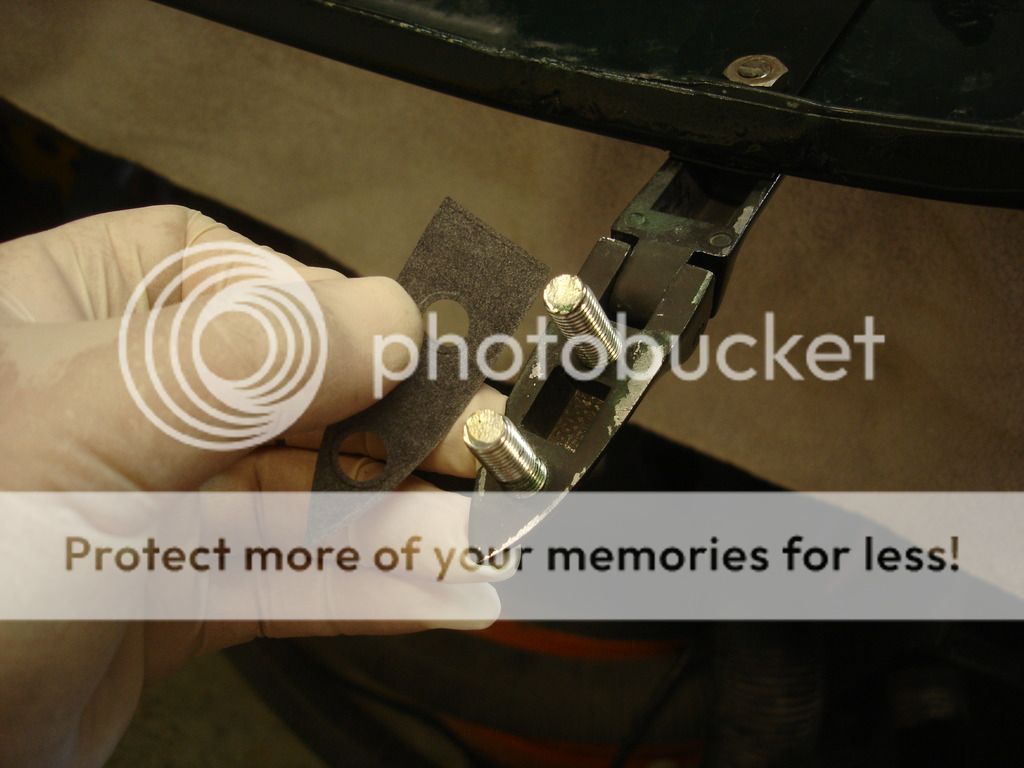
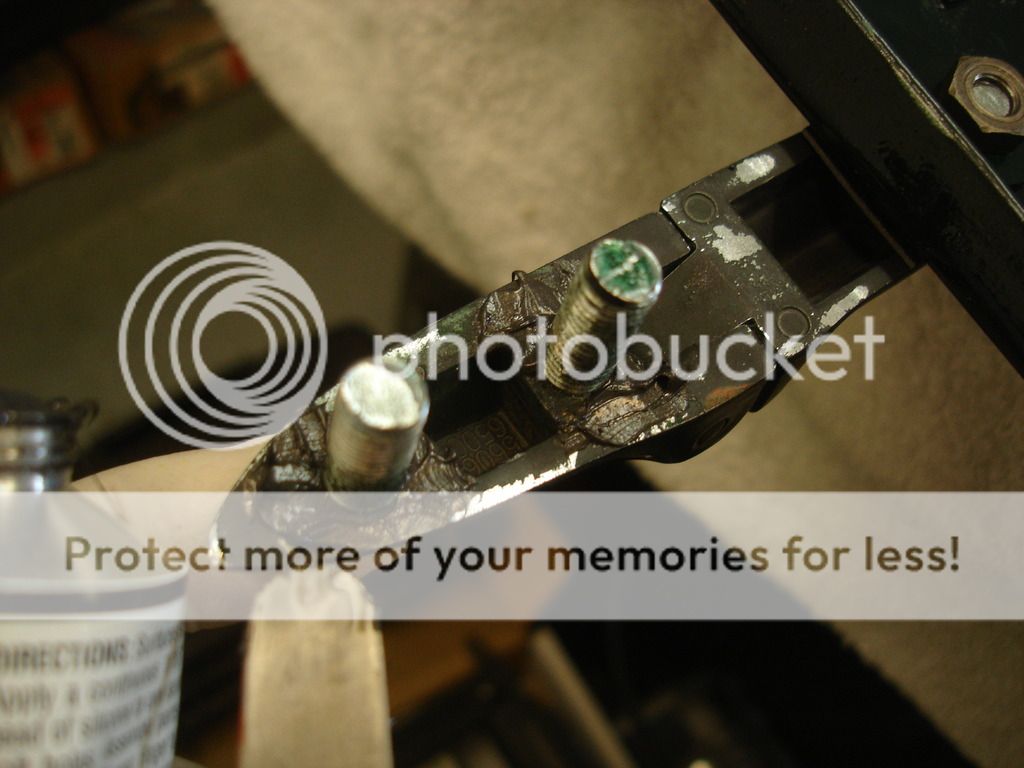
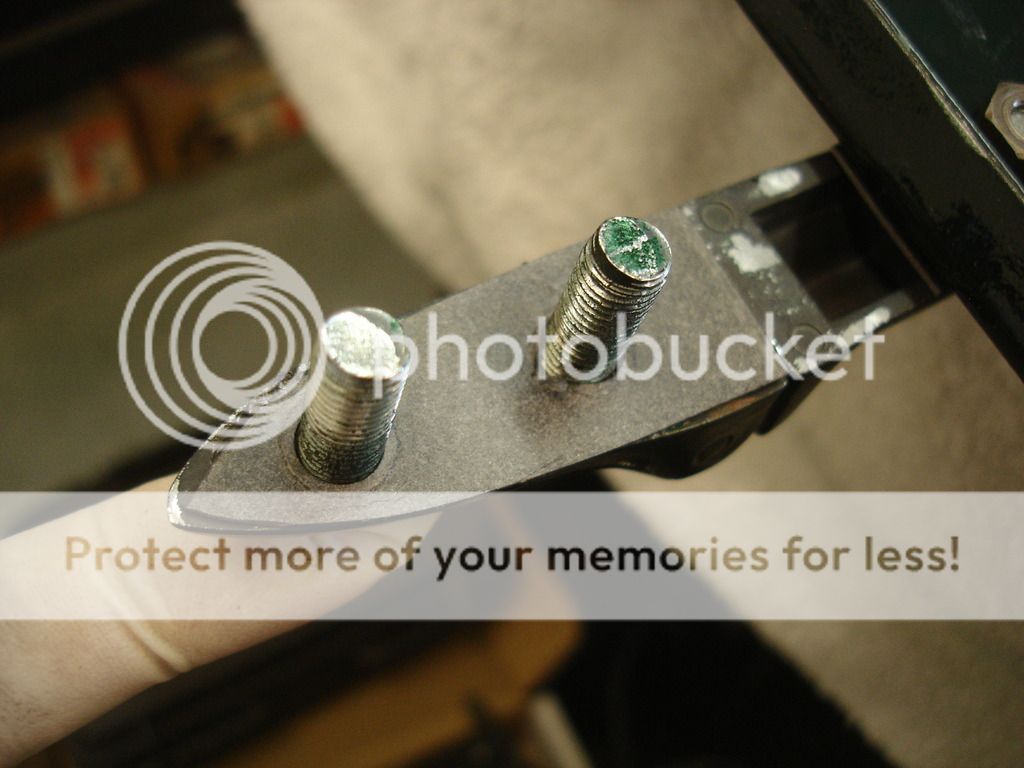
boot hinge front.
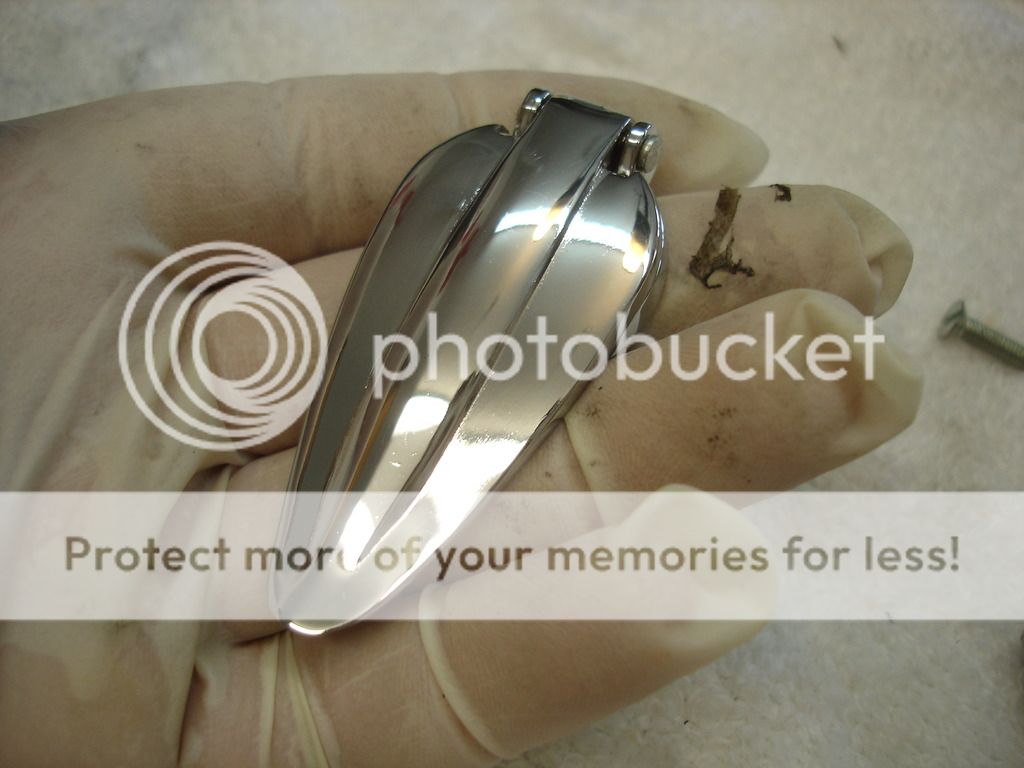
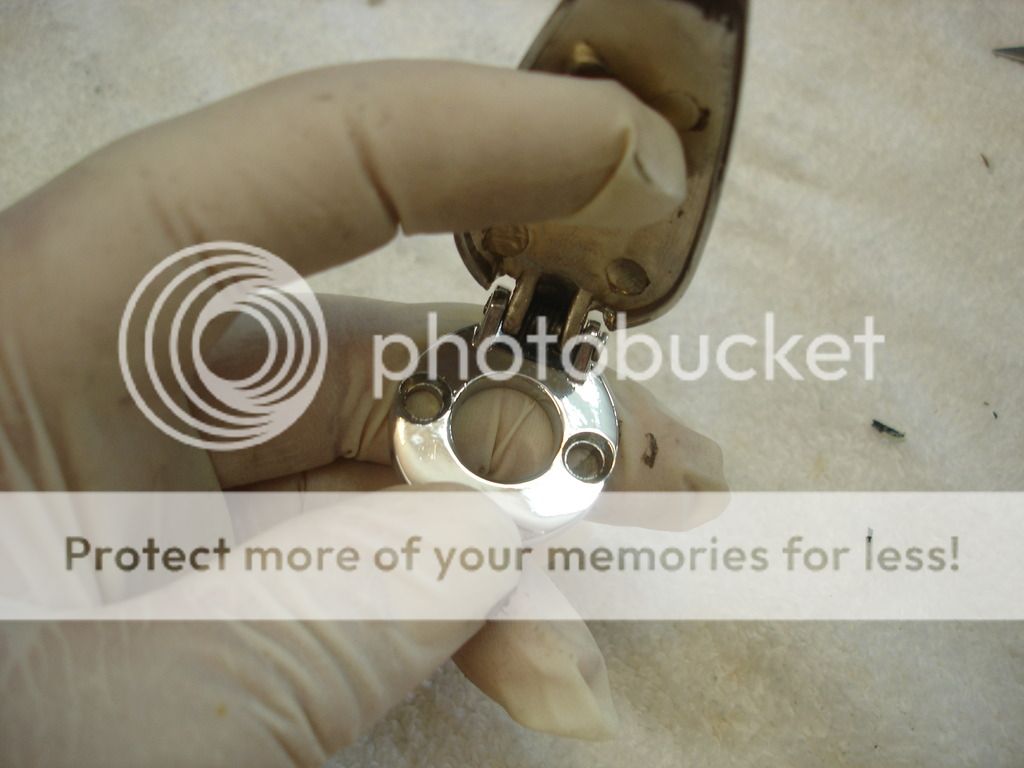
"Fig Leaf" lock covers. I'll have to wait to install these, as they use a different screw size than they came with repop.

Boot lid set and adjusted.
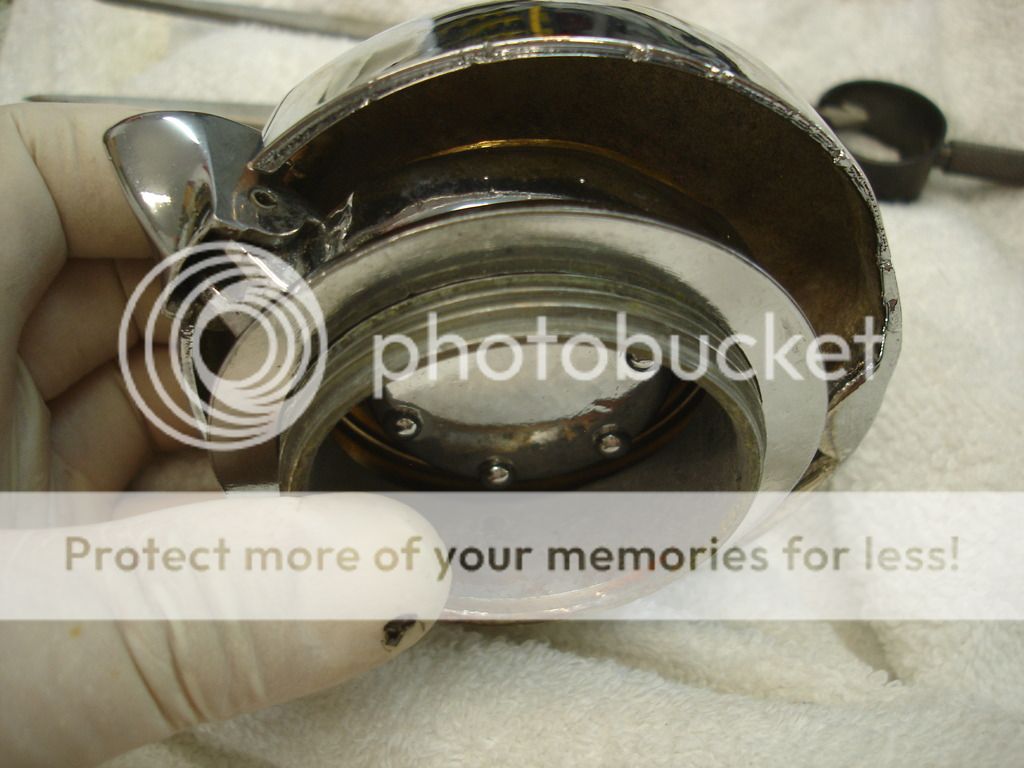


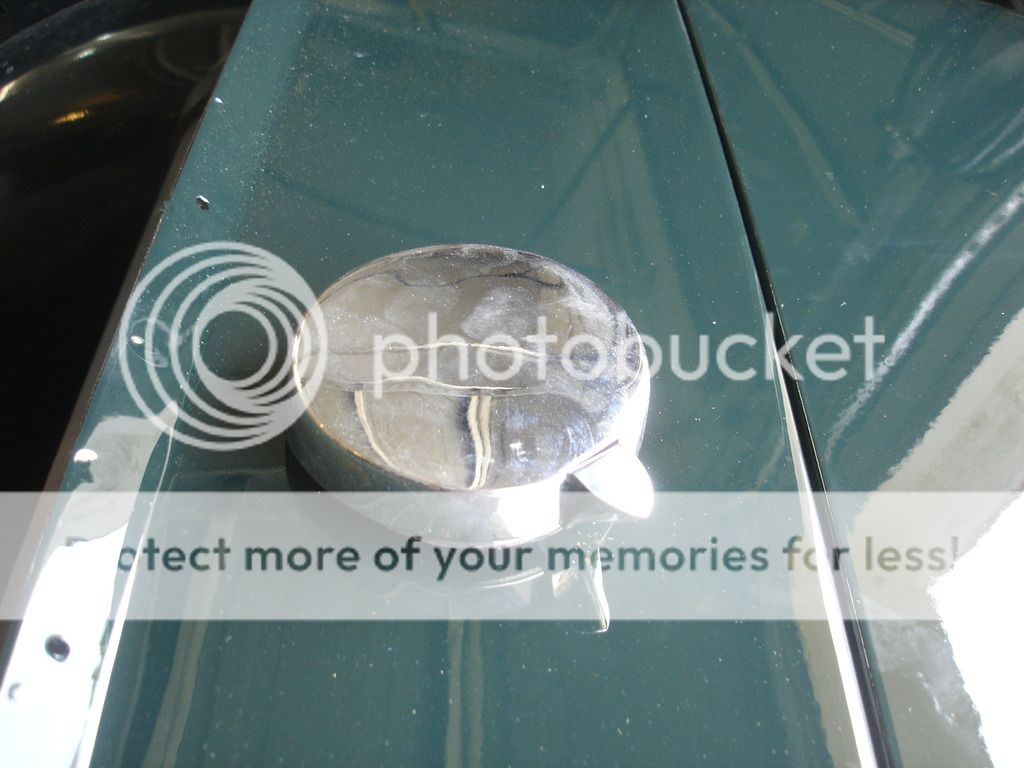
Gas cap. Notice the latch is intentionally offset to the side to prevent stabbing the boot lid when it's up!

Spare tire cover seal. The larger edge goes inward.

Lock covers.


Boot lid seal. The lip goes inward at the top, and outward everywhere else.

Boot lid hinges.


Boot lock.


Boot prop rod. Notice the studs and nuts for the boot hinges have to be ground to keep from cutting the seal.

Side locks.


boot hinge front.


"Fig Leaf" lock covers. I'll have to wait to install these, as they use a different screw size than they came with repop.

Boot lid set and adjusted.


Gas cap. Notice the latch is intentionally offset to the side to prevent stabbing the boot lid when it's up!
CJD
Yoda
Offline



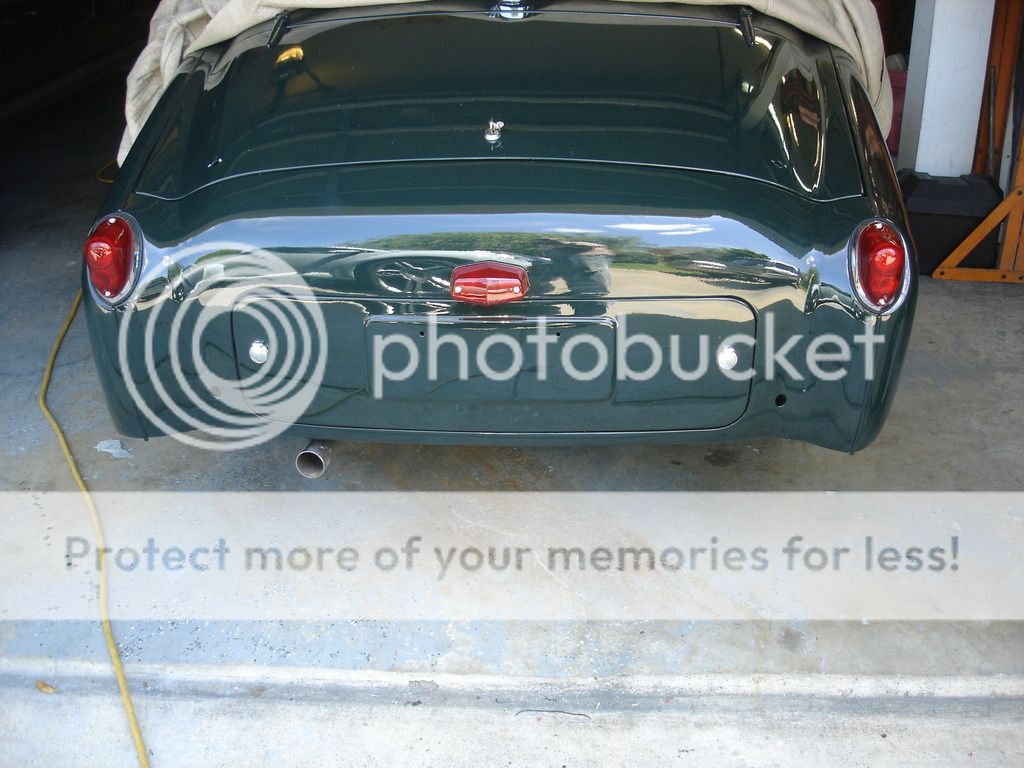
Rear wings and stone guards.
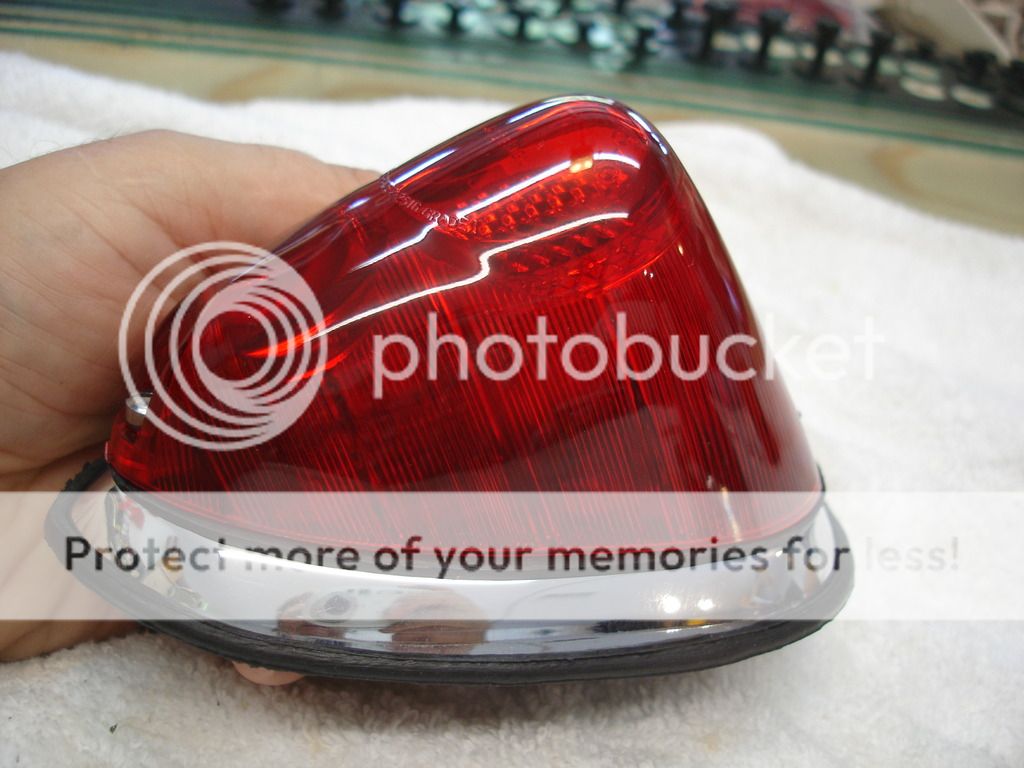
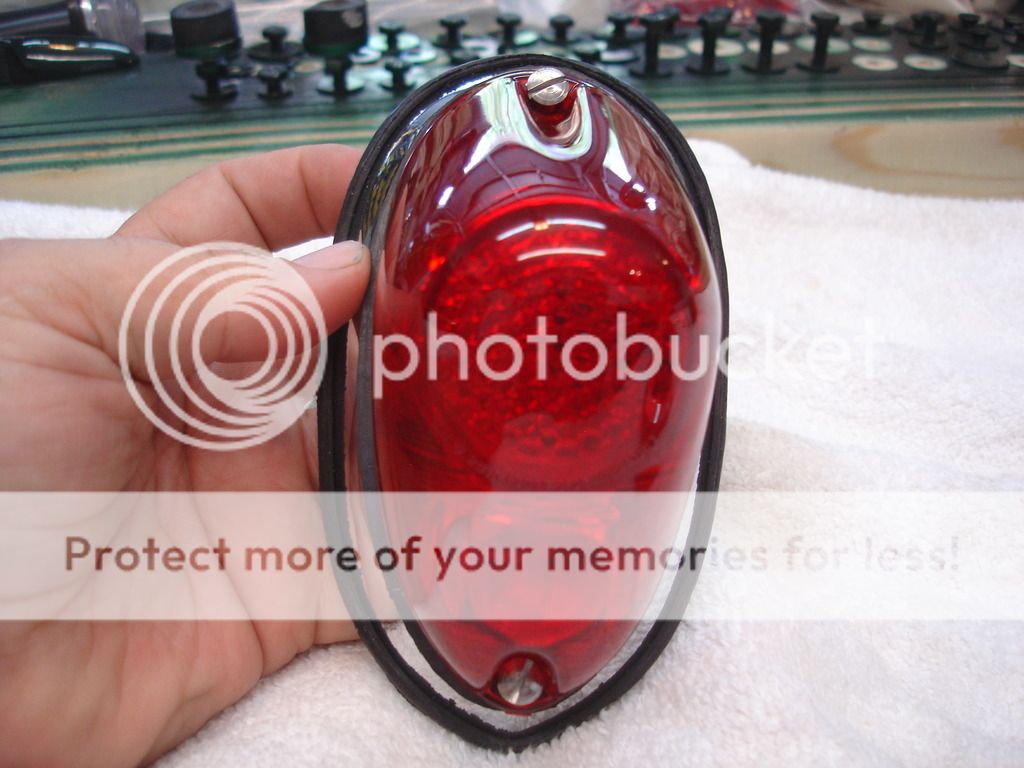
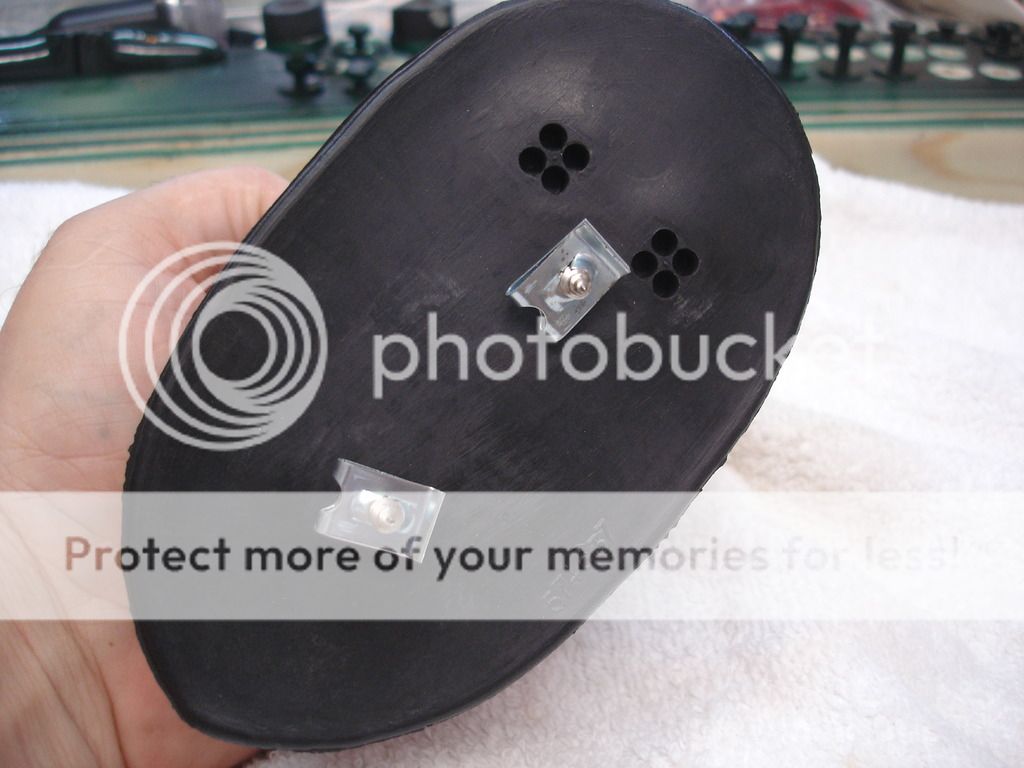
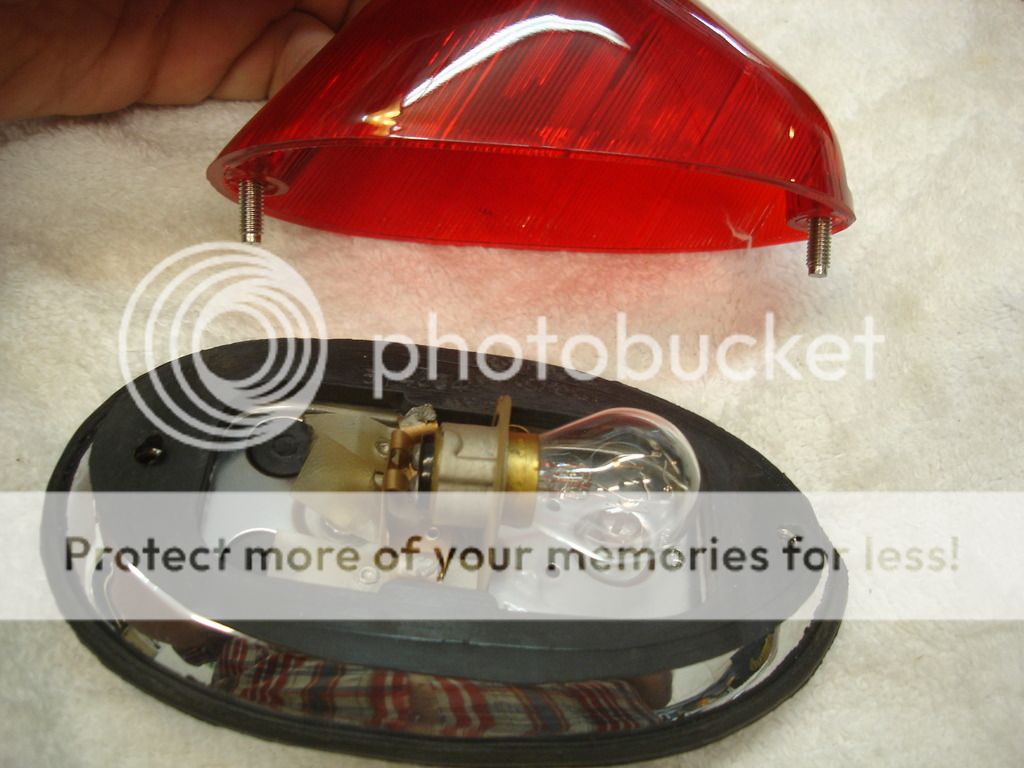
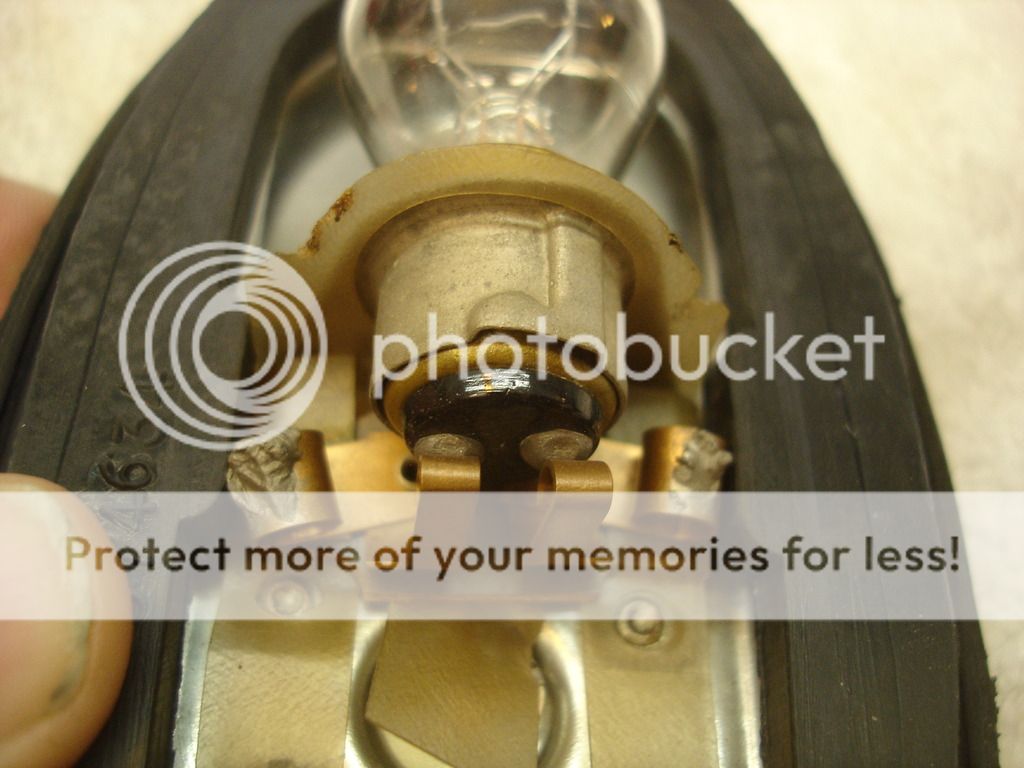


Notcie "t" for turn and "S" for stop are clearly marked. On the TR2 the stop is the running light.
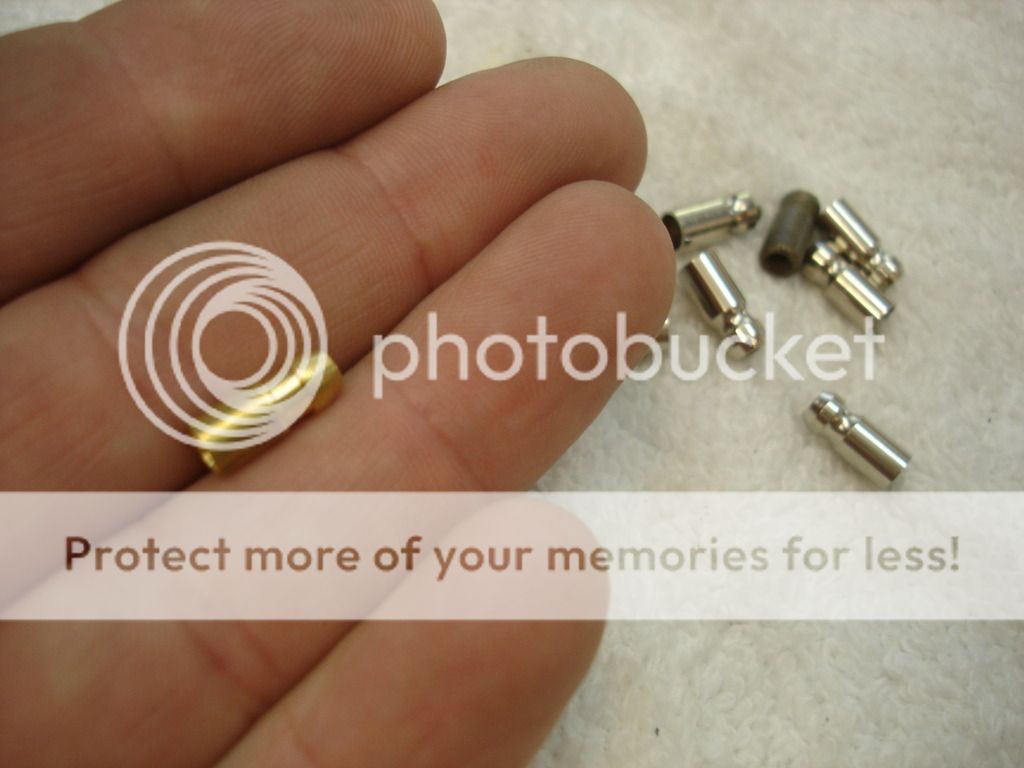

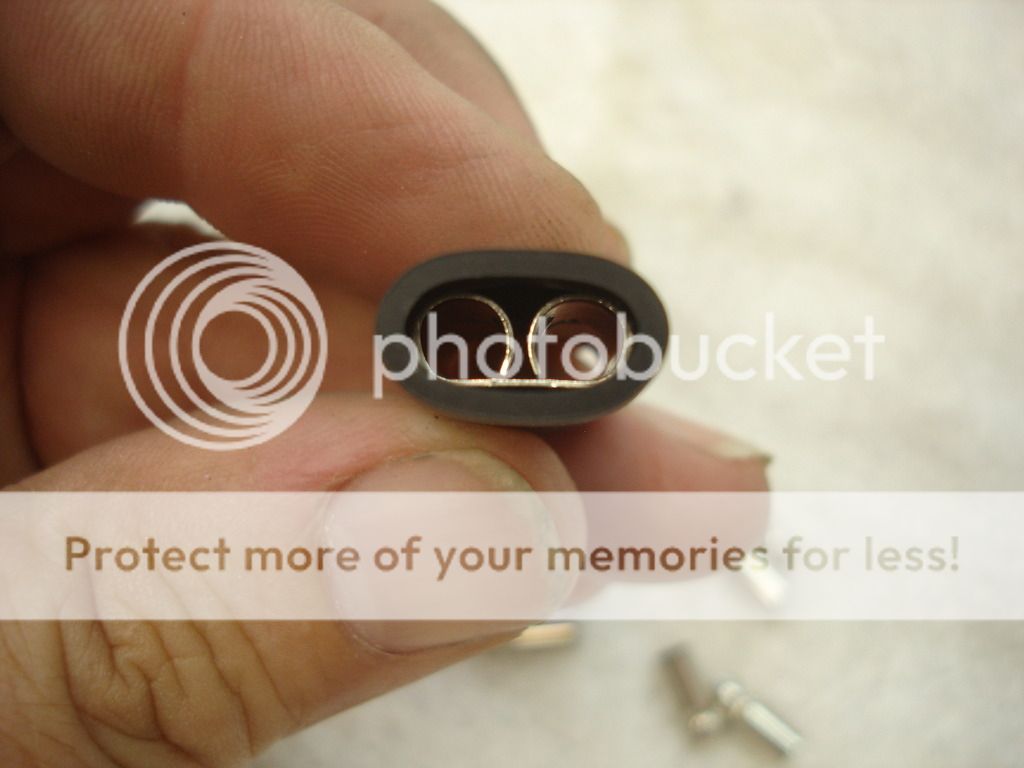
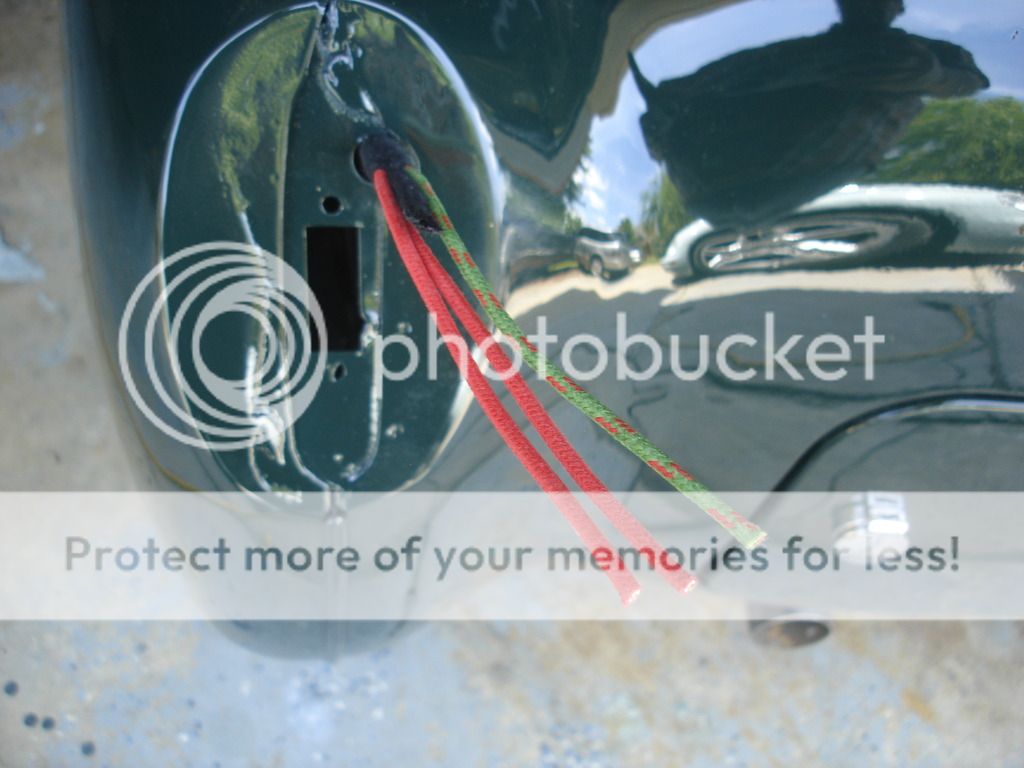
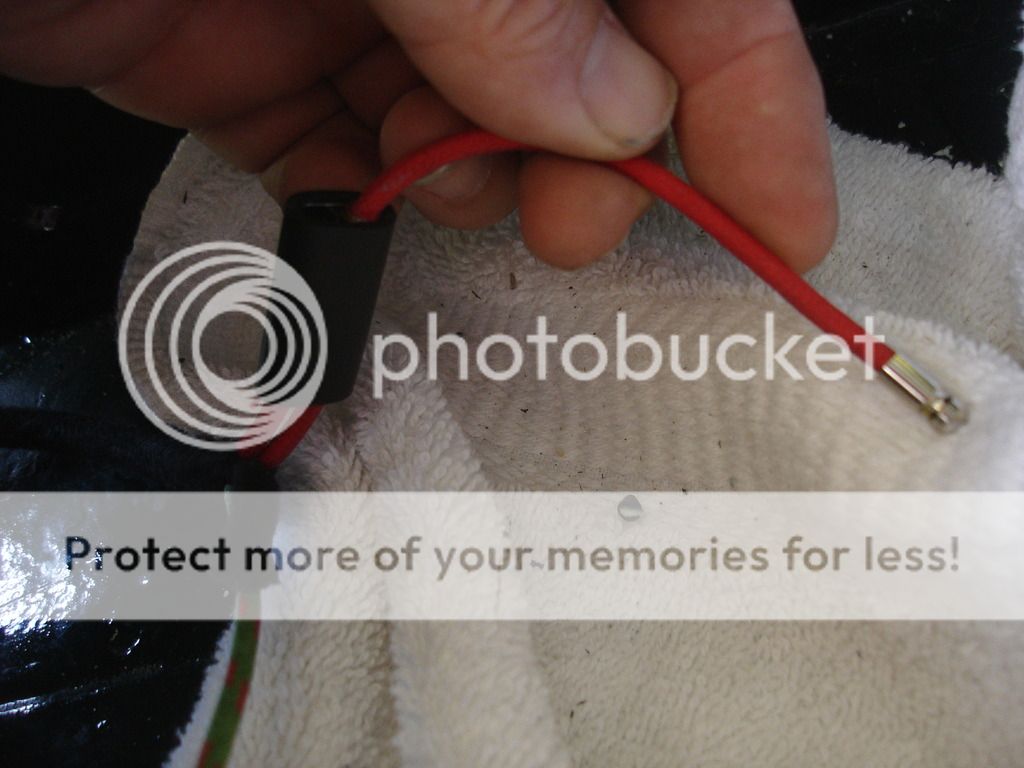
Red is running lights, and green+ is the turn signal. The red must be run through a double connector that joins all the reds together.

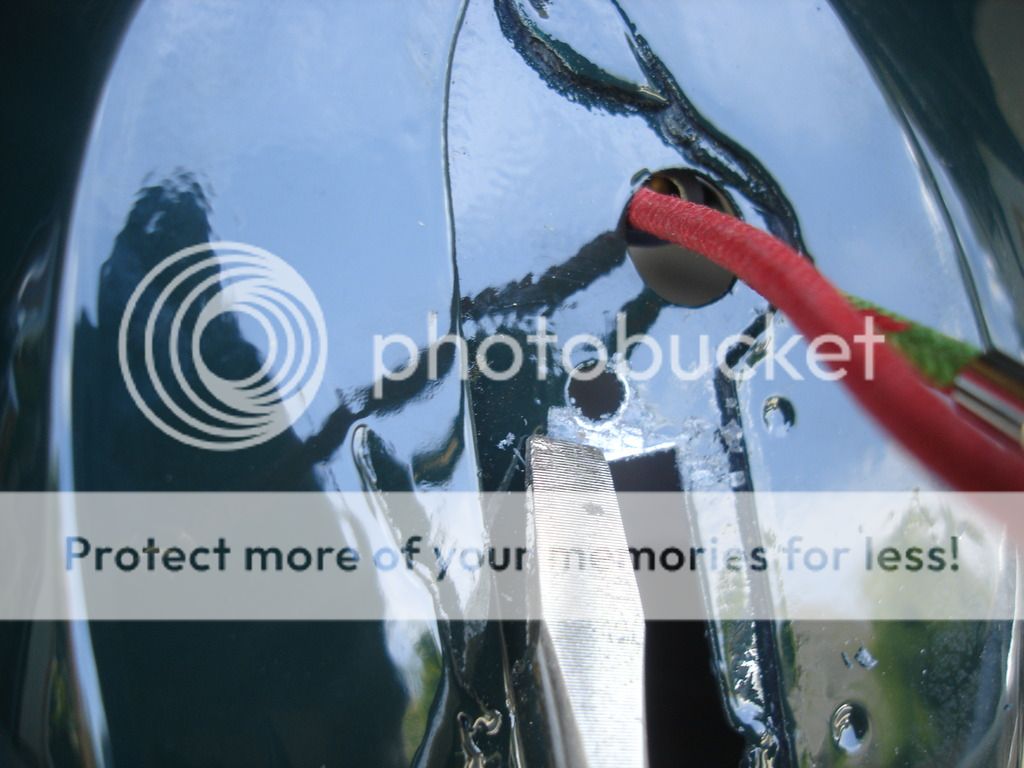
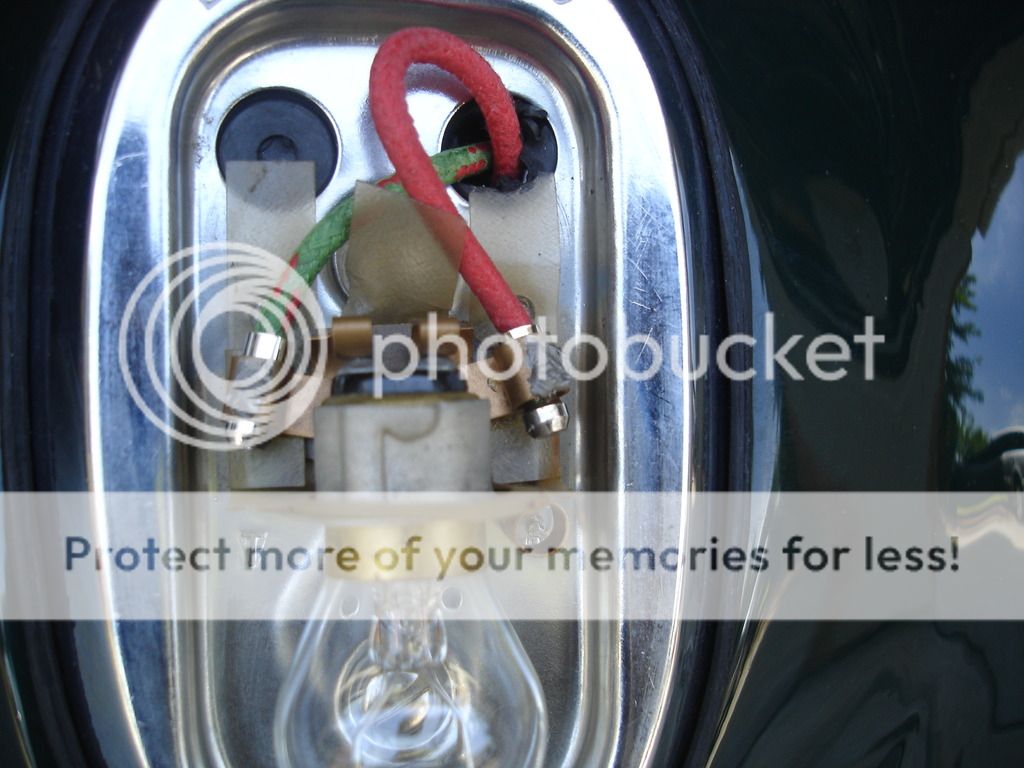
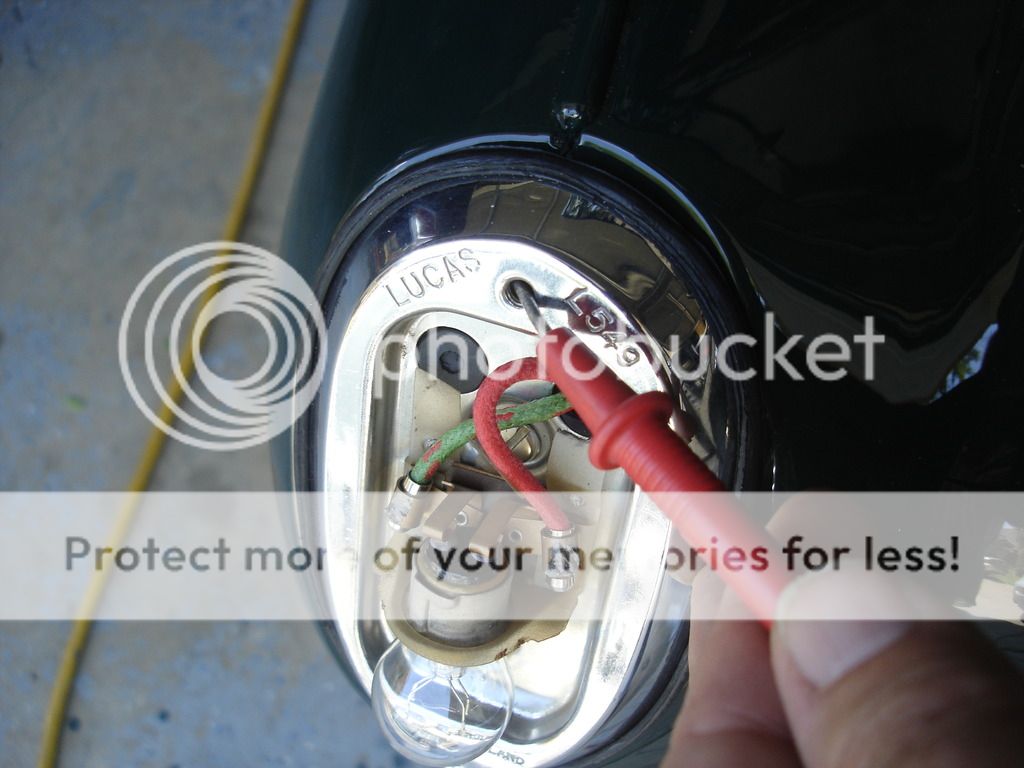

The lights get their ground from the chassis...so best to check now before jumping through hoops later.

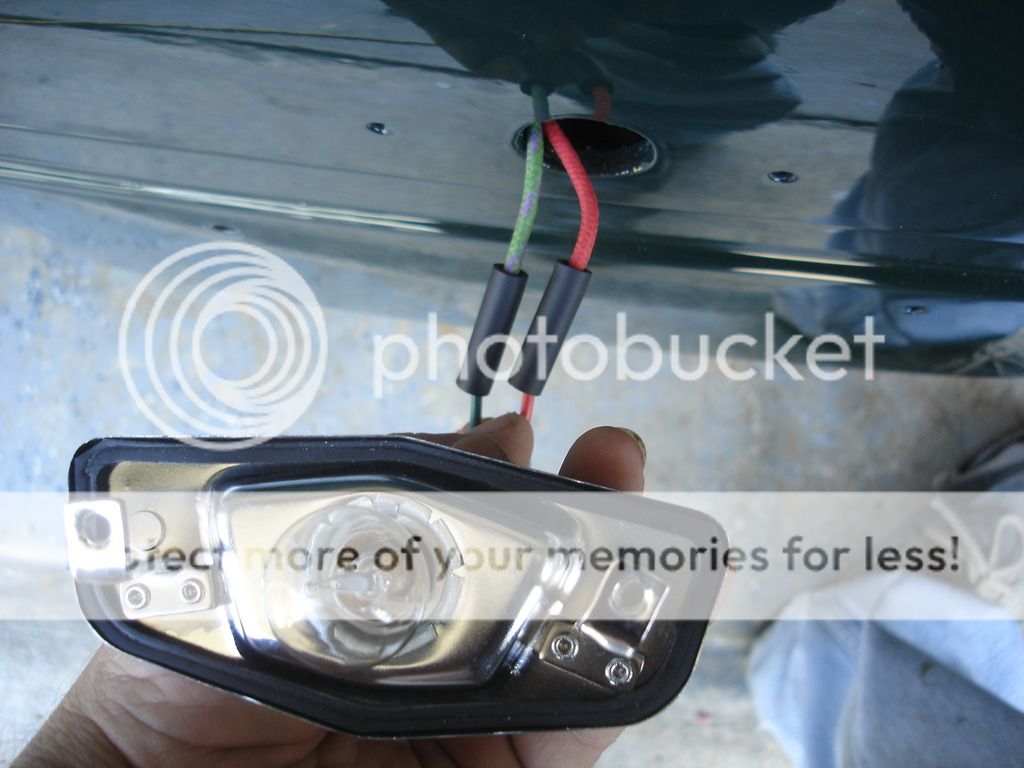

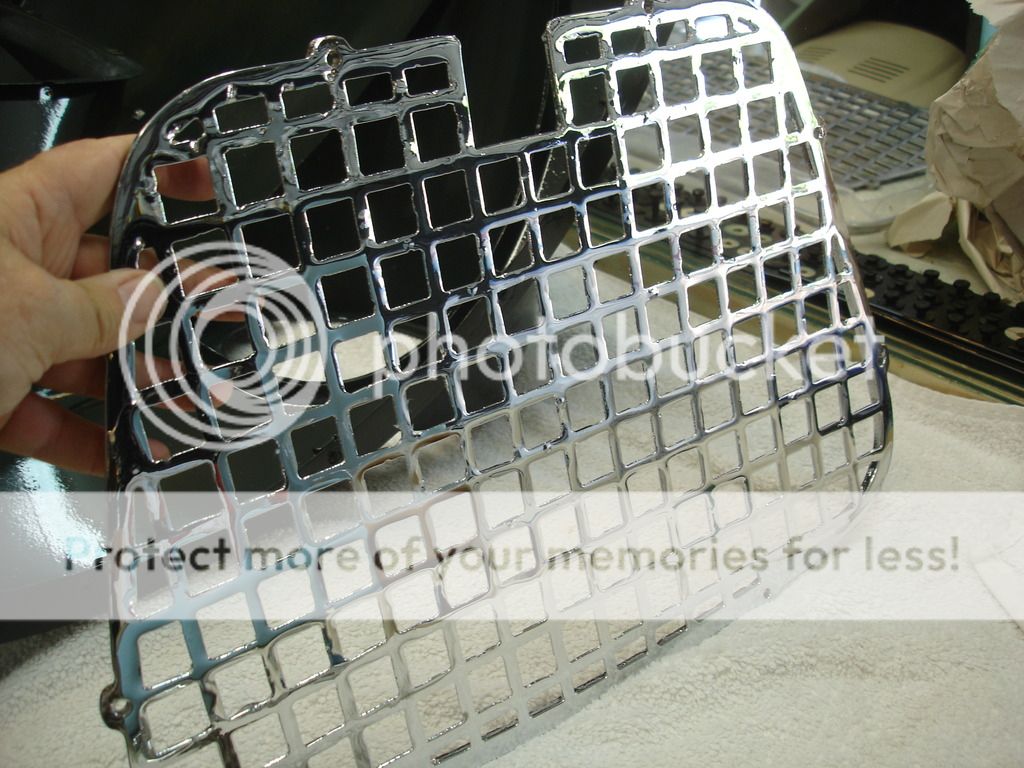
Squirrel catcher...they can blow right through your radiator at 100mph+ without the catcher.
CJD
Yoda
Offline

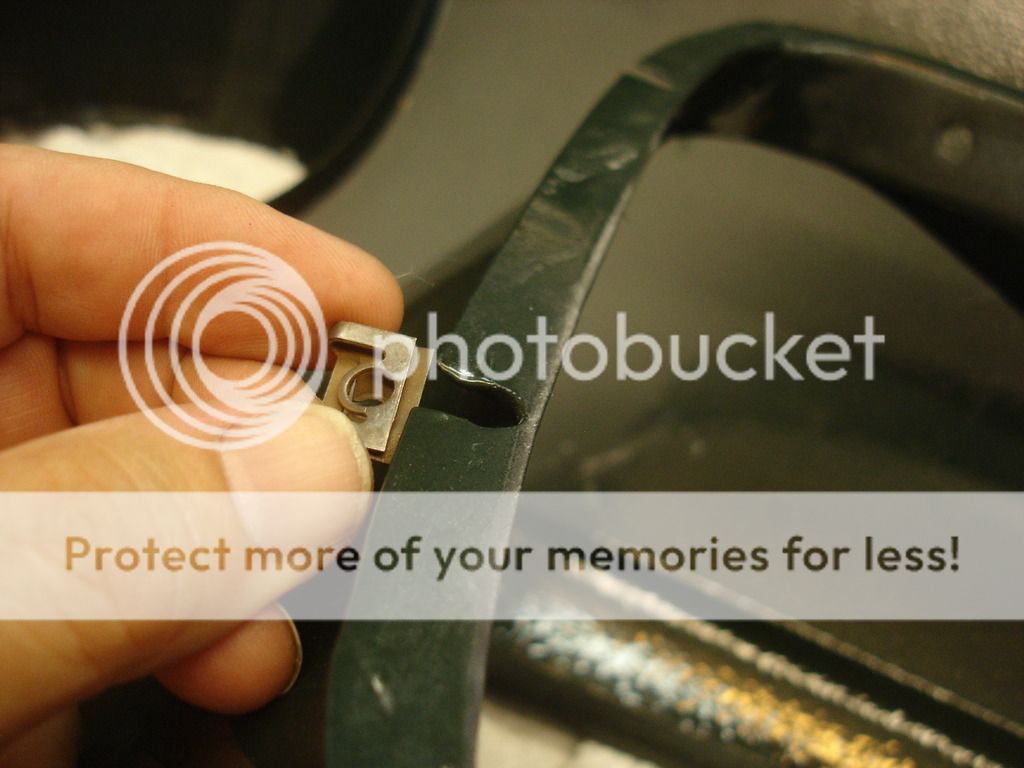
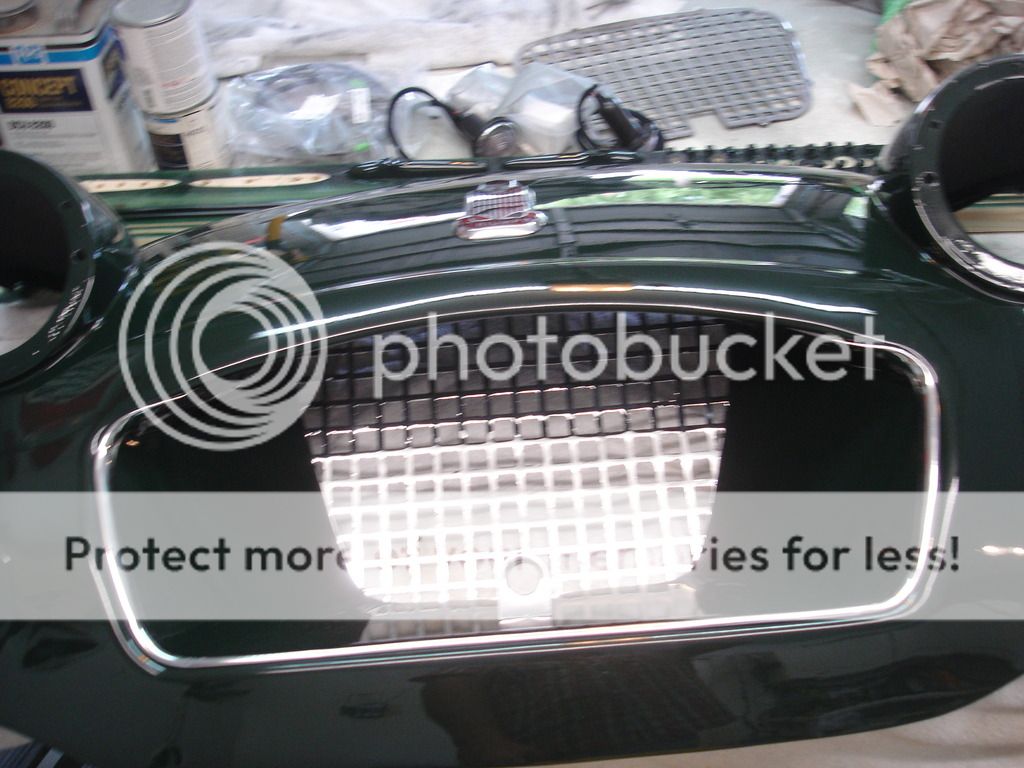
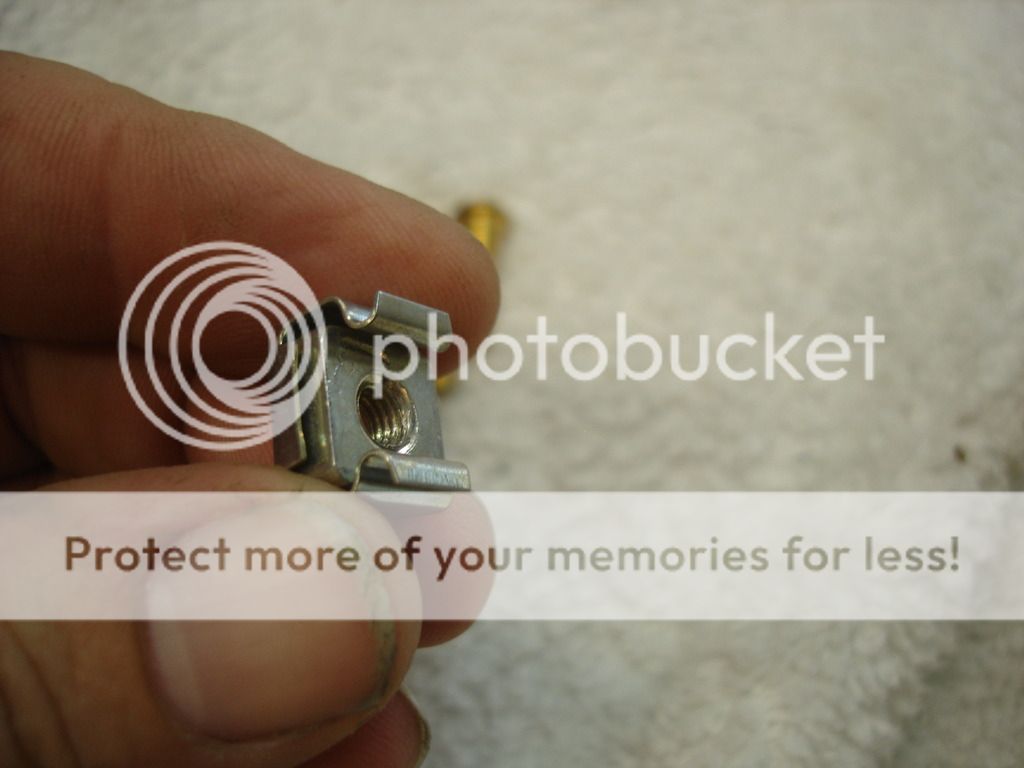
Here is one of the little grommets for the bonnet dzeus fasteners. The next sequence shows how to install these little guys properly:




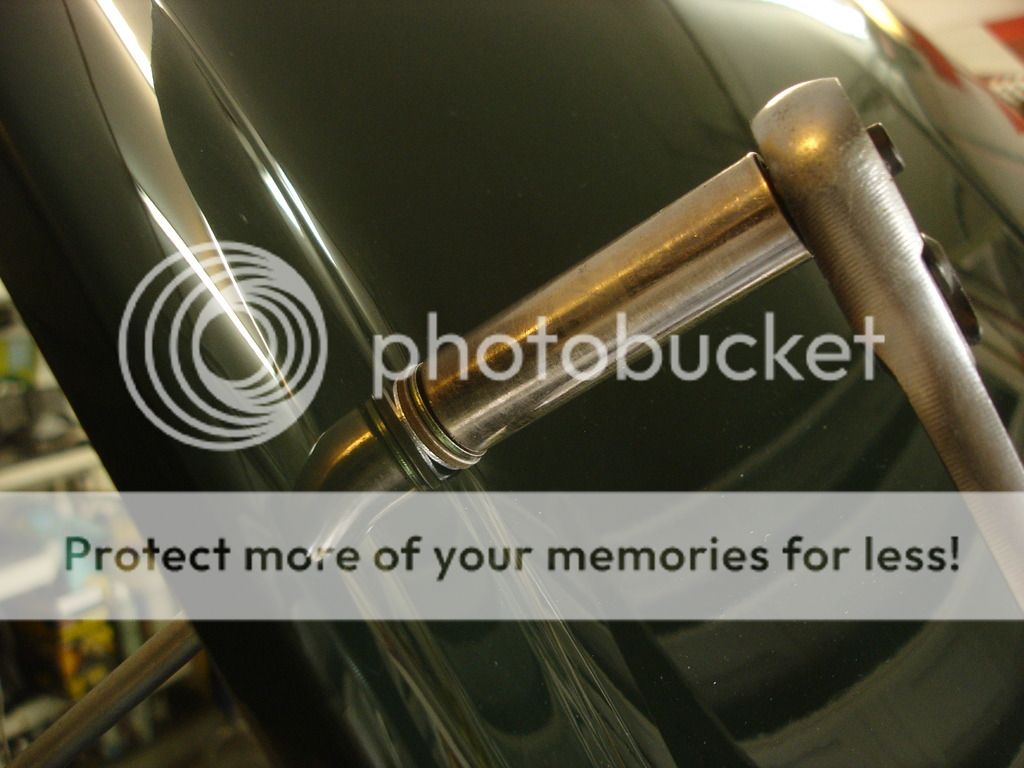
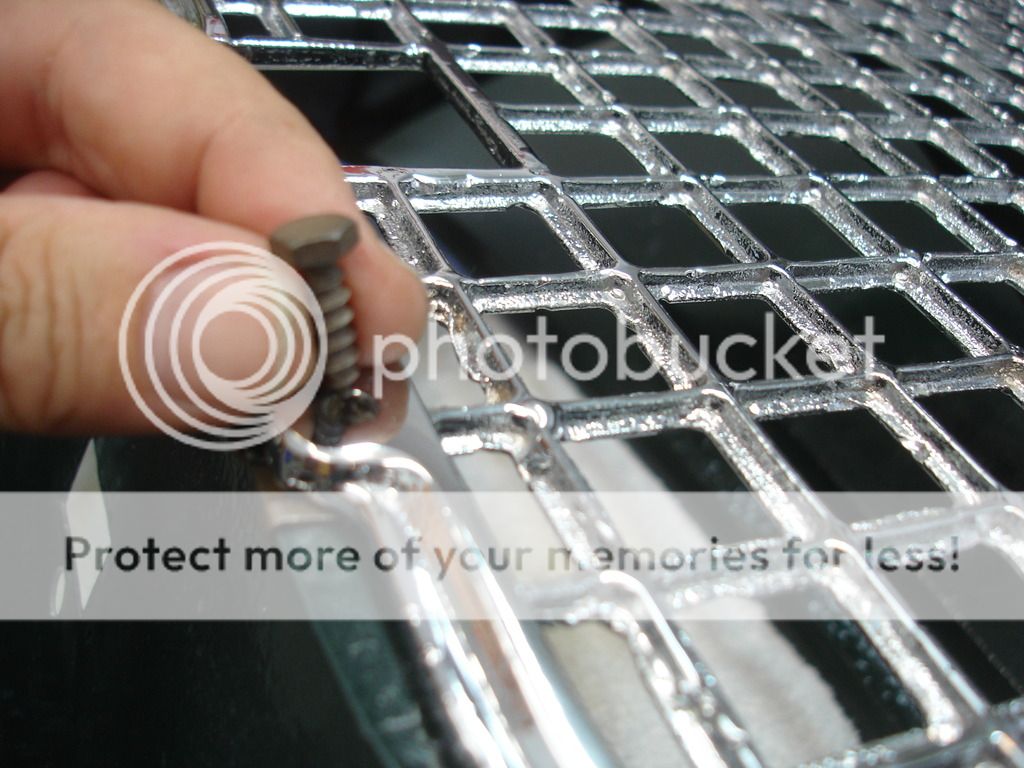
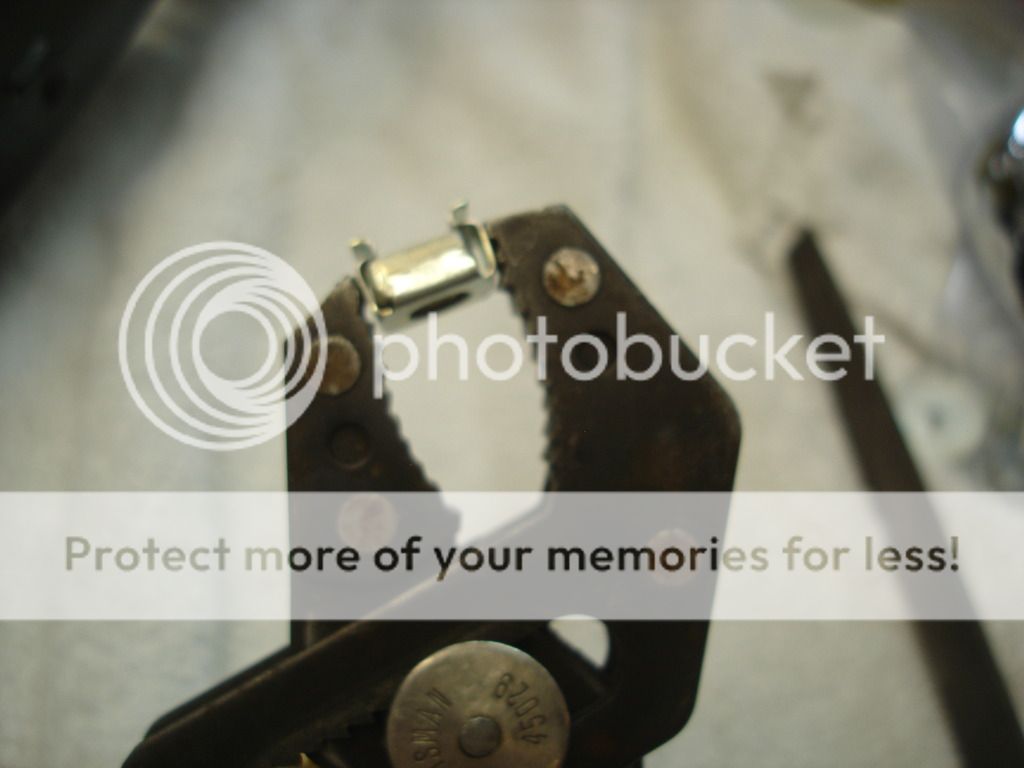
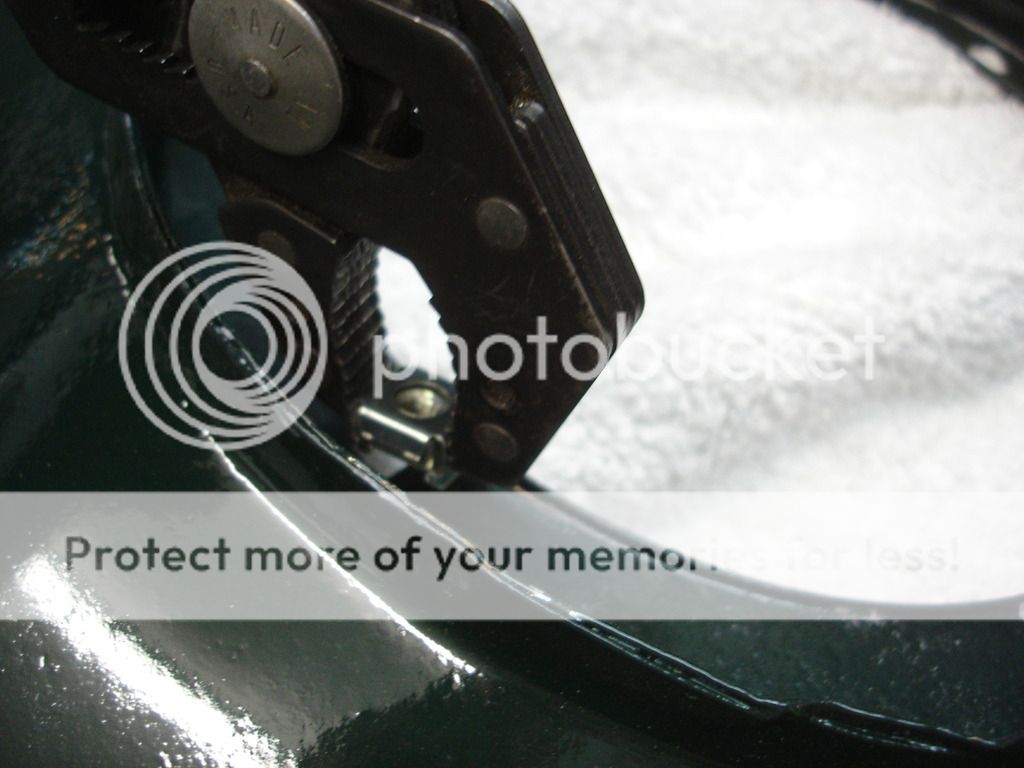
The following larger bolt with a flat washer finishes the crimp:


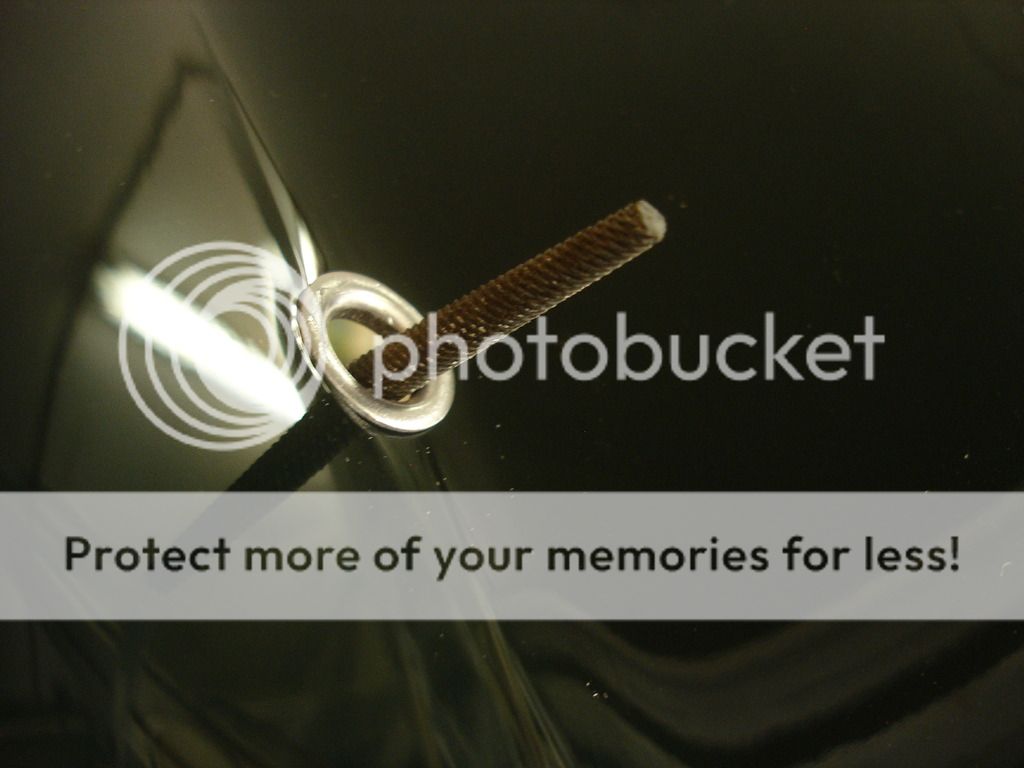



Wack this socket with a hammer while holding a padded dolly over the fastener on the other side. When the washer flattens it also locks onto the fastener.
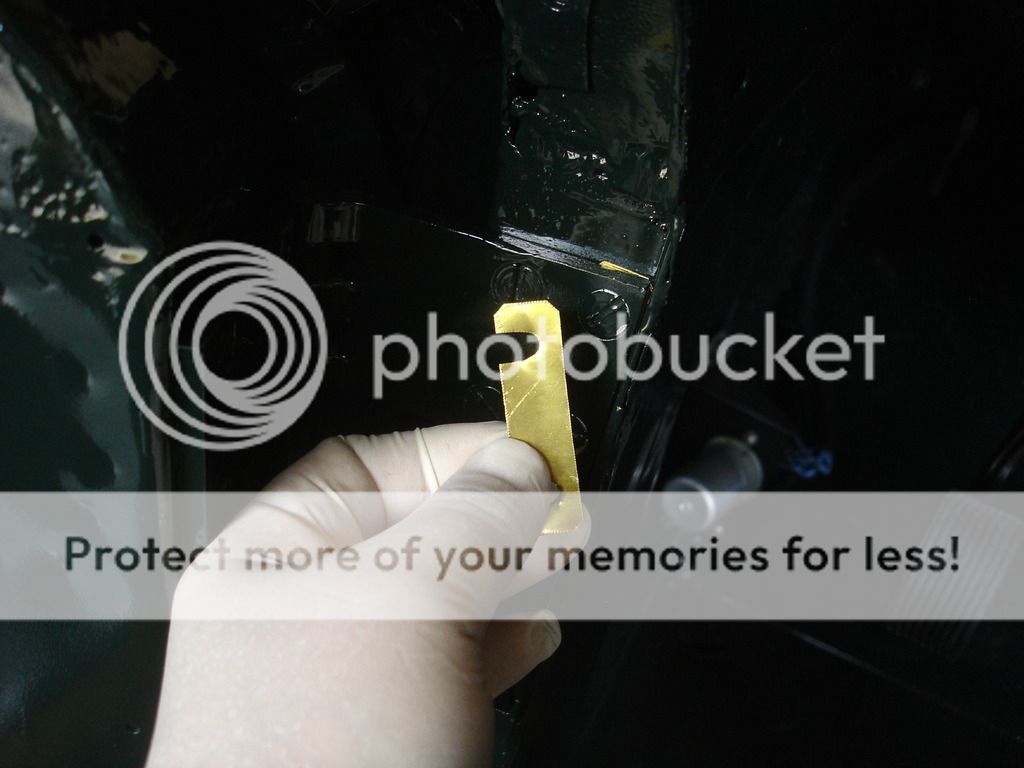
After the final painting, it is easiest to tune the door fitment with .010" shims. Here I have shimmed the inner bolt holes, which will have the affect of rocking the upper hinge forward...so the hinge pin will also move forward. The end result after adding the shim is to raise the rear of the door, while leaving the height at the front unaffected. By fine tuning this way, you can get your door gaps back to perfect.

The door check strap gets a "bolt" according to the Judging guide. I will have to paint the nut in the pic later.
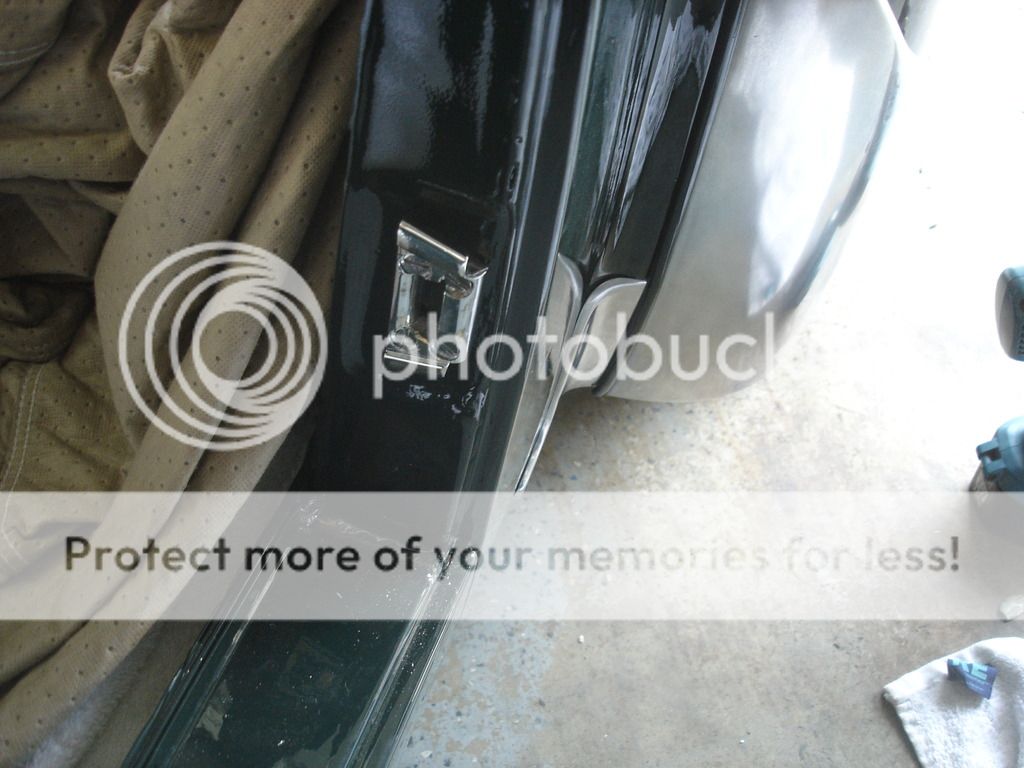
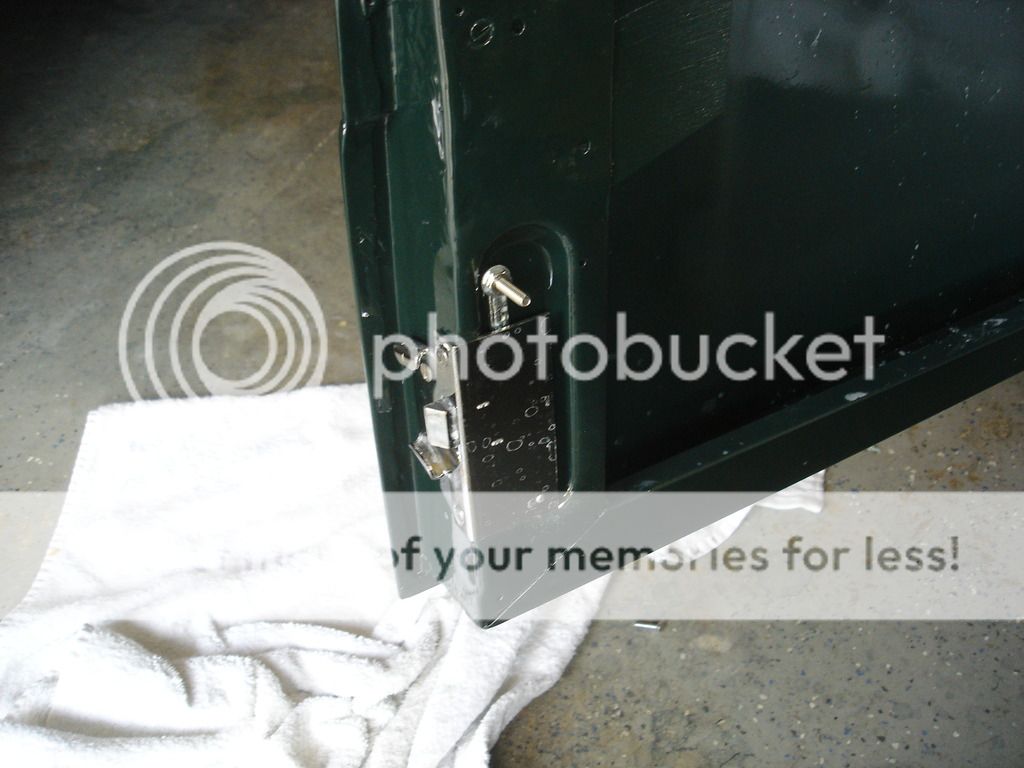
The door latch assembly is not adjustable. Start with the striker all the way outward to prevent the door hitting the jam and scratching. Once you see where you are, you can then loosen the striker and adjust it to the perfect position. It must align up/down...in/out...AND the angle must match the latch on the door. There are no short cuts here. Take your time and don't stop until it's right.


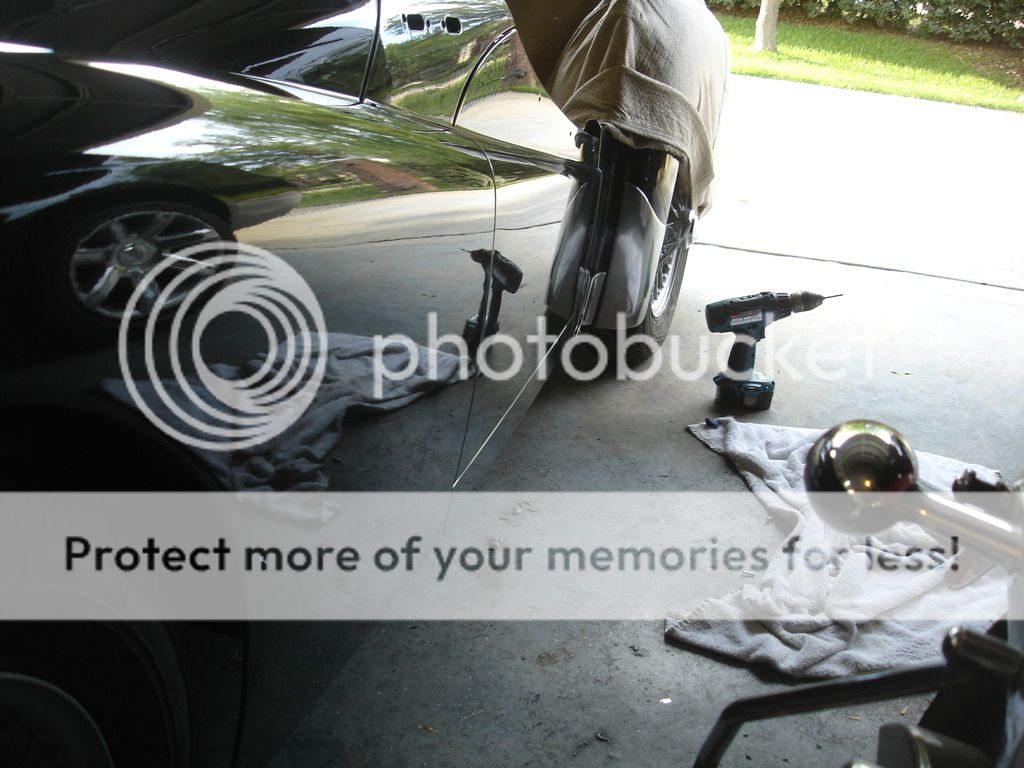
Once set up right, the door will close with one finger to a full latch and have NO play up, down, in or out.
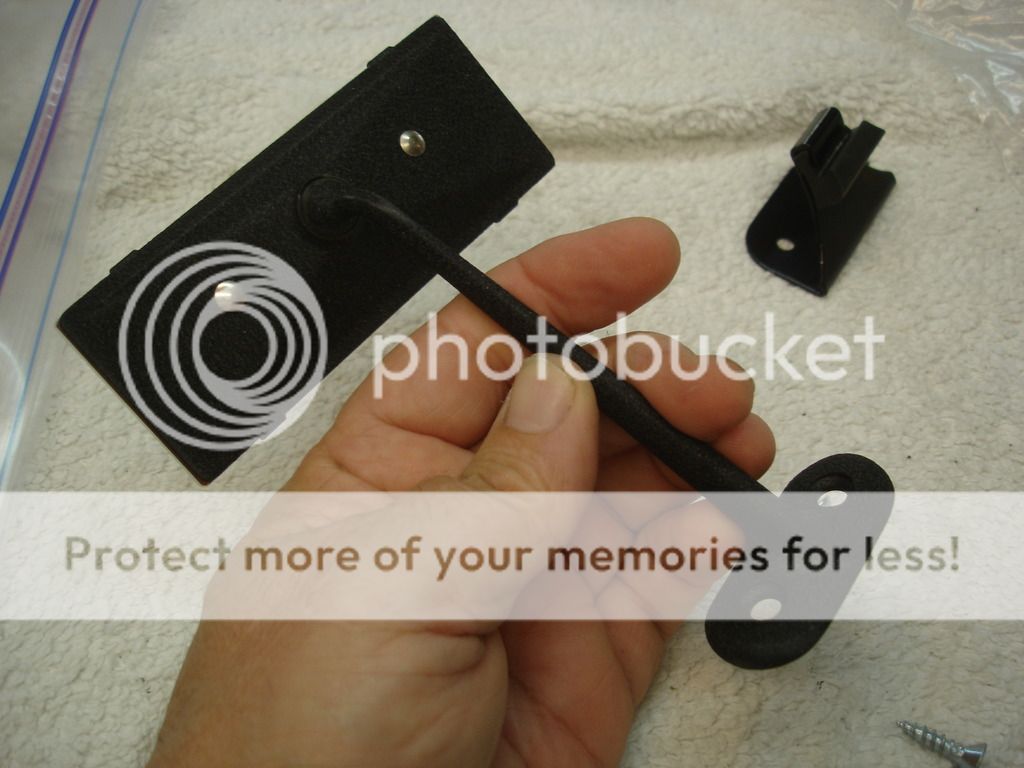
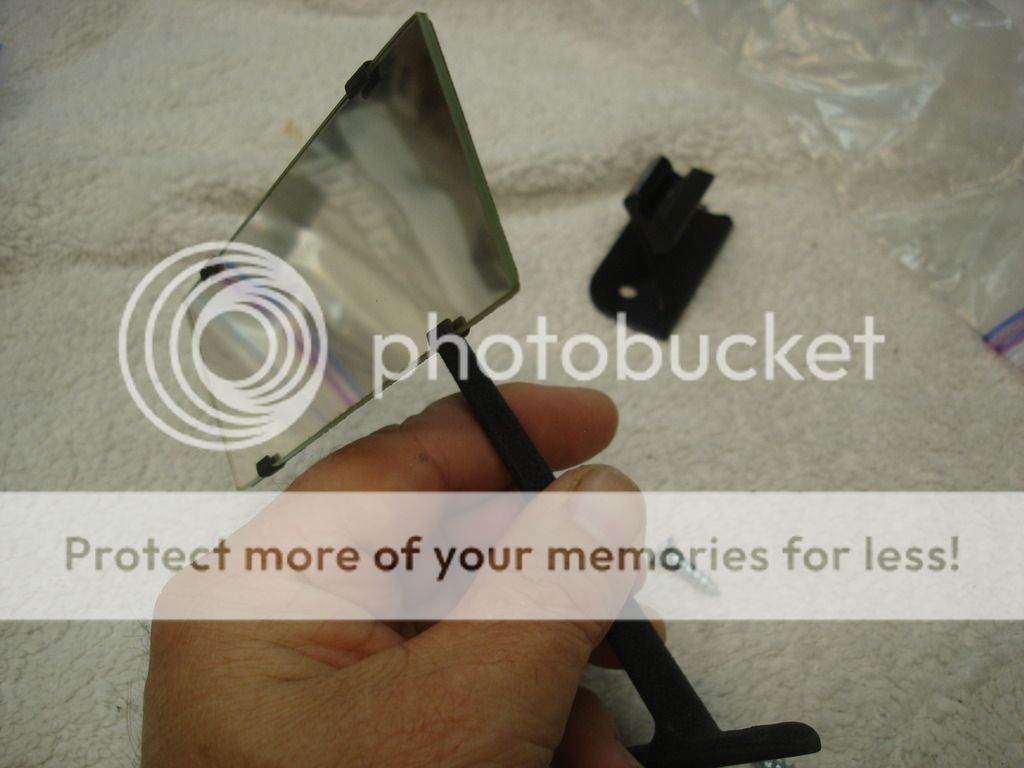
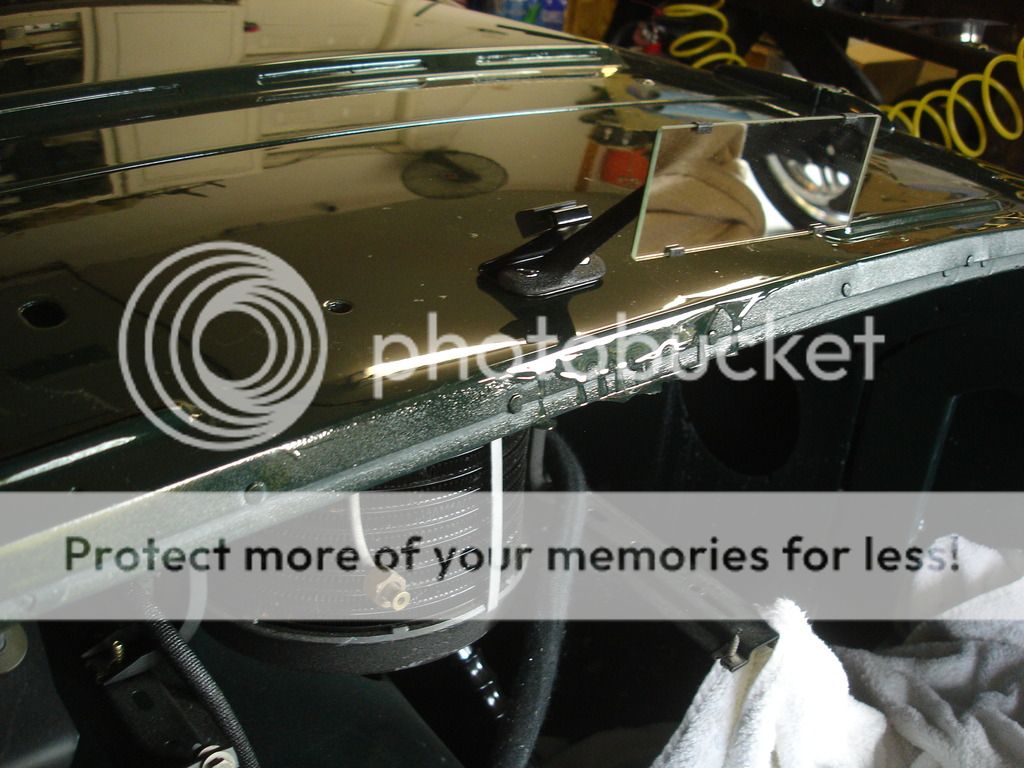
This is the early style mirror. Simplicity at it's best!

The little windscreen bump stop mounts under the mirror stand. The purpose of the bump stop is to prevent the windscreen glass from over flexing and cracking at highway speeds. It must end up touching or at least be VERY CLOSE to the windscreen.
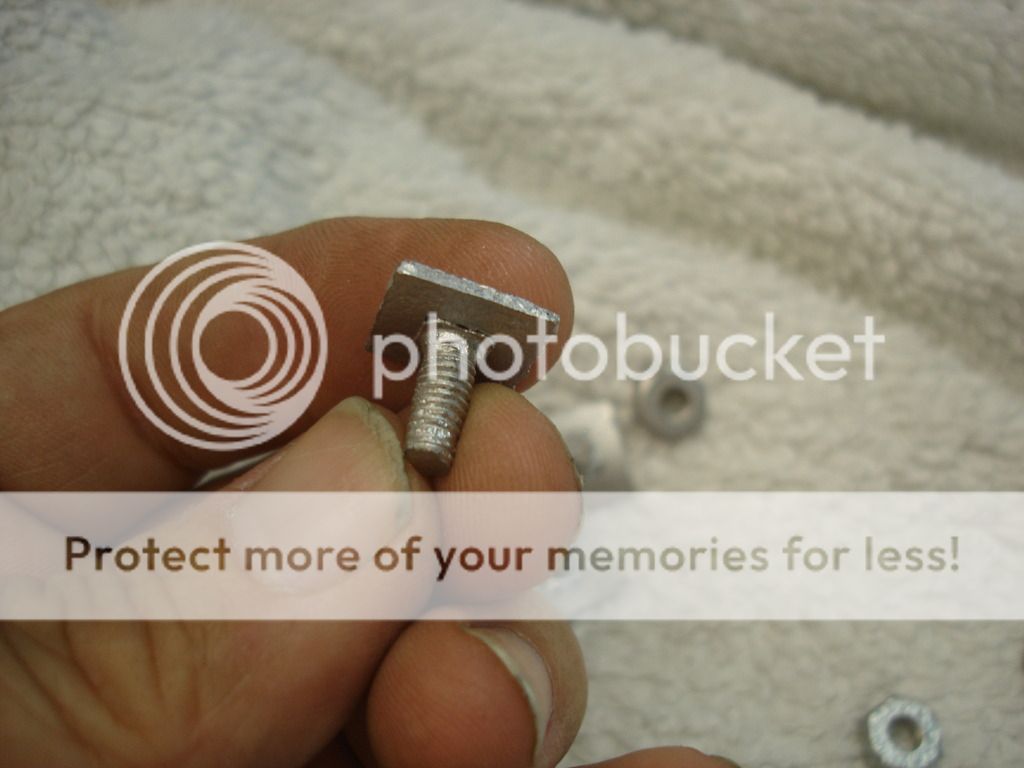
Also, Moss sold the screw in the pic as the proper mirror mounting screw. It is not. The TR2 uses a machine screw.
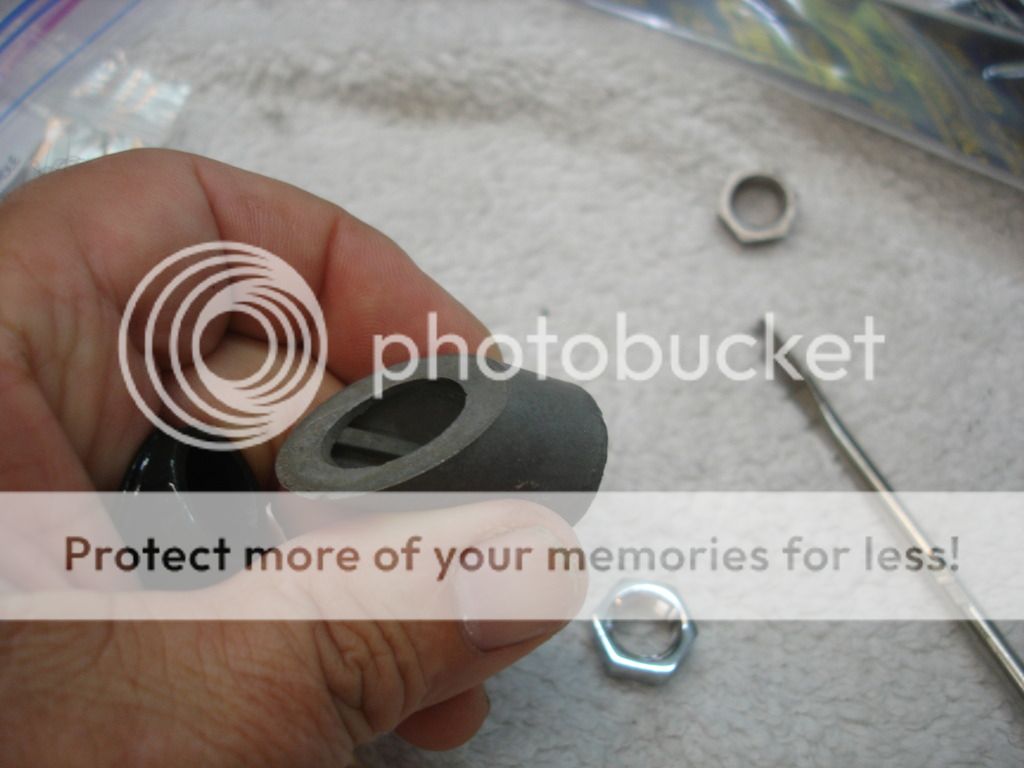
This is a bushing that goes on the windscreen wiper wheel houses to angle them correctly.


The TR2 wiper arms/blades are made to be removable for when you switch from the larger windscreen to the smaller aero screens on race day. So those studs remain as shown until you install the wiper arms.
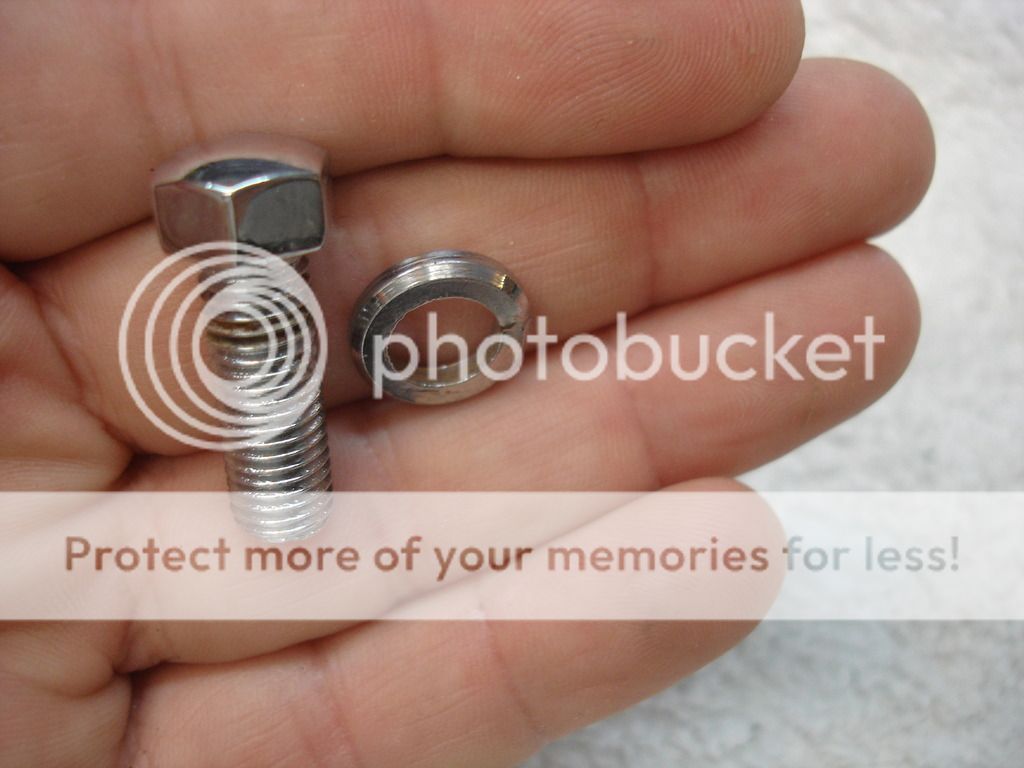

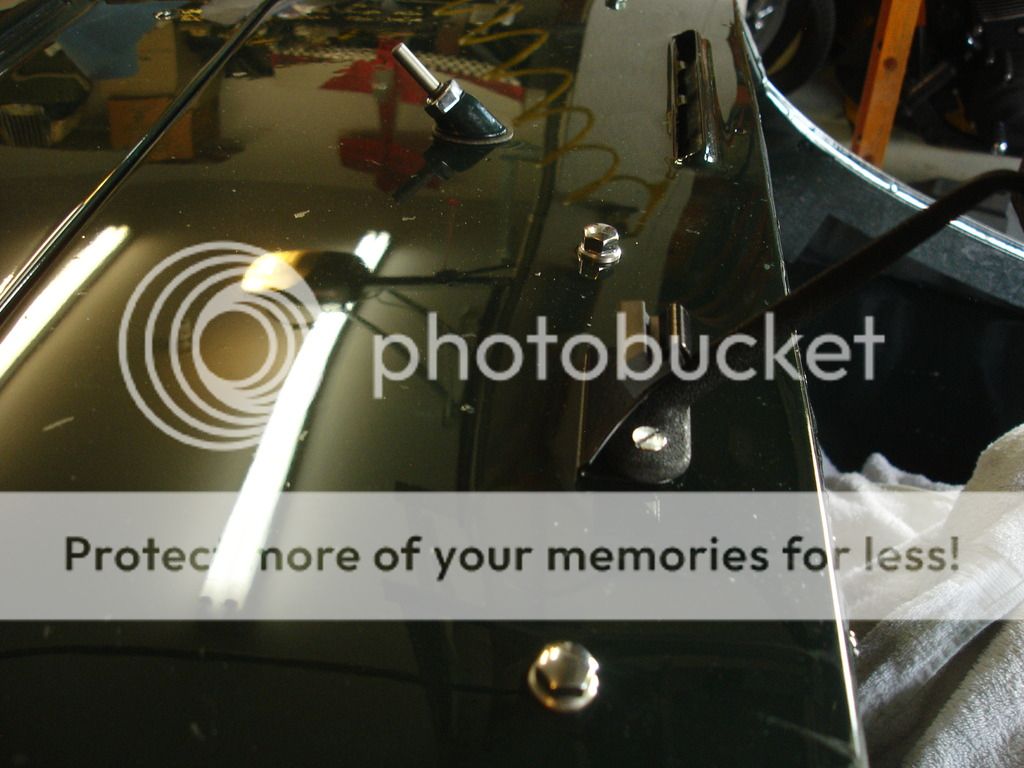


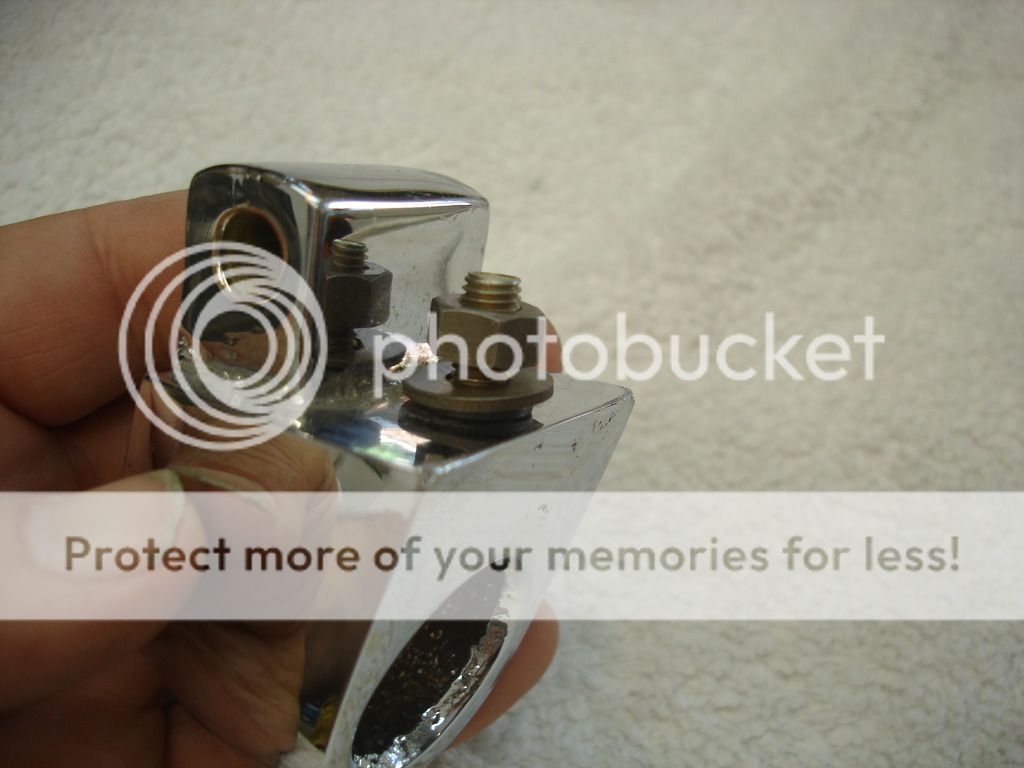
And speaking of aero screens...the TR2 had mounting holes pre-located in the scuttle to install aero screens. When not using them, these chrome finished bolts and beveled washers filled the holes.
CJD
Yoda
Offline

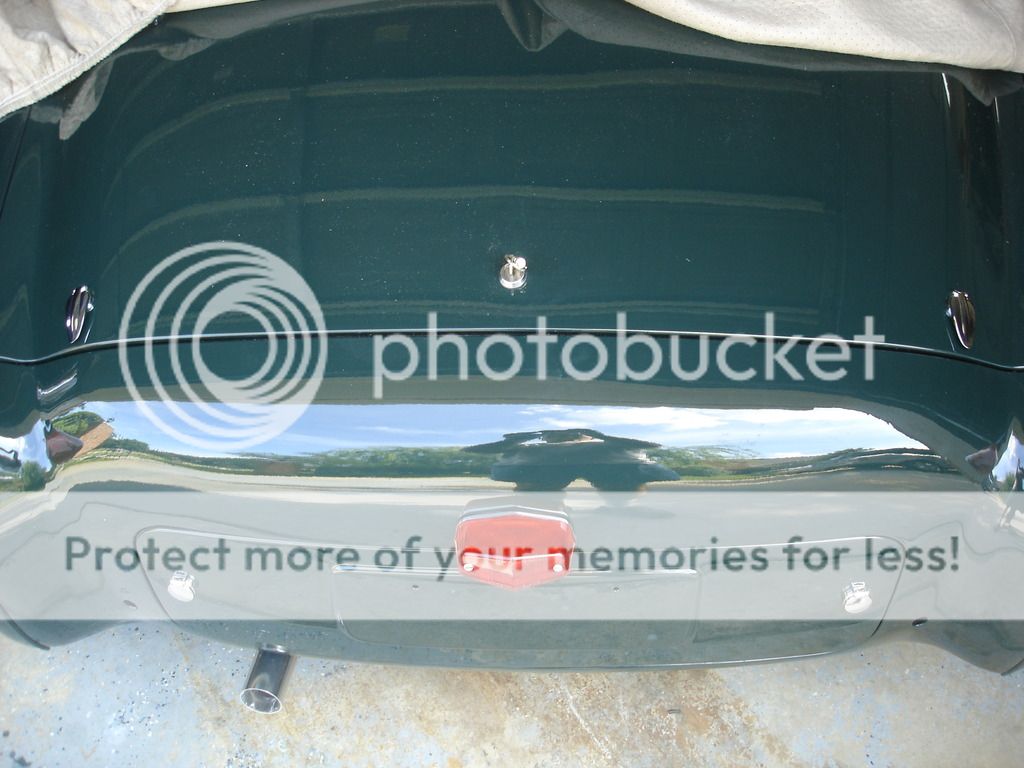
These are the earlier "fig leaf" lock covers. It's easy to see why Triumph added a handle to the boot lid...the only way to lift the lid is with the tiny key!?! I wonder what took them so long to add a handle, though.
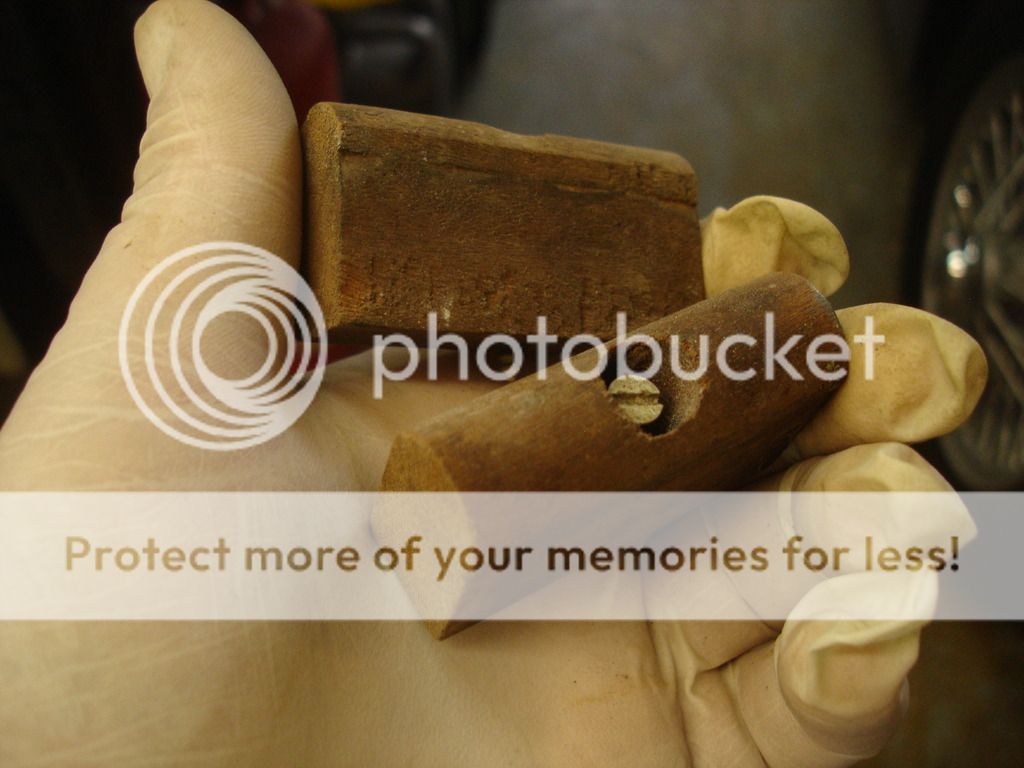
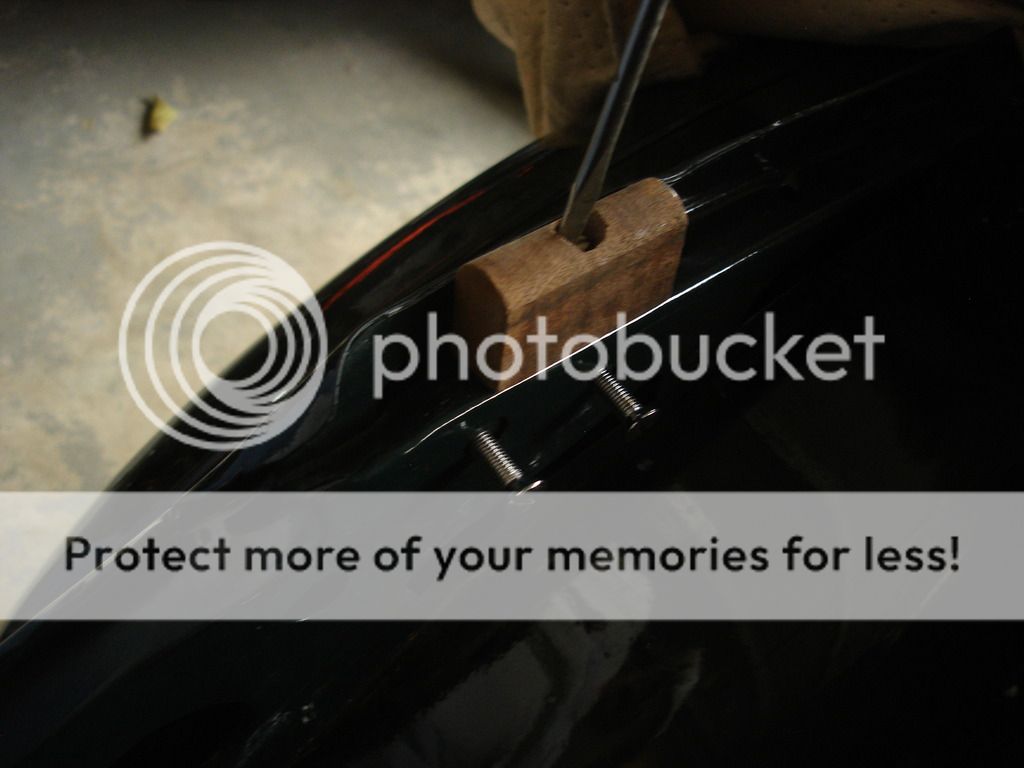

I was sweating these blocks, as I had never bagged or boxed them and wasn't sure where they were. It turned out they have been sitting under the blasting cabinet for over 4 years. These are the blocks that support the cockpit edge capping above the quarter panel. They are important...as my daughter has yet to open a Triumph door and just slides over the capping to get in and out! Without them the capping would get crunched down.

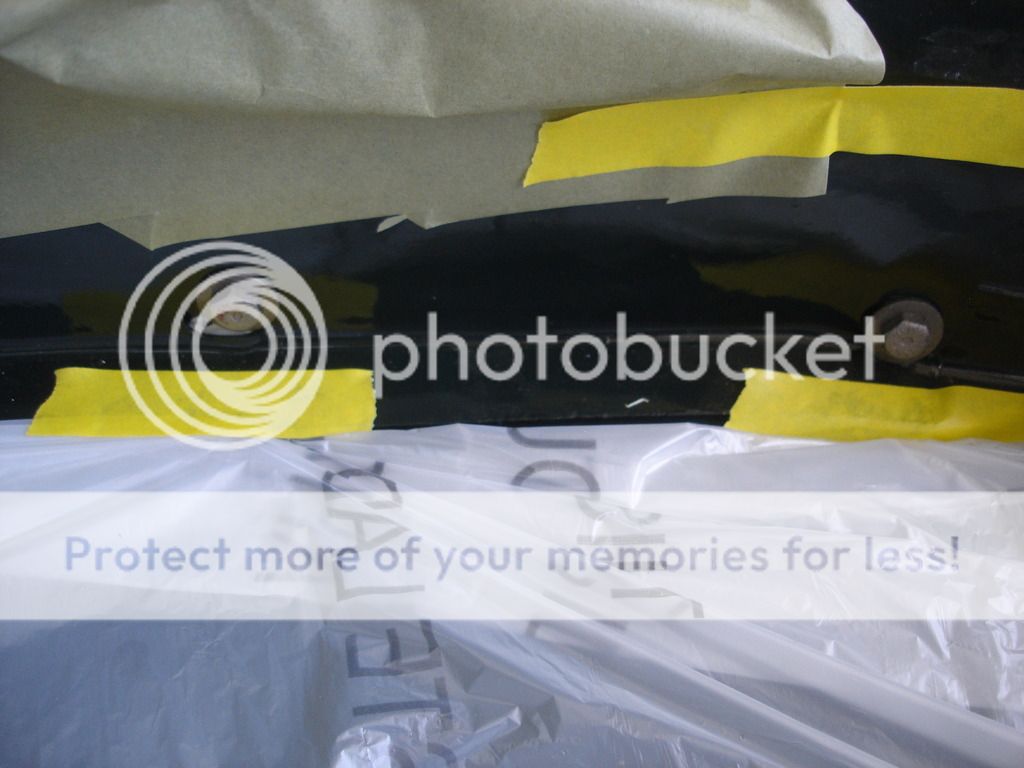


Here I am down to the paint touch up. Many of the bolts were not painted before assembly, so now is the time to take care of them. For most I cut these little template masks to cover the surrounding area while I sprayed the bolts. For the bolts that WERE painted, but got scratched during assembly, I simply touched them up with a brush.
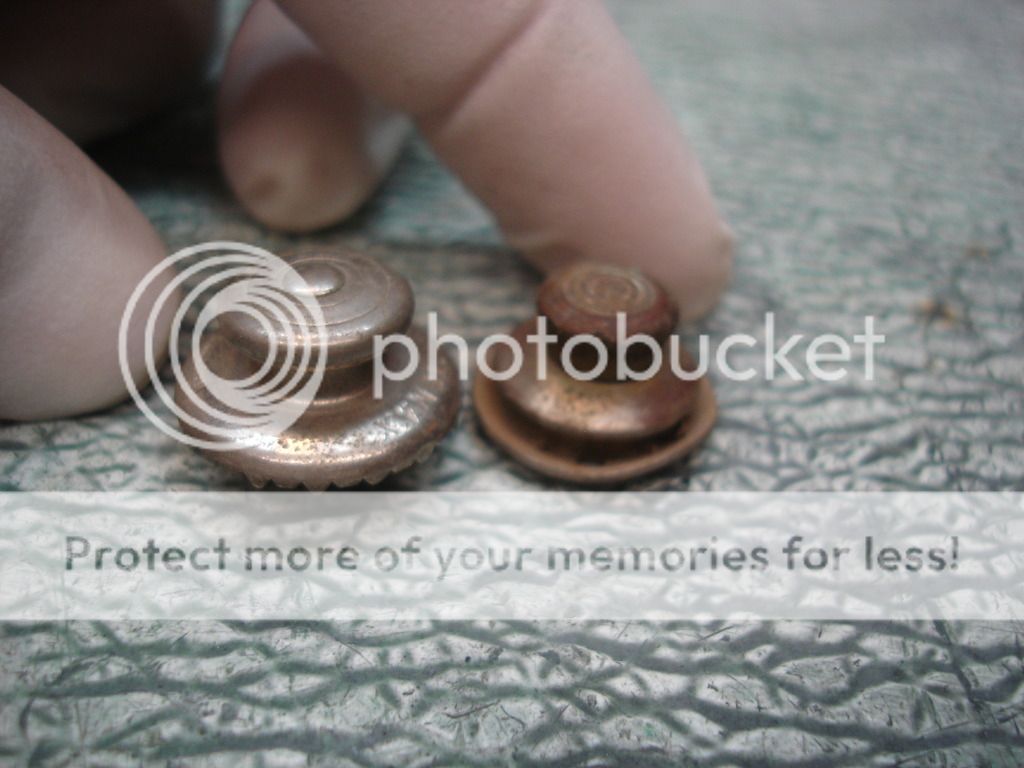

Now it's a time for a discussion about Tenax fasteners. The fastener on the left is the familiar "standard" tenax, while the smaller right fastener is the earlier "baby" tenax.

Correspondingly, these are the standard and baby tenax studs. Personally, I cannot tell them apart. I have to see them next to one another for perspective. Anyway, the dilemma is that the baby's are NLA. I mean, they are even less than NLA. I feel a vacuum every time I search for them.
Interestingly, also, is that my car at TS5248 is right on the break from baby to standard tenax. The books actually state that my car should have the standard tenax. But...when I bought it:
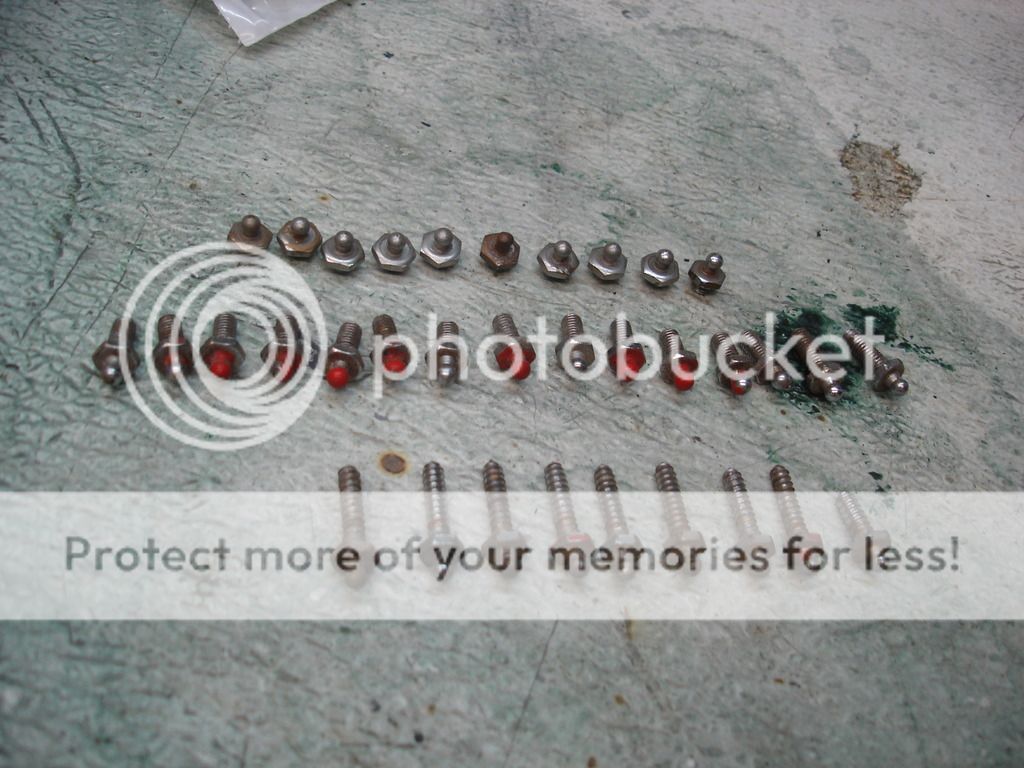
This is what came off...all baby tenax!! This is really kinda' sad, in that my car is an anomaly. It is an example of the "soft" changeover Triumph used during production. The sad part is that it will have to be put back together using the newer style standard tenax. I could re-chrome the baby studs the car came with, but I only have one fastener, with no more available, forever and anon. So, it will still be correct, but it will be losing just a touch of the original flavor it had from the factory. Oh well. Split milk.

This (blurry) pic shows a baby tenax stud in a standard fastener. It fits, but does not lock and just slips right out.

Here is the baby stud in the baby fastener. It fits and locks.

To add insult to the injury, this is the "new" tenax that can be bought currently. They have a little point at the top! Another affront to our quest for originality! Bummer. They appear to be stainless, so I suppose it would be possible to file the points off...if one were to get extremely annul.
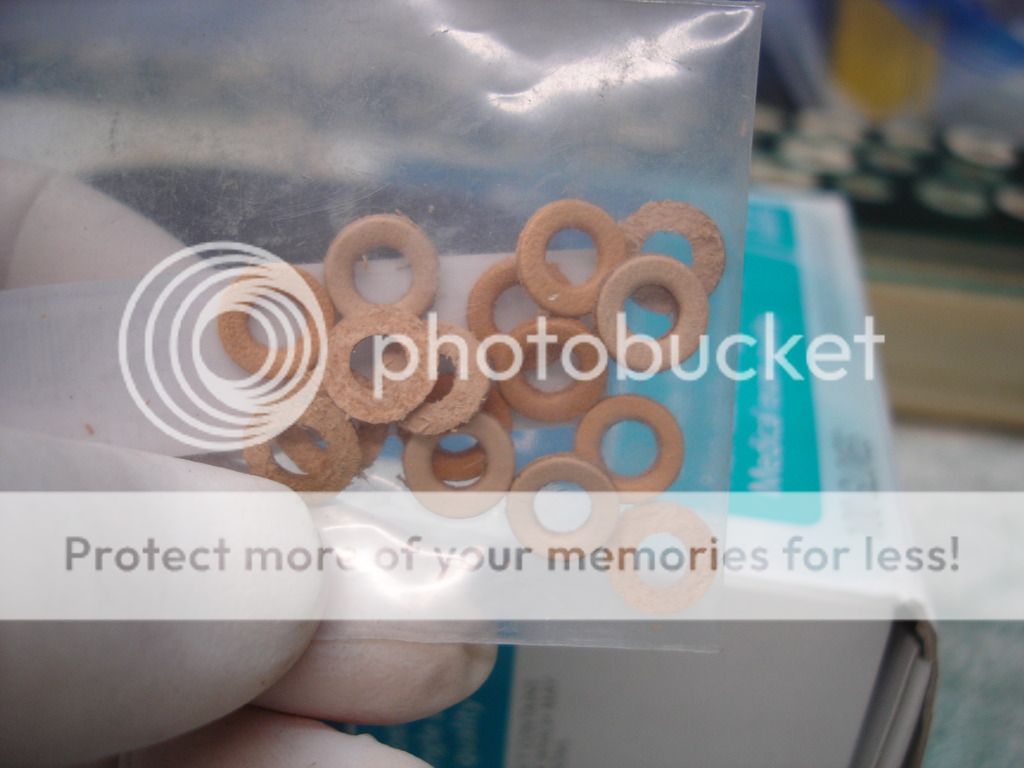
Moss still sells leather washers to go under the early tenax studs.


And, to finish off the week...these are the little white plastic plugs that go under the outer sills and the rear valence. I personally think they do more harm than good. The idea at Triumph was to spray waxoil in the holes and then seal them from the water. In my experience water will eventually get in any space in a car, and then the plugs only serve to keep it there...oxidizing our fresh metal. I decided to install them, as this car will likely never see rain again. And, if it ever does, they pop out rather easily anyway. Plus, our restored cars are painted inside and out...something Standard never saw fit to do.
Enough rambling. I am now at an impasse. There is no more work to be done until I receive my interior kit from Jonathon Skinner. I queried him yesterday, and learned that it will be in the UPS truck tomorrow. So, I have 7 to 10 days of rest before diving into the interior.
Anybody interested in an interior thread, or has enough been enough??
M_Pied_Lourd
Darth Vader
Offline
I'd like an interior thread
Looking great John. Your attention to detail is amazing. I bought new tenax fasteners from TRF and I don't remember them being pointy....
Cheers
Tush
Looking great John. Your attention to detail is amazing. I bought new tenax fasteners from TRF and I don't remember them being pointy....
Cheers
Tush

