Hey Guest!

 Hey - did you know if you click on the title of a thread it will take you to the first unread post since you last visited that thread?
 but were afraid to ask:
  STOP!! Never post your email address in open forums. Bots can "harvest" your email! If you must share your email use a Private Message or use the
  smilie in place of the real @
 Pretty Please - add it to our Events forum(s) and add to the calendar! >>
TexasKnucklehead
Jedi Knight
Offline
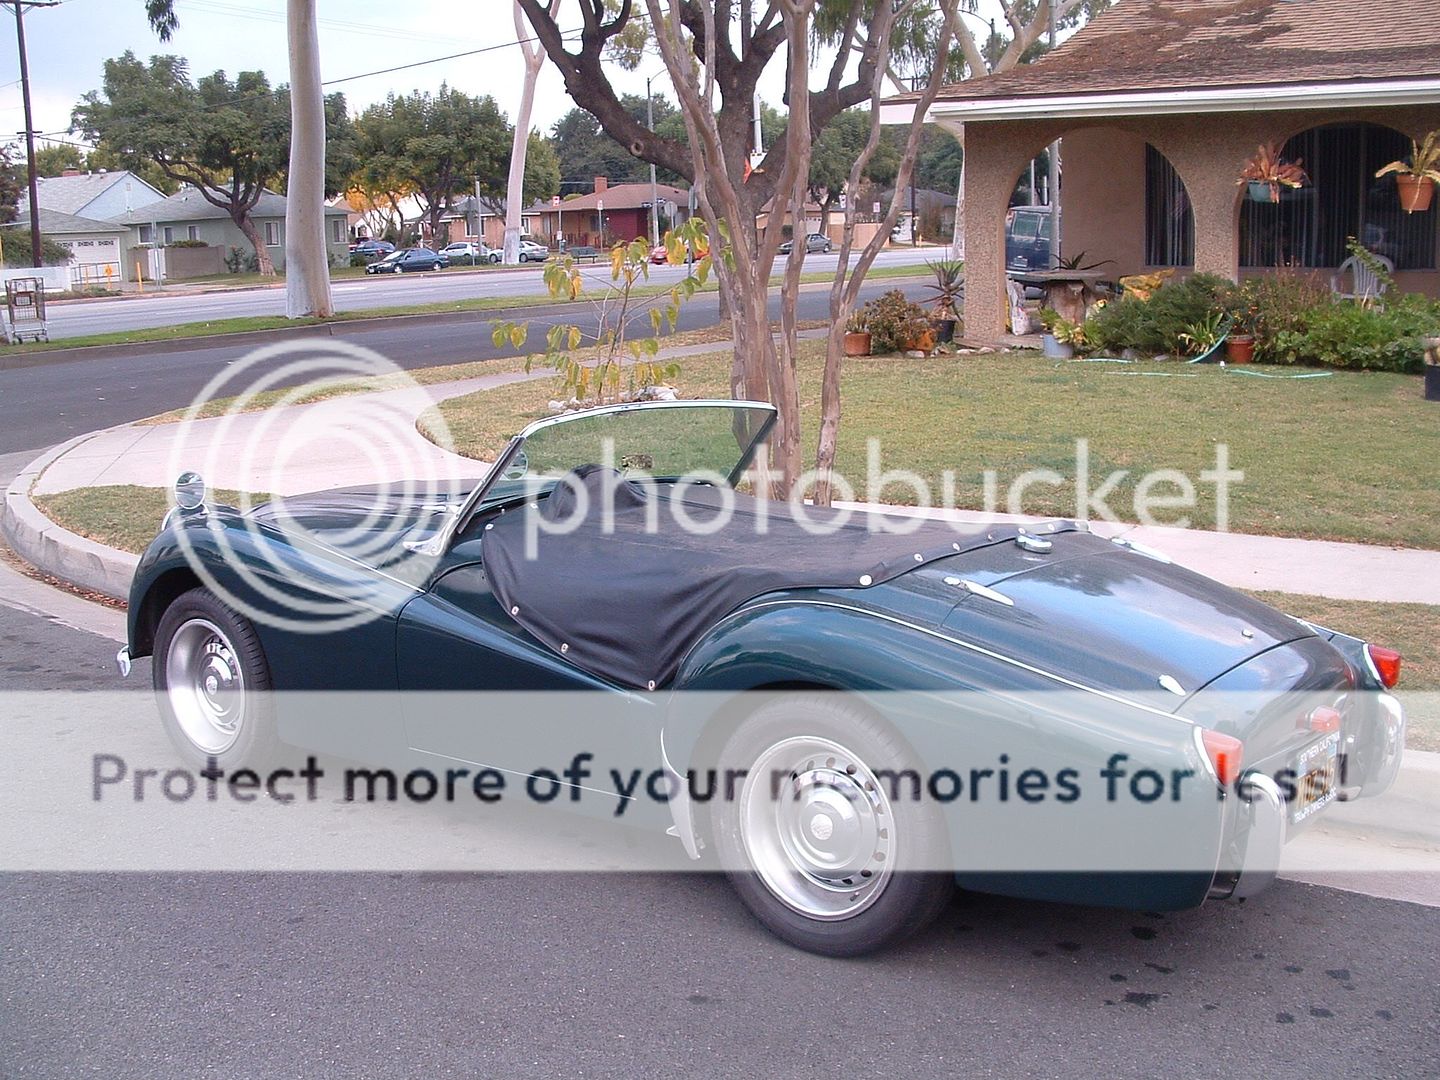
I know the original 185-SR15 red lined tires are no longer the preferred choice for most with a TR6. I know many people who have changed wheels to allow different choices of tires. I know at least one person who had a practically new set of tires mounted on rims, and sitting around since the year 2000 (referencing the date code on the tire). And I know my rear tires are completely bald and in need of replacement. I accepted some original TR6 wheels with Yokohama 215 65 R15 (the exact make and size as on my TR6), centers and chrome rings from a local member who is moving and has no room for stuff he will never use. My dilemma, is trying to decide which is safer. The bald tires I purchased in 2005, or two of the set that can’t have a few thousand miles on them, but were made in 33rd week of 2000. They show no cracks or separation, and were still holding over 20 pounds of air pressure. I bolted them on, and they seem to behave better than my bald ones. –And I understand that the best choice would be the third option; purchase new tires, but I’m trying to stick to ‘bald’ or ‘old’ for now.
My next check was the air pressure in the spare. It is a red-lined Michelin made before 2000. Since it was about 20lbs, I decided perhaps I could just stick one of my bald ones in there for the spare. Well, a bald 215 65 can be stuffed into the space, but it takes a lot of force. Getting it out is another story. I can’t imagine trying to do that on the side of the road. It’s too big to be used for a spare. So it seems I have a stack of un-useable tires.
The only reason I was interested in the wheels, was to use them on the TR3. I don’t like the idea of tube tires, and know some people that run TR6 wheels on their TR3. I also like the look of the chrome trim rim, and really like the original Triumph world globe on the center of the TR3 hub caps. The TR3 wheels have three little pegs to hold the cap in place, while the TR6 uses springs and the lugs to hold the center. I modified some shelving clips and added a #10-24 set screw to make retaining devices. The set screw allows the tension against the cap to be tightened after the cap is attached to the wheel. The outer lip of the retainer catches inside the folded over portion of the inside of the hub cap. It seems to provide a very tight fit, but I’m not sure how much it takes to hold on a hub cap at 80 mph (or maybe even 100mph). Does this look like a workable plan? Is there a simpler approach?