• Hi Guest!
    If you enjoy and benefit from your participation at British Car Forum, please consider supporting our efforts with a subscription.

    There are some perks with a member upgrade!
    **Upgrade Now**
    (PS: Subscribers don't see this banner)
Tips
Tips

Little1's 75 Midget 1500 Thread

Little1

Freshman Member
Country flag
Offline
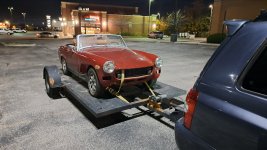
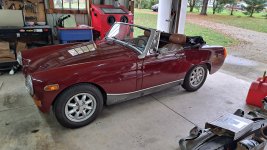
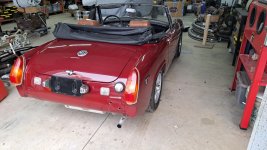
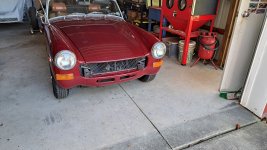
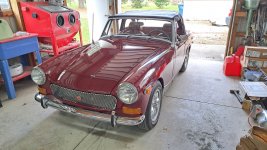
Here is the new little one as found, or at least as found on my trailer while stopped for a latte on the way home. And also a picture after a bath.

It had been partially disassembled (top and bumpers) for a refresh by the prior owner when he found an earlier model and purged this. It has sat for a couple years, indoors.

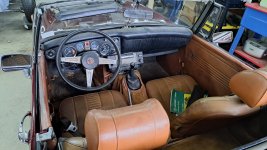
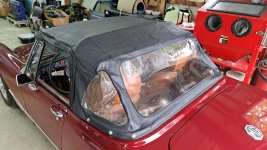
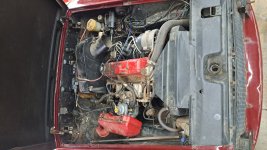
I put the top on and it's in good condition. The interior is worn but serviceable. The engine bay seems complete.

It's an unmolested, solid, mostly dry, resprayed driver that some one cared about at one time. I intend to enjoy it.

The rubber bumpers are not going back on.
 

Attachments

  • 20231023_200225.jpg
    20231023_200225.jpg
    2.5 MB · Views: 98
  • 20231029_151112.jpg
    20231029_151112.jpg
    3.5 MB · Views: 85
  • 20231029_151208.jpg
    20231029_151208.jpg
    3.2 MB · Views: 84
  • 20231029_151220.jpg
    20231029_151220.jpg
    3.2 MB · Views: 79
  • 20231029_151303.jpg
    20231029_151303.jpg
    3 MB · Views: 76
  • 20231029_151348.jpg
    20231029_151348.jpg
    3 MB · Views: 76
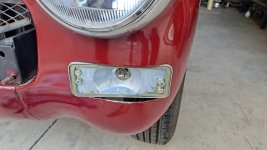
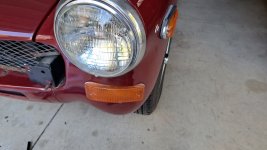
To get on the road I just had to bleed the front brakes, drain the old gas from the fuel tank and carburetor bowl, and put the turn signals in up front.

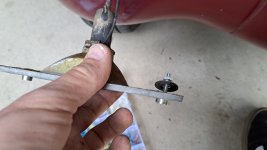
I pulled the turnsignals out of the rubber bumpers, and fit them directly in the fender holes with some large washers behind. It's as if MG planned this ability to pull the rubber off.
 

Attachments

  • 20231027_104556.jpg
    20231027_104556.jpg
    2.3 MB · Views: 81
  • 20231027_110813.jpg
    20231027_110813.jpg
    2.6 MB · Views: 69
  • 20231027_110918.jpg
    20231027_110918.jpg
    3.2 MB · Views: 71
  • 20231027_111054.jpg
    20231027_111054.jpg
    3 MB · Views: 81
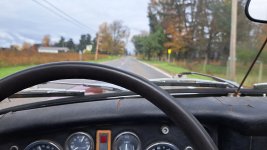
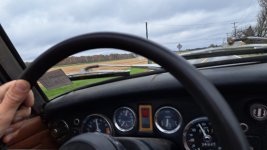
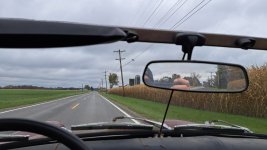
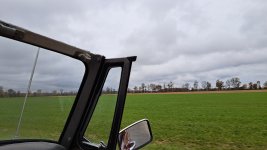
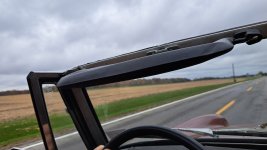
Enjoyed an afternoon cruising the country roads under an overcast sky. Feels very English, in a stereotyped way.
 

Attachments

  • 20231029_133327.jpg
    20231029_133327.jpg
    3.3 MB · Views: 70
  • 20231029_134809.jpg
    20231029_134809.jpg
    3 MB · Views: 70
  • 20231029_134816.jpg
    20231029_134816.jpg
    3.2 MB · Views: 63
  • 20231029_134841.jpg
    20231029_134841.jpg
    2.9 MB · Views: 62
  • 20231029_134806.jpg
    20231029_134806.jpg
    3.1 MB · Views: 75
looks great and love that you are enjoying it already
 
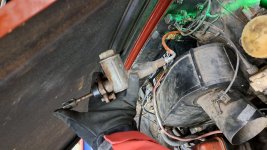
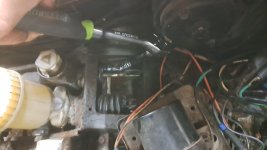
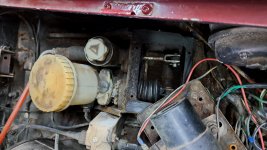
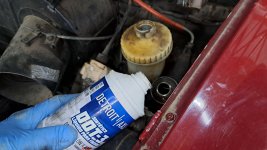
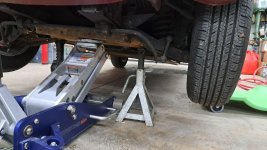
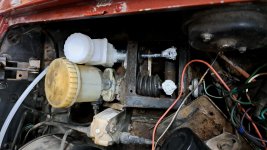
My clutch barely disengages even when pushed to the floor, so I figured it had air in the hydraulics. From a search, I stumbled on a nifty idea to lift the master cylinder up and let air out the top by pushing the fork a couple times. I tried it, like the idea, but it did not solve my particular issue although others reported success with this when their problem was an air bubble in the line. Pictures attached.
 

Attachments

  • 20231030_185902.jpg
    20231030_185902.jpg
    2.5 MB · Views: 60
  • 20231030_191203.jpg
    20231030_191203.jpg
    2.4 MB · Views: 64
  • 20231030_173513.jpg
    20231030_173513.jpg
    2.6 MB · Views: 62
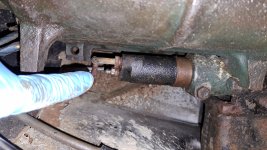
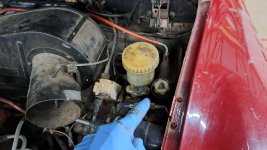
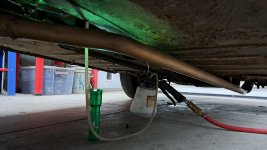
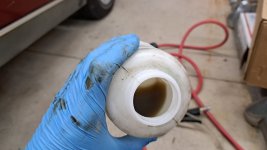
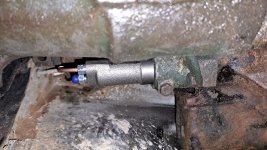
So I figured next that there must be an air bubble in the slave cylinder, so I would bleed that slave at the nipple on the slave cylinder using a Harbor Freight power bleeder that creates vacuum from my air compressor and sucks the fluid through the line at a good pace to clear any bubbles in the system. I flushed the fluid, which was dark and dirty, and took the car for a ride. Still no improvement, in fact it's a tad worse. So I flushed it a second time, and found the brand new fluid looking just as dirty with black dust, rather than clear even though its new. So I have concluded the rubber o-ring in the master or slave is deteriorating. I ordered a master cylinder /slave cylinder / flexible hose kit (British brand) and packed everything away for the night. When those things arrive I'll install them and see how it goes. There is an occasional rattle when down shifting into first and I can't yet tell if it's something in the dashboard loose or if it's in the drivetrain. Hopefully it's not the throw out bearing. I do think the disintegrating ancient cylinder rubber is the better bet. We will see. Pictures attached.
 

Attachments

  • 20231101_192639.jpg
    20231101_192639.jpg
    3.5 MB · Views: 64
  • 20231101_192917.jpg
    20231101_192917.jpg
    2.6 MB · Views: 65
  • 20231101_192801.jpg
    20231101_192801.jpg
    2.8 MB · Views: 61
  • 20231101_192929.jpg
    20231101_192929.jpg
    2.8 MB · Views: 61
  • 20231101_192358.jpg
    20231101_192358.jpg
    3.3 MB · Views: 55
  • 20231101_193008.jpg
    20231101_193008.jpg
    2.7 MB · Views: 65
probably worth rebuilding - keep us posted.
 
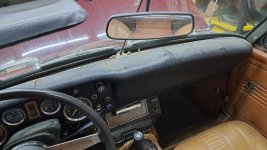
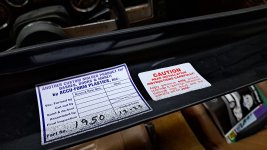
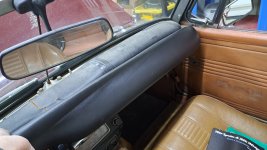
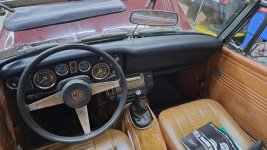
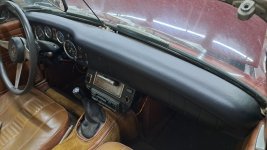
In the meantime... this dash cap has to be the lowest effort, highest return I have ever experienced in fixing up an old car. It comes with adhesive, but I didn't use it. The thing just snaps in place and looks fantastic. Pictures attached.
 

Attachments

  • 20231103_204727.jpg
    20231103_204727.jpg
    3 MB · Views: 64
  • 20231103_204715.jpg
    20231103_204715.jpg
    3.3 MB · Views: 55
  • 20231103_204747.jpg
    20231103_204747.jpg
    2.9 MB · Views: 54
  • 20231103_204904.jpg
    20231103_204904.jpg
    3.2 MB · Views: 61
  • 20231103_204914.jpg
    20231103_204914.jpg
    2.9 MB · Views: 58
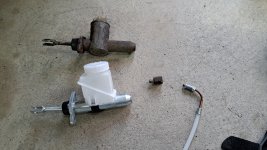
I replaced the clutch hydraulics (master/slave/hose) with a kit of Lucas parts and the clutch works great now. Had to reuse a threaded adapter from the original master. Pictures attached. This little car sure is fun to bomb around in!
 

Attachments

  • 20231104_174846.jpg
    20231104_174846.jpg
    3.9 MB · Views: 55
  • 20231104_183806.jpg
    20231104_183806.jpg
    2.9 MB · Views: 56
  • 20231104_184636.jpg
    20231104_184636.jpg
    3.6 MB · Views: 56
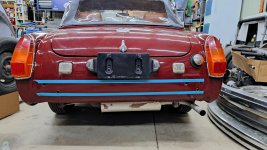
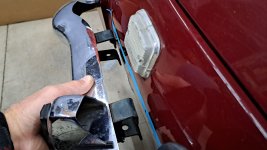
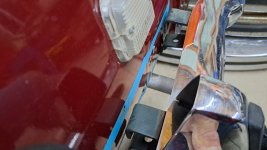
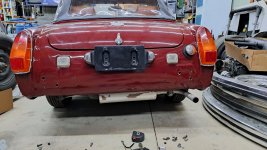
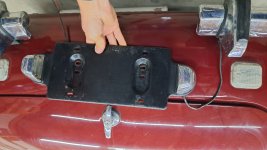
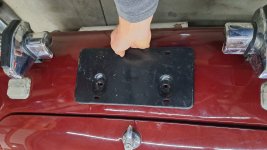
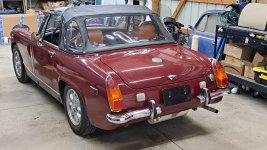
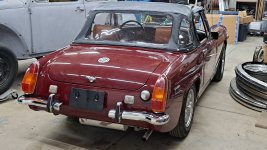
I won a set of split rear chrome bumperettes with brackets and bolts on an Ebay auction for 50 dollars. They are a little tweeked here and there, and so is my car. I taped some lines for reference accross the back of the car, hung the bumperettes with the one bolt on each side that matched an existing hole, marked some points with a sharpie and drilled some holes. Then I took off the high rear license plate bracket with lights, and installed the bracket from the front rubber bumper on the back upside down to bring the plate down a bit, while still obscuring the old wire holes, which I will plug with something. I ran the new light wires from the bumperettes through through the remaining unused bolt hole on each side. They fill the gap under the tail lights nicely. I like it alot. Pictures attached.
 

Attachments

  • 20231106_193300.jpg
    20231106_193300.jpg
    3 MB · Views: 50
  • 20231106_194133.jpg
    20231106_194133.jpg
    2.7 MB · Views: 57
  • 20231106_194205.jpg
    20231106_194205.jpg
    2.9 MB · Views: 50
  • 20231106_200528.jpg
    20231106_200528.jpg
    3.1 MB · Views: 57
  • 20231106_203932.jpg
    20231106_203932.jpg
    2.7 MB · Views: 63
  • 20231106_204002.jpg
    20231106_204002.jpg
    2.8 MB · Views: 56
  • 20231106_212403.jpg
    20231106_212403.jpg
    2.4 MB · Views: 69
  • 20231106_212421.jpg
    20231106_212421.jpg
    2.4 MB · Views: 67
Last edited:
looks great - I really prefer the split bumpers. (my 1500)

1699361180083.png
 
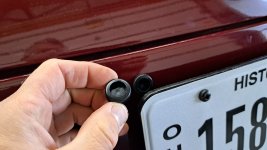
To fill the unused lisence plate light wiring holes I just popped in some rubber electrical firewall grommets, with the centers intact. Picture attached.
 

Attachments

  • 20231107_084100.jpg
    20231107_084100.jpg
    2.7 MB · Views: 63
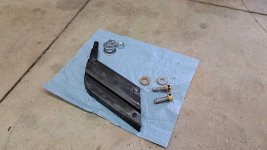
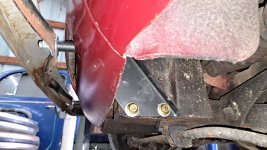
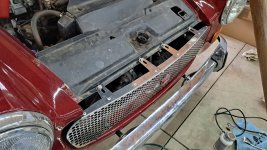
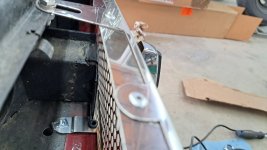
Up front I got some chrome bumper brackets from AshlyHintonMGParts on the UK Ebay store, and some Grade 8 bolts, along with some nuts and washers for the bumper spring, from the hardware store. It installed where the tow rings would be (mine are missing) and it pokes out an existing hole in the front valance. I mounted a salvage chrome bumper I found on Ebay, which is a little tweaked in places, like my car. Also, AshleyHinton also had a stainless grill with MG badge that mounts without cutting off the front frame horns of a rubber bumper car, just cut off the studs from the frame. Super pleased with the results of this chrome bumper conversion. Pictures attached.
 

Attachments

  • 20231107_092403.jpg
    20231107_092403.jpg
    3.3 MB · Views: 58
  • 20231107_103318.jpg
    20231107_103318.jpg
    3.5 MB · Views: 65
  • 20231107_103303.jpg
    20231107_103303.jpg
    3.2 MB · Views: 58
  • 20231107_103239.jpg
    20231107_103239.jpg
    2.8 MB · Views: 55
  • 20231107_105613.jpg
    20231107_105613.jpg
    3.7 MB · Views: 66
looks great!
 
Similar threads
Thread starter Title Forum Replies Date
R Midget Mark III clutch push rod lengths Spridgets 0
R MG Midget beginner (1978) Spridgets 1
D Trying to get back working on the 1974 Midget Spridgets 45
C For Sale Selling MG Midget MG Classifieds 2
L Midget 1500 Zenith Air Filter Element: Is it a Unicorn? Spridgets 7
K 68 midget. No horn, headlights, turn signals Spridgets 11
TunaJ Will MGB Upper Seat Runners work with Midget seat rails? Spridgets 1
K 1968 Midget Steering wheel Spridgets 1
K General MG 1968 Midget Questions MG 1
dwpirkeyjr Red? Bue? Purple? Yellow? Poly Bushings Complete Set For 1979 MG midget 1500 Spridgets 7
M 1500 Midget water pump weep hole Spridgets 2
M 1977 MG Midget 1500 Problem Spridgets 8
M Midget steering column Spridgets 3
B General MG 77 MIDGET Gas tank sending unit MG 1
shadowfever Midget seat nuts and bolts Spridgets 2
adcronin For Sale MGB Turn Signal (lights, horn, indicator) Switch, New for 62-67, also Sprite MK 3 & 4, MIDGET MK 2-3 thru 67 MG Classifieds 0
shadowfever Moss Motors MG Midget seat covers Spridgets 6
B 1977 Midget - Sandglow Paint Restoration & Tools 3
M Midget 1500 1977 Smog pump/Air Injection Pipe Spridgets 0
T MG Midget 1500 crank shaft pulley Spridgets 0
B For Sale '69 Midget MG Classifieds 0
M Wanted Midget 1500 exhaust manifold MG Classifieds 0
D I have doubled the value of my MG Midget. Spridgets 2
fordmstr 73 Midget rocker panel end caps and door handle gaskets advise Spridgets 3
A 78 MIDGET BUMPERLESS Spridgets 4
A 78 MG MIDGET EMMISIONS REMOVAL Spridgets 1
A 1978 MIDGET 1500cc engine oil leak Spridgets 4
A General MG 78 MG MIDGET ALTERNATOR SMOKES MG 5
D MG Midget 1275 rear oil seal. Spridgets 0
D Engine Colour for a 74 Midget. Spridgets 8
B 1977 Midget Bra Spridgets 9
B Midget Differential Capacity Spridgets 5
B For Sale Replacement Panels BE/Midget Spridgets Classified 0
G Best fuel option for a 72 Midget Spridgets 5
AngliaGT Need Ideas on Selling Our Midget Spridgets 10
NutmegCT General MG MG Midget on Route 66 MG 3
D Back on the Midget after a vacation and work break. Spridgets 48
AngliaGT RB Midget - Finally tracked it Down! Spotted 3
AngliaGT For Sale MGB /Midget Wooden Shift Knob MG Classifieds 0
J Midget front shocks Spridgets 4
johntennyson Anyone Know These Guys? Or Remember Sprite-Midget Owners' Group? Spridgets 29
B General MG 1275 Midget CamShaft Slot / Star drive to Oil Pump MG 2
M MG Midget decoding Spridgets 1
JPSmit 60 years - Mg Midget Spridgets 0
M 1972 Midget Seat Belt Replacement Spridgets 4
D MG Midget in distress. Spridgets 155
D Is it a 1965 or a 1966 MG Midget? Spridgets 2
G 79 Midget 1500 overheating Spridgets 2
G 79 Midget Clutch issues Spridgets 9
G General MG Leaking Fuel on twin HS4's 1500 MG Midget MG 5

Similar threads

Back
Top